
Overview
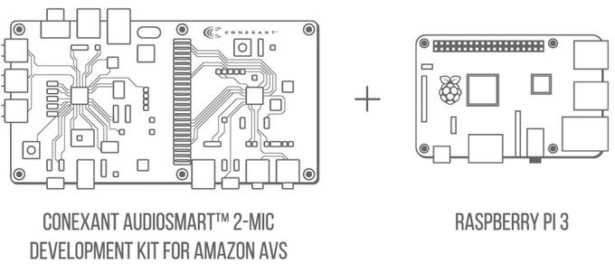
This guide provides step-by-step instructions for setting up an Alexa prototype using a Conexant AudioSmart 2-Mic Development Kit for Amazon AVS and a Raspberry Pi. It demonstrates how to access and test AVS using the Conexant development kit, our Java sample app (running on the Raspberry Pi), a Node.js server for authorization (running on the Raspberry Pi), and a third-party wake word engine that responds to “Alexa” (running on either the Development Kit or the Raspberry Pi).
When finished, you'll have a fully functioning AVS prototype that uses Conexant's development kit as an audio front end.
Step 1: Setting up the Conexant AudioSmart 2-Mic Development Kit for Amazon AVS
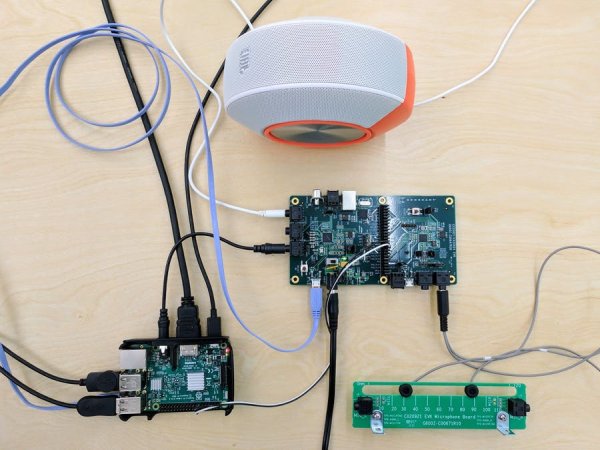
This guide assumes that you've already setup your Conexant AudioSmart 2-Mic Development Kit for Amazon AVS. If you haven't setup your Development Kit, see the Conexant Quick Start Guide. When assembled, your setup should look like this:
Step 2: Setting up the Raspberry Pi
Next we’ll need to install Raspbian Jessie on our Raspberry Pi. The easiest way to do that is by downloading NOOBS.
What is NOOBS? NOOBS is an easy operating system installer which contains Raspbian. It also provides a selection of alternative operating systems which are then downloaded from the Internet and installed.
Downloading NOOBS utility on your Raspberry Pi to install the utilities you need for this AVS walk through. Terminalcomes pre-installed on the Raspberry Pi, and you can get to it from the Desktop. You can learn more about Terminal
NOTE: If you have a micro SD card that came with NOOBS pre-installed, make sure it has Raspbian Jessie available as one of the install options. If not, follow the steps below to download the latest version of NOOBS.
- Download the latest NOOBS zip file – downloads.raspberrypi.org/NOOBS_latest
- Format the SD card using SD Formatter
- After your SD card has been formatted, drag all the files from the extracted NOOBS folder and drop them onto the SD card.
Installing Raspbian Jessie
- Insert your micro SD card with NOOBS pre-installed into the micro SD card slot on your Pi.
- Plug in your USB keyboard and mouse.
- Connect your monitor using the HDMI port.
Booting up the Raspberry Pi
- Plug in the USB power cable to your Pi.
- Your Pi will boot, and a window will appear with a list of different operating systems that you can install.
- Tick the box next to Raspbian and click on Install. Make sure it is Debian Jessie, and not Debian Wheezy.
- Raspbian will run through its installation process. Note: This may take a while – get a cup of coffee (maybe brew a pot — tea is an acceptable alternative).
- When the installation is complete, the Raspberry Pi configuration menu (raspi-config) will load. Here you can set the time and date for your region and enable a Raspberry Pi camera board, or even create users. You can exit this menu using Tab on your keyboard to move to Finish.
- Once rebooted, login to your Pi. The default login for Raspbian is username pi with the password raspberry
- NOTE: To load the graphical user interface at any time type startx into the command line.
More info: raspberrypi.org
Using Terminal
NOTE: You will be using the Terminal utility on your Raspberry Pi to install the utilities you need for this AVS walkthrough. Terminal comes pre-installed on the Raspberry Pi, and you can get to it from the Desktop. You can learn more about Terminal here.