
This Instructable will walk through using a Raspberry Pi and a monitor or television to create a digital sign or display. A digital display like this can be used at home, at a company, or at any organization to display upcoming events, notices, calendars, photos, news, etc.
What's different about this is that we won't be using X-Windows on the Raspberry Pi to do this, but instead will be using framebuffer support to display images and video without the overhead of running X-Windows.
Step 1: Raspberry Pi Setup
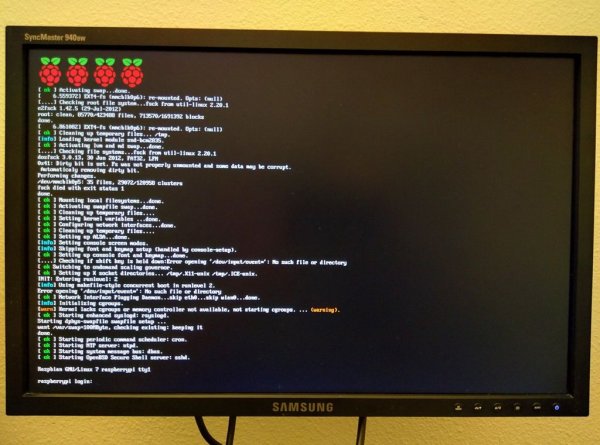
To begin with we need a Raspberry Pi that is attached to some sort of external display whether that is via HDMI/DVI or composite. You also need some way to interact with a terminal session on the Raspberry Pi. An SSH connection over the network or a serial cable is recommended, since we will be displaying images and video on the console.
Step 2: Configure Raspberry Pi to boot without GUI
If your Raspbian install is currently set to boot into the XWindows GUI or Scratch, you can reconfigure to boot to just a text console with raspi-config.
sudo raspi-config
Select “Enable Boot to Desktop/Scratch” then the “Console Text console…” option.
Step 3: Installing Packages
We will be using several packages:
- fbi – linux framebuffer imageviewer
- tvservice – power management for displays
- omxplayer – media player
The current Raspian distribution already includes omxplayer and tvservice but we need to install fbi.
First we’ll update the packages database and apply any updates. If you haven’t updated recently, this may take some time.
sudo apt-get update
sudo apt-get upgrade
Then we will install fbi:
sudo apt-get install fbi
Step 4: Displaying Single Images with FBI
To display a single image, we use fbi, the framebuffer image viewer.
sudo fbi -a --noverbose -T 1 image.jpg
The -a option automatically scales the image for the screen. The –noverbose option prevents the display of additional text on the image.
The -T 1 option selects which virtual console the image will display on. Since there is no user logged into the console, the virtual console is owned by root, so we must use sudo or run fbi as root in order for it to use the framebuffer.
pi@raspberrypi ~ $ ls -l /dev/tty1
crw------- 1 root root 4, 1 Jul  1 02:25 /dev/tty1
When fbi is run this way, it remains running in the background. If we run additional fbi commands to display more images, we will end up with multiple copies of fbi running. So before we run another fbi command, we can use killall to kill all processes named fbi.
When the background fbi process is killed, the last image displayed will remain on the framebuffer.
sudo killall fbi
Step 5: Displaying Slideshows with FBI
The fbi tool can also display a slideshow of images.
sudo fbi -a --noverbose -T 1 -t 10 image1.jpg image2.jpg image3.jpg
The -t 10 sets up a looping slideshow that will display each image for 10 seconds.
We can add a -u option to randomize the slideshow order. We can add a -1 option to prevent the slideshow from looping and only display once.
As with a single image, fbi will run in the background until killed.
Step 6: Displaying Videos with OMXPlayer
To display a video, we can use omxplayer.
omxplayer -b video.mp4
The -b option blanks the screen (otherwise some terminal text may appear).
We can add a –loop option to loop the video continuously. We can add a –orientation 180 to flip the video upside down (90 and 270 work as well).
Step 7: Turning the Display Off and On
There are likely times when you would like to turn off the display. One command will turn off both the HDMI and composite displays. Most HDMI displays will power down to save energy but composite displays will likely remain on.
tvservice -o
To turn the HDMI display back on:
tvservice -p
To turn the composite display back on:
tvservice -c "PAL 4:3"
or
tvservice -c "NTSC 4:3"
NOTE: turning the HDMI display back on does not restore the framebuffer, so we need a bit of a workaround to get the framebuffer back to a usable state.
Either:
fbset -accel true; fbset -accel false
or
chvt 2; chvt 1
Step 8: Scripting It All
Bringing things together, one script can turn on the HDMI display, display a slideshow of 4 images 15 seconds apart, and then turn the HDMI display back off.
tvservice -p
fbset -accel true; fbset -accel false sudo killall fbi sudo fbi -a –noverbose -T 1 -t 15 -1 image1.jpg image2.jpg image3.jpg image4.jpg sudo killall fbi tvservice -o