
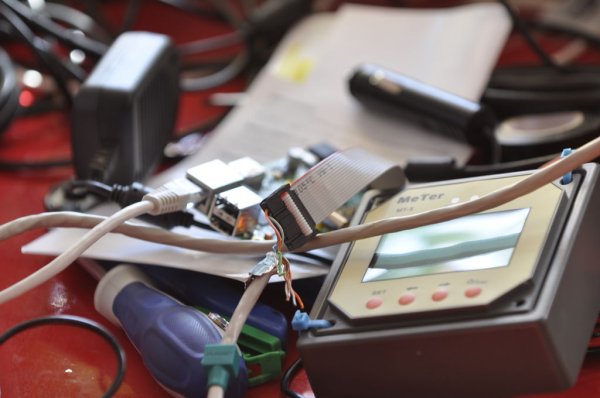
Everything started with the fact that the MT-5 display wasn't what I really needed. I was in the need of checking the charging from the device using the battery: my trusty Raspberry pi (1 B at the time). I managed to stumble over this instructable (http://www.instructables.com/id/Use-Arduino-to-Com… and git project (https://github.com/xxv/tracer/). So the code and research isn't mine.
But this was made for the arduino, (why use a USB and arduino when you have the capability on the raspberry pi?)
So i bought the EP solar MPPT solar controller from eBay + MT-5 display. That got me thinking that it should be possible to collect and store the data for later use. Said and done I started to search after the protocol specs and found what I needed here [Protocol] and as a nice bonus there where some code for arduino and python.
So with this information and code this was quite a easy task.
Step 1: (Optional) Try on a arduino.
You might consider this step to make sure you have hooked up everything the right way. Since the arduino is a little bit more forgivning then the raspberry pi (only 3.3v and will die if you hook it up wrong).
On my RJ45 cable it was:
arduino pin 10 to Full blue
arduino pin 11 to green/white
Arduino pin GND to orange
Double and triple check this before you hook it up, there are some 12v pins!
Arduino code: Arduino code
Does it work?
Great! Go on to the next step.
Else check your connections
Step 2: Step 1: The hardware
You will need:
1. raspberry pi with appropriate cables and case.
1,5 A SD card 8 gb microSD for the newer ones
2. A RJ45 cable that you don't like (but is working)
3. Connectors to hook the 2 together. I lab with ( http://www.ebay.com/itm/40PCS-Dupont-wire-jumper-c… )
4. A Tracer MPPT controller (or equiv.)
5. 12 v battery
6. Solar panels
Step 3: Making the cable
Follow the pictures.
CHECK WITH MULTIMETER!
Black= GND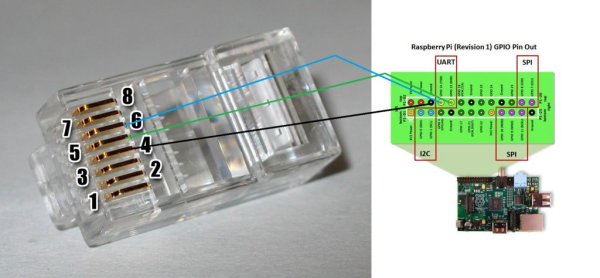
Step 4: Step 2: The OS
You will need the latest Raspbian image
https://www.raspberrypi.org/downloads/
follow this guide
https://www.raspberrypi.org/documentation/installa…
Step 5: Step 3: The Software
When first booting Expand filesystem
if you allready have a active Raspberry Pi
start “sudo raspi-config”
Choose 8
Then A8
And No (“Nej” is no in swedish)
Finish
Do a
git clone https://github.com/xxv/tracer.git
cd tracer/python/
python query_demo.py
For more detail: Raspberry pi Tracer interface