
Media Centers are useful tools that allow users to organize and play their media, including videos, music, and pictures. Media Centers make it possible to stream content from multiple computers to a home entertainment system or other central location. In this tutorial, we will show how to build a small and affordable media center using the Raspberry Pi computer and XBMC media management software.
Prerequisite Knowledge: A basic understanding of file sharing, and networking is helpful before undertaking this tutorial, but not required.
Time Required: Depending on your internet speed and setup this project should take between 2 – 3 hours.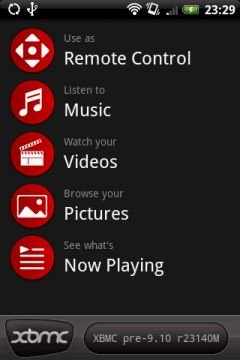
Step 1: What You Need
Before you begin, you will first need to acquire the necessary components.
2) Wireless USB adapter (optional)
3) Standard SD card (class 10 recommended)
4) Raspberry Pi Model B 512 MB
5) Micro USB cable and wall charger
6) HDMI cable
It is also necessary to have a USB mouse and keyboard for the initial setup. After that, the device can be controlled from a smartphone or a variety of universal remotes. A standard Ethernet cable will also be required for the initial installation but can be substituted for the optional Wireless USB adapter after setup.
Step 2: Assembling the Device
1. Now that we have all the necessary pieces, it is time to actually assemble the device. The first step in this process is to cut out the two plastic pieces on our case that obstruct the USB and Ethernet ports. We used an exaco knife to make sure we didn't damage the case, but the pieces are not firmly attached and can be removed without any tools.
2. The next step is to place the Raspberry Pi board in the bottom of the case, lining the ports up correctly with the openings in the case. The board should fit snugly but not require any force to set in place.
3. The final step in this process is to attach the top of the case and secure it with the 4 screws provided. We found that the screws are fairly difficult to secure in new cases but again should not require excessive force.
Step 3: Obtaining the Necessary Software
1. Now that we have assembled the device, it is necessary to obtain the required software. The media center will run on the Raspbmc linux distribution, the most recent version of the which can be downloaded from here:
2. Once you unzip the zip file, you will find the file setup.exe. Right click the file and select “Run as Administrator” and select yes/continue to the User Account Control dialogue. You will be presented with an interface which will allow you to install the RaspBMC to an SD card.
3. With the SD card inserted in your computer, select the SD card from the list above, check the box for “I accept the license agreement,” and click the “Install” button.
Step 4: Installing Operating Software
1. After the software has been successfully installed on the SD card, remove it from the computer and insert it into the Raspberry Pi with the metal contacts facing up as illustrated in the above picture. As that same picture shows, the micro end of the micro USB cable must be plugged into the pi, just adjacent to the SD card slot.
2. Next, the HDMI cable must be plugged into the side port of the raspberry pi as shown in our second picture with the other end connected to the monitor or television that you will be using to watch on.
3. After that, you will need to connect a keyboard and mouse to the USB ports and an Ethernet cable to the LAN port adjacent to the USB ports.
4. Finally, to begin the installation, you need to plug the adapter connected to the micro USB cable into a power outlet and the Pi will power on and begin the installation process. This can take anywhere from 15 to 45 minutes depending upon your internet connection.
(Note: It may be easier to first set up the device by connecting it to your computer monitor since you will already have access to a keyboard, mouse, and Ethernet cable from your existing machine. After setup you can then connect it to your television)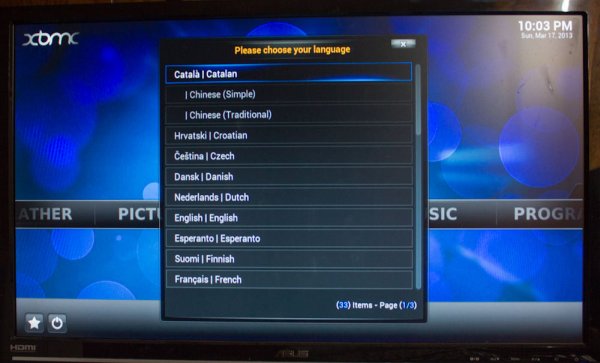
Step 5: Configure Settings
1. After Raspbmc has been installed, you will have the option to choose a language and then be greeted with the home screen. From here you will want to scroll over to the program section and select the Raspbmc settings option. From here, a number of different setting can be changed,
2. Users can change their connection type in the first section for network configuration from wired to wireless if they purchased the wireless adapter. Users will need to enter their wireless router SSID and security information to be able to connect.
3. If you would like the device to run more quickly, settings can be changed in the system configuration section under the System Performance Profile. Changing this value to Fast will overclock the device, which can put more strain on the device but allowing the user interface to run more smoothly.
For more detail: XBMC Media Center with Raspberry Pi