
In this instructable I will detail my methods for creating a fully custom Home Security and Automation System.
This is a work in progress, and as I will be adding to it as I go.
For now I will provide a breakdown of the goals of this project.
1) The system should be fully modular. Each component is self contained and talks to the base unit wirelessly.
2) The base unit I will use is a Raspberry Pi 2 running OpenHAB.
3) The components should be inexpensive (less expensive then Z-Wave units).
4) The components should all be low powered.
Parts List So Far: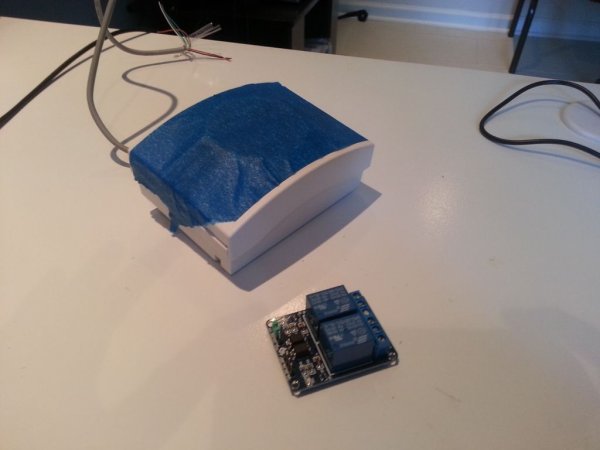
1) Raspberry Pi 2 (Base Unit) ~$35
2) Arduino Uno (Prototyping) ~$10
3) RF24 modules x2 (wireless communication) ~$5 for 2
4) Honeywell Siren 12v ~$17
5) 12v Battery (power siren) ~$30
6) PIR sensors (motion detection) ~$5 for 5
7) Arduino Pro Mini (Component controller) ~$7
~$109 so far.
Step 1: Base Unit
This is the unit that does all the heavy lifting.
Currently I have OpenHAB installed and running. I also have hooked up the RF24 module and setup the driver. However unfortunately I have yet to (as of this writing) gotten the pi talking to the arduino wirelessly. I could have a defective module, but I only have 2 RF24 modules to test with right now. I plan to order more to work with. I also noticed a number of projects that used a arduino with an Ethernet shield as the gateway that the pi then connected to, however this is the less Ideal solution since it will bring up cost significantly.
TODO:
Finish testing communication between RF24 modules.
Finish configuring OpenHAB to begin working with the components.
Step 2: Prototype Component
This is just an Arduino Uno connected to a RF24 module.
TODO:
I plan to get another Uno to verify that my RF24 modules aren't defective. Currently there are too many variables between the Pi and the Arduino to know for sure that everything is setup properly.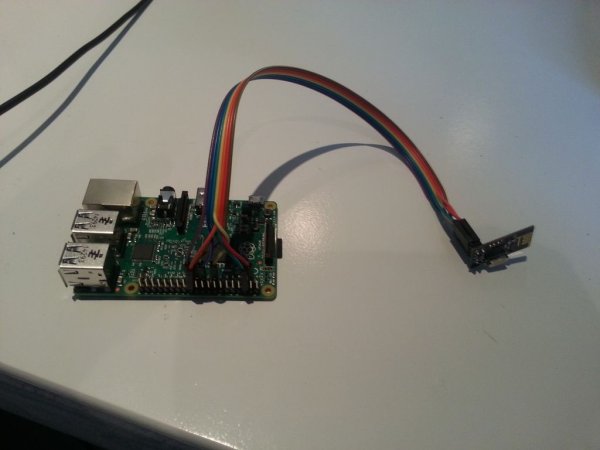
Step 3: Motion Sensor Component
This component uses a PIR (Passive Infrared) sensor to detect motion and report back to the base unit.
TODO:
After getting the RF24 communication fully working I need to add a 3.3v regulator since I have the 5v model of the Arduino Pro Mini.
For more detail: DIY Home Security and Automation with Raspberry Pi 2