
I've been playing around with serial comms on 2 Raspberry Pi computers for the last couple of days.
And I now understand a little of the black-art required to get this working, including how to send serial data via a PHP web page.
So I thought I'd write up the details before I have time to forget it all again!
There are two pins available on the Pi header for simple serial comms: pin 8 (transmit data) and pin 10 (receive data). On Raspbian this port or device appears as: /dev/ttyAMA0.
Configuration
But before you can use this serial port, you may need to modify a couple of files on the Pi (modify as root user). We basically need to free-up this port for our use, and stop it being used for something else.
So type in a terminal:-
sudo pcmanfm
Now navigate to /boot/cmdline.txt and open with LeafPad. Look for any string entries containing: /dev/ttyAMA0
For example:-
console=ttyAMA0,115200
…and carefully delete them. You should end up with a series of strings/commands separated by spaces, for example:-
dwc_otg.lpm_enable=0 console=tty1 root=/dev/mmcblk0p2 rootfstype=ext4 elevator=deadline rootwait
Save changes and navigate to: /etc/inittab
Open file and look for an entry containing /dev/ttyAMA0 which you should just comment out like this:-
#Spawn a getty on Raspberry Pi serial line
#T0:23:respawn:/sbin/getty -L ttyAMA0 115200 vt100
Finally, to allow any PHP code on our web server to control this serial port we need to add the user to the dialout group. So in a terminal:-
sudo usermod -a -G dialout www-data
Note: www-data is the user running on my web server. Take a look at my earlier posts to see how my web server is configured using lighttpd and PHP.
Now re-boot.
Serial comms test
We need to test that serial comms is working, before we try and do anything clever with PHP. Open a terminal and install minicom:-
sudo apt-get install minicom
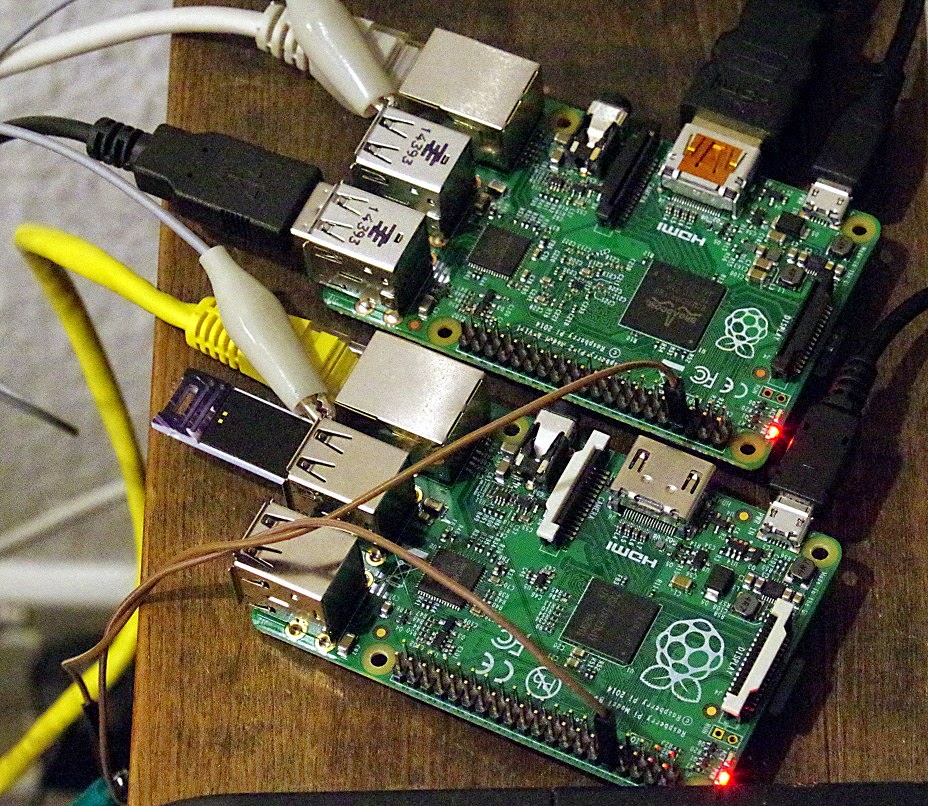
Carefully fit a jumper wire or link to connect pin 8 to pin 10.
In a terminal type:-
sudo minicom -D /dev/ttyAMA0 -b 9600
You should see a “Welcome to minicom…” message.
If you press <ctrl><a> you should get an information bar at the bottom of the terminal. Press <ESC> to clear the bar, and then type something, e.g. hello!
Your message should be displayed, which shows that your loop-back test was successful (i.e. you sent characters out via TXD and got them back via RXD.
Not convinced? Then remove the link between pins 8 and 10, and then try again. As you type, the screen does not show the result..
If you have a second Pi, you can run minicom on both systems, and connect pin 8 from one Pi to pin 10 to the other.
Make sure you also link the two Pi common/gnd together. Now you can test by sending a message from one Pi to the other.
For more detail: RaspberryPi Serial Comms & PHP