
| Hardware components: | ||||||
 |
|
× | 1 | |||
|
× | 1 | ||||
|
× | 1 | ||||
|
× | 1 | ||||
| Software apps and online services: | ||||||
 |
|
|||||
STORY
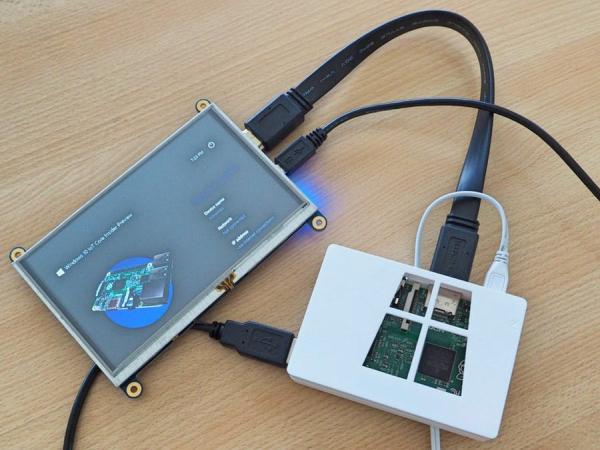
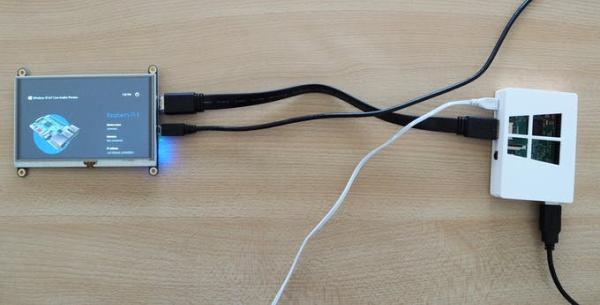
Of course you can connect your Raspberry Pi 2 to a any screen that has a HDMI input port. But I was looking for a small screen which is easy to take with me, easy to embed in a project and easy to power (preferably directly from the USB port of the Pi). So I found the Adafruit HDMI 5″ 800×480 Display Backpack and it's a great match! When you'd like to use it on Windows 10 IoT Core on your Pi, there are a couple of extra steps you need to do, which are described in this project.
Step 1: prepare your Raspberry Pi MicroSD card
Download and write the latest version of Windows 10 IoT Core for the Raspberry Pi 2. You can find the instructions here: http://ms-iot.github.io/content/win10/SetupRPI.htm. When you've written the image to the card, don't remove it just yet and move on to Step 2.
Step 2: modify the config.txt
With the Micro SD card still in the SD card reader on the computer you used to write the image, open a Windows Explorer window. You should find a drive associated with your Micro SD card, named EFIESP (on the screenshot below it's the E: drive).
Navigate to that drive, and look for a file named config.txt, open this file in Notepad (or any other text editor). Add the following lines at the bottom of the contents, these instructions configure the HDMI output of the Pi, so it's compatible with the Adafruit display (e.g. by setting the resolution to 800 by 480). You can copy/past the text at the bottom of this project page!)
Save the changes and safely remove the Micro SD card from the reader.
Step 3: boot the Pi
Now you are ready to boot your Raspberry Pi 2! Just insert the Micro SD card in the Pi, connect the HDMI cable and Micro USB cable and give your Pi some power. Once the Pi is booted you should see the default app running on the screen.
Optionally: increase max. current draw
The LCD screen consumes quite some power. When you have more USB devices connected directly to the Pi, it could be the screen starts flickering or doesn't work at all because there isn't enough power on the USB ports. You can increase the total current that can be drawn by USB devices to 1.2A by un-commenting the last line you copy/pasted in the config.txt file (just remove the # character).
Read More: Adafruit 5″ LCD and the Raspberry Pi 2 with Windows 10