
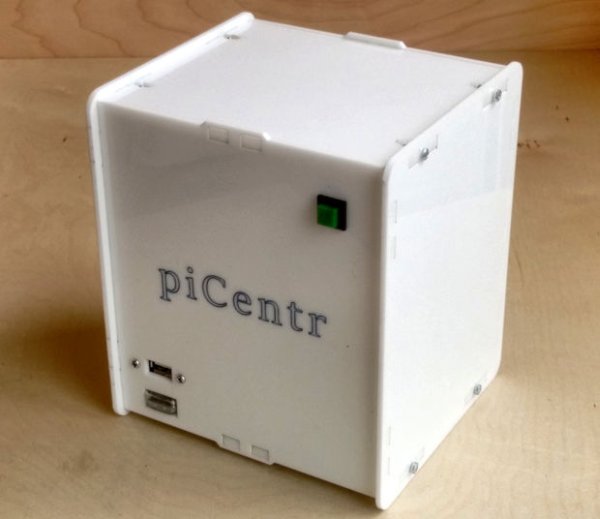
piCentr is an Open Source enclosure designed specifically for people who wish to build a media center PC using the Raspberry Pi2. The layout of the enclosure is meant to keep all cabling tidy and inside out of view, with accessible ports for everything you need, including front a front USB port, and rear HDMI and ethernet ports. A 3D printed internal chassis is part of the design, which holds the Pi 2 and up to two 2.5” HDDs, and is specially suited to use with the Western Digital pidrive. Remote control of the appliance is supported by installing a FLIRC USB device and the remote of your choice. The design also sports a power-wake button and a cooling fan.
Before you Start
The design files for the laser cut and 3d printed parts of the piCentr design are available on GitHub. You'll need to get those and get the parts cut / 3D printed first unless you are buying them in a kit. Note to the laser cutters – the four sides of the enclosure should be cut from 3mm material, but the top and bottom are cut from 6mm material.
You can run any OS that you would like on your piCentr. I recommend you install OpenELEC on your raspberry pi micro SD card before you start (you can still insert and remove the micro SD card through a slot in the bottom of the piCentr later if you want to make any changes). OpenELEC is an embedded operating system built specifically to run Kodi (formerly known as XBMC), the open source entertainment media hub.
Also, be sure to program your FLIRC using the pairing GUI they provide for the remote control that you plan to use, because you can't easily remove the device from the piCentr enclosure once it's assembled.
The Electronics
1. Raspberry Pi 2
2.a Western Digital pidrive kit (HDD and cable adapter) or
2.b Sabrant USB 2.0 to SATA/IDE Hard Drive converter with power supply and the 2.5” HDD of your choice.
3. FLIRC USB remote control device
4. A remote control that you have programmed to work with your FLIRC.
The Cables (each about 12″ long)
1. 1x HDMI to panel mount HDMI cable with mounting screws
2. 1x USB type A to panel mount USB cable with mounting screws
3. 1x USB type A to female USB cable (extender)
4. 1x Ethernet to panel mount ethernet cable with mounting screws
The Hardware
1. piCentr laser-cut enclosure (6 pieces)
2. 40mm x 40mm x 10mm 5V DC fan
3. Panel mount momentary switch (e.g. C&K 8125 with J81 snap-in frame)
4. piCubed internal chassis (3D printed)
5.a pidrive power cable panel mount adapter (3D printed) or
5.b Sabrant power cable panel mount adapter (3D printed)
The Fasteners
1. 17x M3x14mm screws
2. 17x M3 hex nuts
3. 4x M3x8mm screws
4. 4x M2.5x12mm screws (M2 screws will also work)
5. 4x M2.5 hex nuts
6. 2x mini zip ties (4”)
For more detail: Building a piCentr home media center