
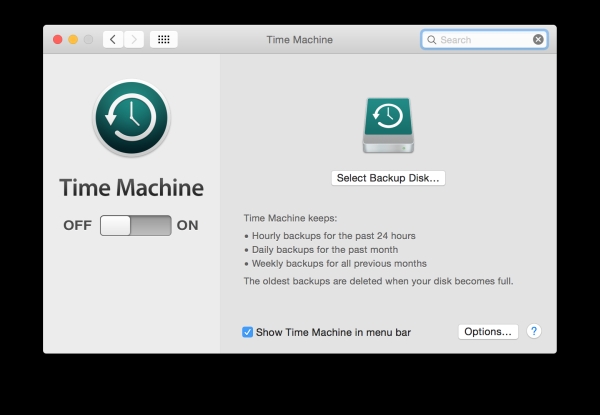
TimeMachine is the way to backup your data on Mac systems. The backup and restore procedure work nicely out of the box with very little hassle involved. I used to backup my data on a local USB disk for some years. However, backups to a USB disk require you to connect the disk, otherwise no backups will be performed.
 Apple will sell you the Airport Time Capsulate, which allows for remote backups. But it is also possible to configure your Raspberry Pi to offer remote backup capabilities for the TimeMachine. Turning your Raspberry into a backup target for the TimeMachine is as simple as installing an AFP server on it. In this blog post, I'll walk through the process of configuring your raspberry to be a remote target for TimeMachine backups.
Prerequisites
You need the following things to get started:
- Raspberry Pi
- SD card
- storage device for the backups, e.g. a USB hard disk
- Raspbian OS image for the Pi
- network connection to your local network
Install Raspbian on the device and connect it to your network. There are many installation guides for installing the Raspbian image out there. Since I assume that you are using a Mac, you might want to have a look at this guide for information on how to install Raspbian to the SD card of your Raspberry Pi.
After connecting the device to your home network, you should be able to connect to your device via its assigned IP address. You should assign a static IP address to the device, or make sure that the device has a internal DNS name in your home network. If you have a FRITZ!Box in your home network, then this article can tell you how to setup this for your Raspberry.

The TimeCapsulate functionality requires that the Raspberry provides network shares over the AFP protocol.
The protocol is a proprietary file protocol that has been around on Mac systems for quite some time. There is a free open source implementation of the protocol which is provided by Netatalk. This server allows you to create a file server that can be used as a target for your TimeMachine backups.
There are a number of configurations that you need to adopt. First, choose a directory on your USB drive that you want to use as a TimeMachine target. In this example, we assume that you want to store your backups at
For more detail: Create a TimeMachine Backup Storage on the Raspberry Pi