
In my last instructable, I covered how to run a shift register using a Raspberry Pi, and kind of hinted that one thing you could do with it is run an HD44780 based display. That's what this instructable will cover. This instructable is also the third one in a series leading up to my long awaited and greatly anticipated Voiceberry Pi.
I'm happy to say that the next instructable in the series will be the Voiceberry Pi itself! Not much longer to wait.
Introduction
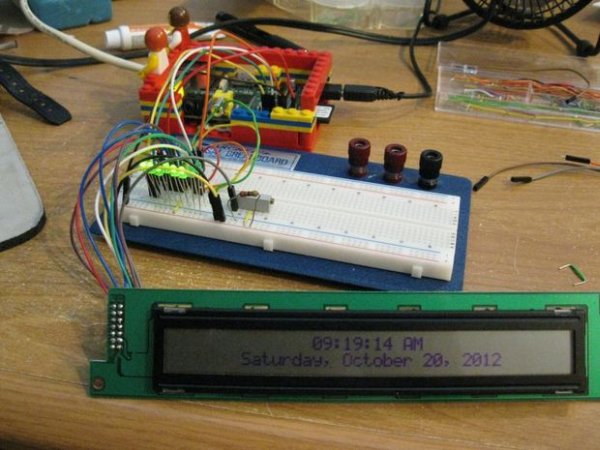
The HD44780 is a very common driver for LCD displays like the one shown below. Normally, the circuitry is built right into the display, and you just have to connect a ribbon or headers to your circuit. That's what I'll e covering here.
My display was purchased off eBay, and is a 40 character by 2 lines. It's a bit bulky, and has more characters than what I need for what I've got planned (that Voiceberry Pi again), but it's a great display otherwise.
One advantage of HD44780 driven displays is that there is a ton of information out there on how to use them, and even a good amount of information on how to use them with the Raspberry Pi. Because of this, I won't go into too much detail on how to run the display from the Raspberry Pi, but instead I'm going to focus using the shift register to drive the display.
Two great sources of information on using the HD44780 are this blog entry, and this geocities website, which actually has an HD44780 simulator. That simulator really lets you get a handle on the various commands, and how to give them. It's kind of awesome.
Step 1: Planning Connecting the display
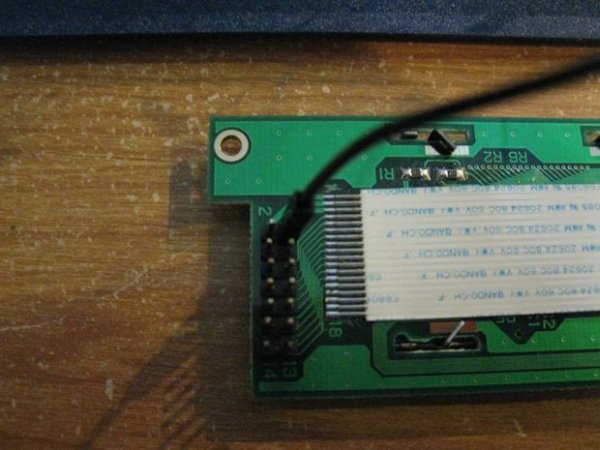
The first step is to setup the shift register, which is already covered in my previous instructable. Once that is setup, the data pins, clock and data/command pin will be hooked up to the first six bits of the shift register. But I'm getting ahead of myself. Let me start with the pinout of the display:
1: Ground
2: Vcc (+5V)
3: Contrast
4: Register Select (RS). Used to select data (HIGH) or command (LOW)
5: Read/Write (R/W). Write (LOW) Read (HIGH)
6: Enable (kind of like a clock pin)
7: Data 0
8: Data 1
9: Data 2
10: Data 3
11: Data 4
12: Data 5
13: Data 6
14: Data 7
Data 0-3 (pins 7-10) aren't used in 4 bit mode, which is what we'll be running. I use 4 bit mode for two reasons. First, I can't run 8 bit mode, and control the RS and Enable pins off the shift register at the same time. 10 pins needed, 8 pins available. I could run a second shift register, but that would be a waste of 6 pins (10 pins needed, 16 pins available). Second, the tutorial I first saw used 4 bit mode. Stick with what other people know, I guess.
A few notes about how the RW, contrast, RS and E pins work. The RW pin is a read/write pin, and allows you to read data from the display, or write data to the display. The Pi can't handle voltage coming back at the GPIO pins very well, so we want this pin to be stuck in the write mode. That means we'll tie it to ground. This will prevent the possibility of the data pins going HIGH on us, and causing problems with the Pi.
Contrast is controlled by going from the contrast pin to a potentiometer, then to ground.
Next, the RS pin, as already hinted at, tells the display if it is receiving data (characters to display) or commands (like “clear the display”). This pin will need to be able to be switched between HIGH and LOW, so it will be hooked up to one of the outputs of our shift register.
Finally, the E pin is what tells the display that the values presented on the data and RS pins is (are?) valid, and that the display should act on it. For this reason, this will be the last pin connected to our shift register. That way, when the data gets to the E pin, everything else will be setup.
Since the data pins need to be hooked up as well, it looks like the shift register will have outputs 1-6 hooked up as:
1: Data 0
2: Data 1
3: Data 2
4: Data 3
5: RS
6: E
For more detail: Driving an HD44780 Display using a Shift Register and a Raspberry Pi