
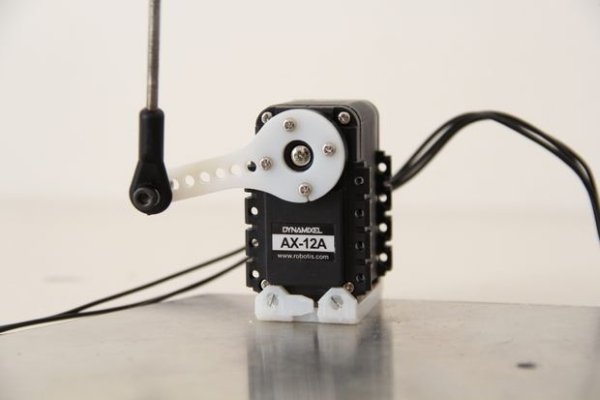
I decided to use some Dynamixel AX-12A motors for a project, and ended up having to code a library for them, so I figured I would share what I learned.
Despite being a bit more expensive, this motor has a couple of advantages over the more commonly found TowerPro motors.
Mainly, the Dynamixel motors are stronger, daisy-chainable, and have a robust control system with feedback that reports position, temperature, torque, etc.
Step 1: Manuals
There are two different manuals for the AX-12A motors online. This manual from 2006 is a little outdated: some of the spec values are outdated (operating voltage range, for example), and some of the initial values reported in the Control Table are not correct, but it goes into detail about how to send instructions to the motor and how to read its response.
This other manual has more accurate values for specs and initial conditions, but lacks some of the detailing of the communication protocol.
It was useful to have both of them.
Step 2: Other Resources
These were invaluable while learning about these motors:
Step 3: The Joy of UART Communication
Unlike other servos, the Dynamixel doesn’t respond to PWM signals, but a slightly more complicated protocol of instructions for reading and writing onto its memory. This communication happens over a half-duplex UART port, using only one wire for both sending and receiving.
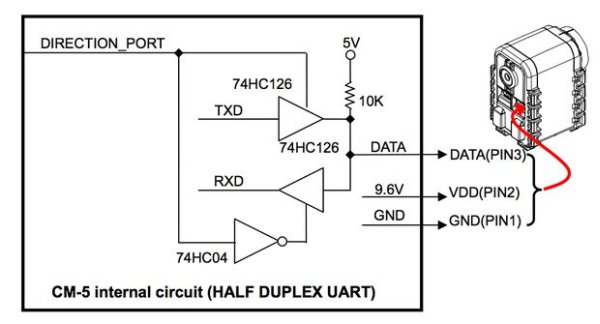
What this means is that we need to build a small circuit that converts full-duplex into half-duplex, if we want to use a Raspberry Pi or an Arduino (or another microcontroller with a full-duplex serial interface) to control these motors.
The AX-12 manual from 2006 recommends this circuit:
It’s basically a tri-state buffering scheme for arbitrating the bus; it makes sure that when the controller is transmitting, the bus isn’t connected to the Rx pin, and that when it’s expecting to receive, it’s not being driven by the Tx pin.
Instead of using a 74HC126 and a 74HC04, I used a 74LS241 (as recommended here), because it already has the built-in capability of enabling half of its buffers with a high signals, and the other half with a low signal.
The schematic for the circuit I ended up using, and a simple PCB design are up in 123D.circuits.
Step 4: Configure Raspberry Pi
From oppedijk blog:
Set configuration parameters in /boot/config.txt:
init_uart_clock=16000000
sudo stty -F /dev/ttyAMA0 1000000
Edit /boot/cmdline.txt and remove all options mentioning ttyAMA0.
Edit /etc/inittab and comment out any lines mentioning ttyAMA0, especially the getty one.
Reboot
UPDATE for Raspbian Jessy:
Follow this thread on SO for disabling tty terminal and getting control of ttyAMA.
Step 5: Libs and Libs
I first tested the circuit using an Arduino and the library found here.
But, because I eventually needed to connect my project to the internet, and keep track of its state between reboots, I decided to use a Raspberry Pi as the controller instead.
I started testing this library for controlling the motors, but then decide to re-write it to make it more object-oriented, and to have some of the same capabilities as the Arduino library.
The resulting AX-12A Python library for Raspberry Pi is on github.
Turns out the timing between sending a command and getting its response is pretty critical and sensitive.
Some amount of time was spent tweaking delay values to minimize the number of dropped commands, but I feel like there might still be some issues with this aspect of the library. I’m still not sure what causes some commands to never get to the motors (it might have something to do with the timing of the Rx/Tx direction signal), but for now I can decrease the number of missed commands by catching a timeout exception in the Python serial library, and resending the command.
Step 6: More Links
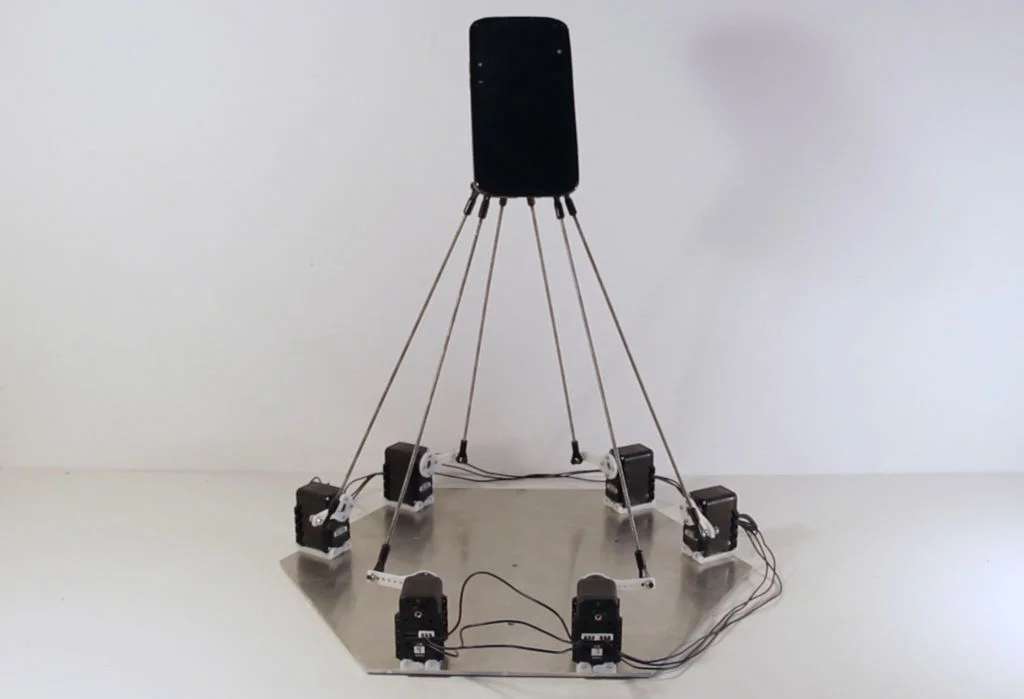
Some more information about the overall project, some relevantblogposts, and a list of references.
Source: How to drive Dynamixel AX-12A servos (with a RaspberryPi)