
First steps
Like many projects, this one began with Lego. To stop the breadboard sliding all over the place, I created a Lego housing for it and the Raspberry Pi that would keep them conveniently together.
My Raspberry Pi is in a PiBow case, which has the pin numbers on it. That was extremely helpful when connecting things up.
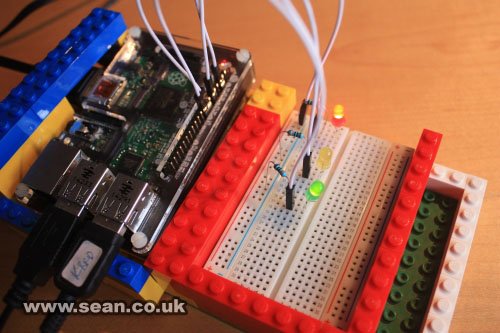
Photo of my Raspberry Pi and breadboard, joined together with Lego, also showing some of the CamJam EduKit components in place
Connecting up components
To connect up the components, I'll refer you to the CamJam Worksheets for detailed documentation. In particular, I recommend that you build the circuit from Worksheet 6 of Kit 1 (shown below), but I recommend reading the earlier sheets for some context along the way.
Note that:
- The resistors in the circuits with the the LEDs are 330 Ohm. If there are four colour bands, they will be Orange, Orange, Brown, and then Gold. If there are five bands, then the colours will be Orange, Orange, Black, Black, Brown.
- The resistor in the circuit with the button is 4.7 kOhm
- The long leg of the LED is the one shown with a kink in it in this diagram (the anode).
- The buzzer's long leg (positive) is shown in red here.
ScratchGPIO example 1: Torch
This simple example turns the Red LED on when you press the button down and turns it off when you release the button.
 The sensor value block is used to detect the button press. Broadcasts are used to turn pins on and off.
Note that the pins are numbered differently in ScratchGPIO to how they are numbered in the Python documentation. In Scratch, turn your Pi so the top is facing you and the GPIO pins are in the top right corner, and then count from left to right, top to bottom.
For more detail: Make a torch and burglar alarm in Scratch with the CamJam EduKit and ScratchGPIO