
Have you ever wanted to walk around the room with your laptop, not tethered to a projector, and still project?
This Instructable will show you how to make a Raspberry Pi powered Wireless Projector.
What You Need:
- Raspberry Pi Model B or B+ (I used a B)
- USB Keyboard & Mouse (Wired or Wireless)
- Ethernet Cable -OR- WiFi Dongle (I used an Ethernet cable)
- SD Card
- HDMI Cable – You may only have a VGA port on your projector, in this case you will need a HDMI to VGA adapter instead.
- Projector
- Internet Connection
- Laptop or Desktop Computer (Your presentation source)
Optional-
- USB Hub
For this project my Raspberry Pi is loaded with the default Raspbian image. You can use NOOBS to install it. You can download NOOBS here.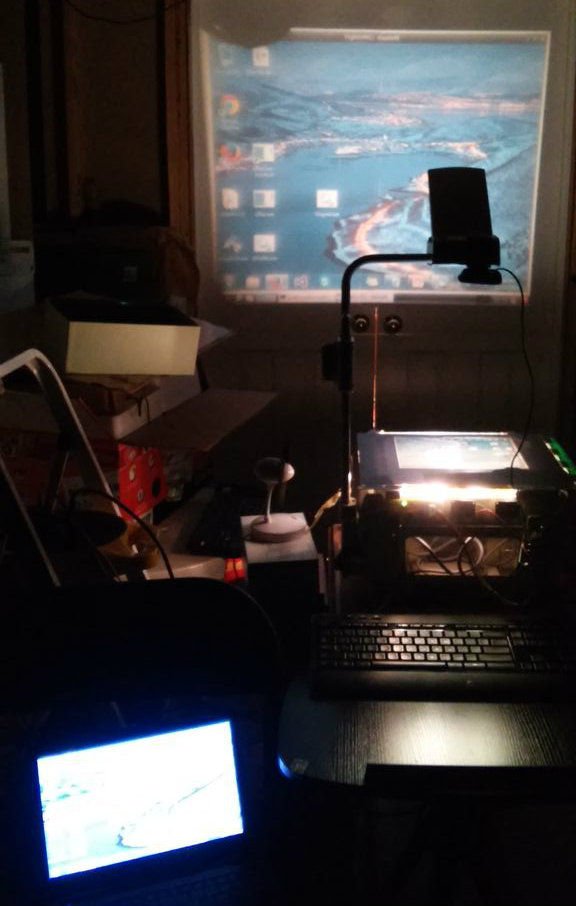
Step 1: Installing the Software
To prepare your Pi, you need to automatically boot into the desktop and install the VNC Viewer.
Autobooting into the desktop:
In a terminal type:
sudo raspi-config
Use the arrow keys on your keyboard to navigate.
Use the down arrow to select Enable Boot to Desktop/Scratch
Press Enter
Choose the second option to boot into the desktop.
Use the left and right arrow keys to select
then select Ok
Then press enter to reboot.
Installing the VNC Viewer
For this tutorial I am using VNC to view your computers screen.
In a terminal type:
sudo apt-get update
then
sudo apt-get install xtightvncviewer
press y to say “Yes i understand this will use space on my pi” then enter to confirm.
Installing the VNC Server on your PC:
I am using TightVNC for this tutorial. You can download TightVNC at http://www.tightvnc.com/download.php
Follow the installation instructions to install TightVNC.
Install the IP address scanner:
Go to http://www.advanced-ip-scanner.com/ and download Advanced IP Scanner. This software will scan your network for IP addresses. This tool is useful for VNC and SSH.
a. Select your language
b. Select the “Install” Option
c. Accept the license agreement, and click install.
d. Advanced IP Scanner is installing.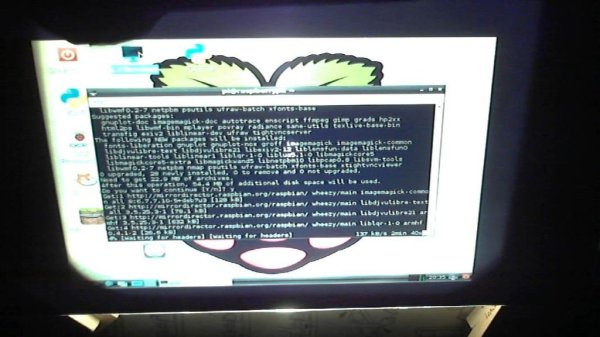
Step 2: Connecting to Your Computer
1. On your computer open Advanced IP Scanner
Start > All Programs > Advanced IP Scanner v2 > Advanced IP Scanner
2. Click the “Scan” button and wait for the scan to be finished. Look for your computer name, and then you will see your IP address.
3.On your Raspberry Pi, open a terminal and enter the command:
xtightvncviewer<br>
A dialog box will appear and ask you for your computers IP address. Enter it now. Then enter your VNC password. (It is the same one you used to setup your VNC software)
4. A window will appear showing your computers screen! Anything you do on your computer will show on your projector.
For more detail: Raspberry Pi – Wireless Projector