
Introduction
I was looking for a cool way to use the features of the Adafruit GPS module for a practical purpose, and Tony DiCola's Arduino GPS Clock inspired me to create a GPS controlled atomic clock, with the addition of a weather station.
What we did
The first step is to wire up the Adafruit GPS Breakout Shield to the Arduino Uno. I thought initially about connecting the shield to the Arduino MKR1000 so I soldered pins onto the shield, but I realized that this small Arduino operates only on 3.3V, but the shield uses 5V. If you solder stacking headers onto the shield, it will fit right on top of the Uno.
Connect the RGB 16×2 Character LCD Display to the Uno according to the diagram below, and you can display information from the GPS, such as time, date, longitude, latitude, and altitude.
The temp/humidity sensor is soldered onto the PCB: it simply requires a couple of jumper wires for 5V and Ground, and one wire to connect to Arduino's Digital I/O pin.
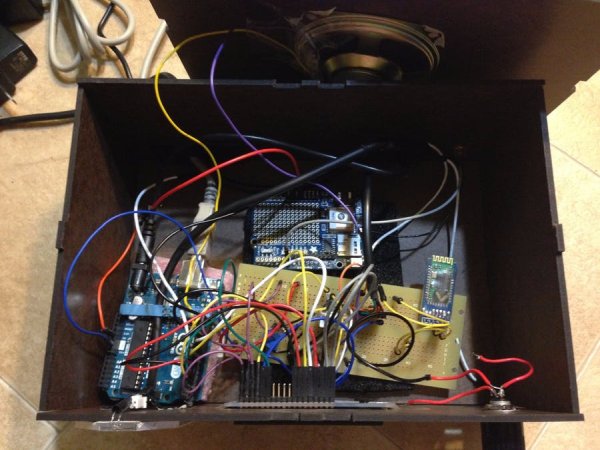
I wanted to add a wireless component to the station, so instead of physical buttons to switch modes I could use my smartphone to display different information. I first tried this using a Bluetooth module but had no success in getting Arduino to receive the commands I sent. Then I decided to connect a Raspberry Pi 2 to the Arduino and use serial communication to send a simple command from my phone to the Uno. I set up the Raspberry Pi with WiFi capability though the WiPi USB dongle. Although Bluetooth was unsuccessful, I was glad to have the Raspberry Pi. The Pi is easily controlled with a smartphone app, its WiFi capability allows me to access the Internet, and the addition of Python programs allows me to expand this project.
On the IPhone I downloaded the SSH Control App, which allows you to connect wirelessly to the Raspberry Pi and send terminal commands through buttons and switches. With just a swipe of a slider switch you can start a Python program, then tap a button to send a character through the Pi to the Arduino, which will receive the command and change the mode on the LCD display.
Read More: Smartphone Controlled Atomic Weather Station