
Step 1: What You need
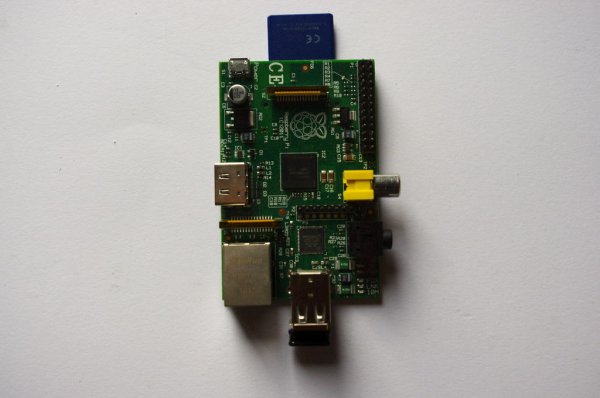
A raspberry pi
A solar panel (with built in charger controller or a Solar Charging Regulator)
A car power socket
A usb car power adapter
A battery
and some wire
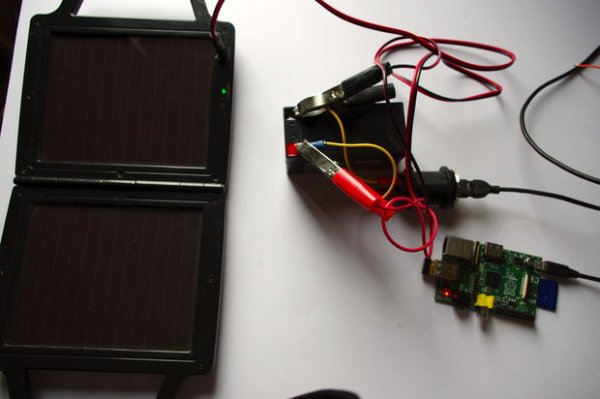
Step 2: Connecting the Battery
First off we need to connect the wire to car power adapter then to the battery.
The battery is a 12V 1.3 ampHour battery The length of time the battery last very much depends on what you are doing with.
But here is quick calculation
If the raspberry pi uses 3 watts a hour then a 12v battery at 1.3 amp hours gives 15.6 watt hours
So 15.6 divide by 3 gives you 5.3 hours.
So the battery should last about 5 hours
If you want it to last long get a bigger batter or wire two up in parallel
Step 3: Connecting USB
Next we need to plug in the usb power adapter.
I know it possible to make a power adapter from a 12v Battery to USB connection however this way is easier and almost as cheap.
If you would like to make your own adapter search on instructables
Step 4: Connect the Solar panel
Connect the solar panel to the battery and point it at the sun.
And now all thats left to do is power up the pi
For More detail: Solar Powered Raspberry Pi