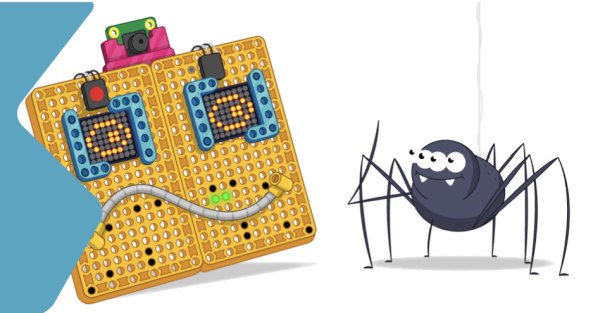
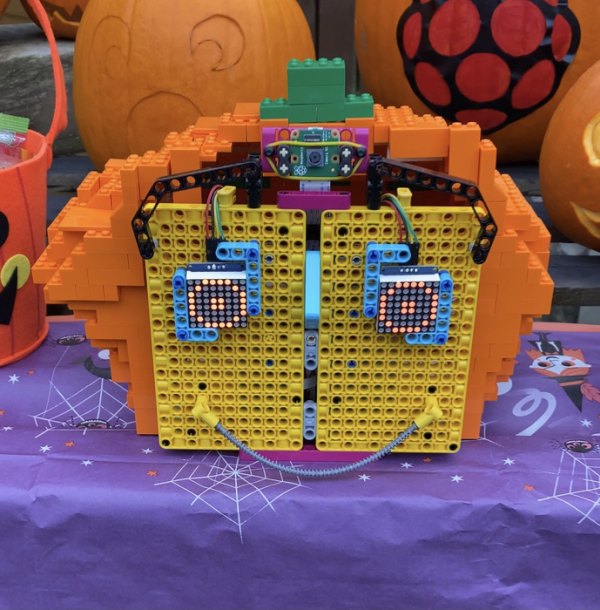
I built a LEGO® Robot Pumpkin, using a Raspberry Pi and the new Build HAT that allows you to control the LEGO® Education kits. Raspberry Pi has a great tutorial for the face and you can then use an existing machine learning model to help your face recognize different objects and react to them. However I wanted my pumpkin to be used in some elaborate Halloween pranks, so I trained my own machine learning model (something I had never done before) and then rigged up some pumpkins surprised to be activated by different friends.
Supplies
To make the robot face:
- A Raspberry Pi computer
- A Raspberry Pi Build HAT
- A Raspberry Pi Camera Module
- A 30cm Raspberry Pi camera ribbon cable
- 2× Small LEGO® Technic™ motors
- 1× Large LEGO® Technic™ motor
- 1× Mini breadboard
- 12× Male-to-female jumper wires (20cm)
- 2× Adafruit 8×8 LED matrices (or similar — requires some soldering to assemble and modify)
- Extra-long stacking header pins
- Assortment of LEGO® (a selection from the LEGO® SPIKE™ Prime kit)
- 20mm F-M header extender.
- Soldering kit
Step 1: Making the Robot Face

Firstly, I set about making the robot face. Raspberry Pi has a great tutorial on this HERE. The LEGO® Spike kits are great for educators and you can do lots of different projects with them. I originally set up my robot face exactly as it is in the tutorial before starting to play and modify the code. I wanted to make sure that all the basics worked. This build guide was super useful and follows the style of LEGO instructions we know and love,
Step 2: The Lego Pumpkin

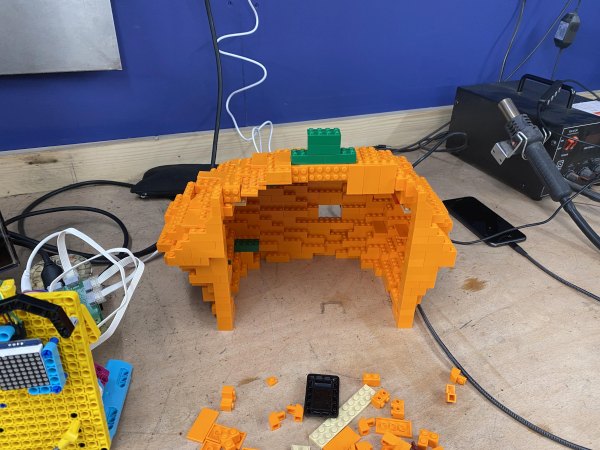
I am a lego addict, so I already had a lot of orange bricks. I used a mix of bricks, plates, and connectors to make my pumpkin. It took a few attempts to make it the right shape to fit the face. I didn't want to glue any of it in place but if you wanted to make it a regular feature then I would.
Here are some useful resources I used to build the pumpkin:
I wanted to go for a natural pumpkin look with bumps in it, not too uniformed, as it would sit alongside my other carved pumpkins.
Step 3: Checking It All Works
Once the face and pumpkin body were combined it was time to start messing with the code. Firstly I had a go at seeing what the existing machine learning model would recognize and changed the code to be more ‘Halloween' objects- spiders, snakes, and pumpkins. Once I was happy that all the code worked with the existing machine learning model I set about training my own.
Step 4: Training My Pumpkin

I wanted to make my own machine learning model, and having never done anything like this before, I decided to go with Teachable Machines- even kids can use it! I trained my model using pictures of my friend's faces. I had planned on using the raspberry pi and camera but this had a few more steps. Using my Macbook was super easy and very pug and play- so I used that. The website takes you threw each stage.
After training the model you can check it works- it has a handy read-out that tells you the output. Then it was time to export it. You want to choose the ‘Tensorflow Lite' option and then click ‘Floating Point'. It should download as a zip file containing a ‘labels.txt' file and a ‘model_unquant.tflite'.
I then added both files to the folder which I was running my code from. I then renamed the existing ‘model. tflite' file to ‘model1.tflite' and the original ‘labels.txt' file to ‘label1.txt'.
I then renamed the ‘model_unquant.tflite' to ‘model. tflite' and started running the code in Thonny.
hint- I let it run for a while to check it recognized everyone then I edited the code.
I had to edit line 33 around the reactions
reactions = {"broccoli":"neutral","teapot":"neutral","snake":"angry","hotdog":"happy"}
Substituting the new names.
I then ran the program and checked it worked.
Step 5: Set Off Some Pranks!
I then set about adding in my pranks. These were set off with relays attached to the Raspberry Pi pins. Although I am used to setting off relays with an Arduino I found this video useful and this Instructables article. Some of these ‘pranks' are quite dangerous to run without some experience so I will just leave some links to some of the videos that inspired me.
I used the method in this video to fire the slime
This video inspired the fire pumpkin
Here is where I saw the exploding Pumpkins
Source: A LEGO® Robot Pumpkin


