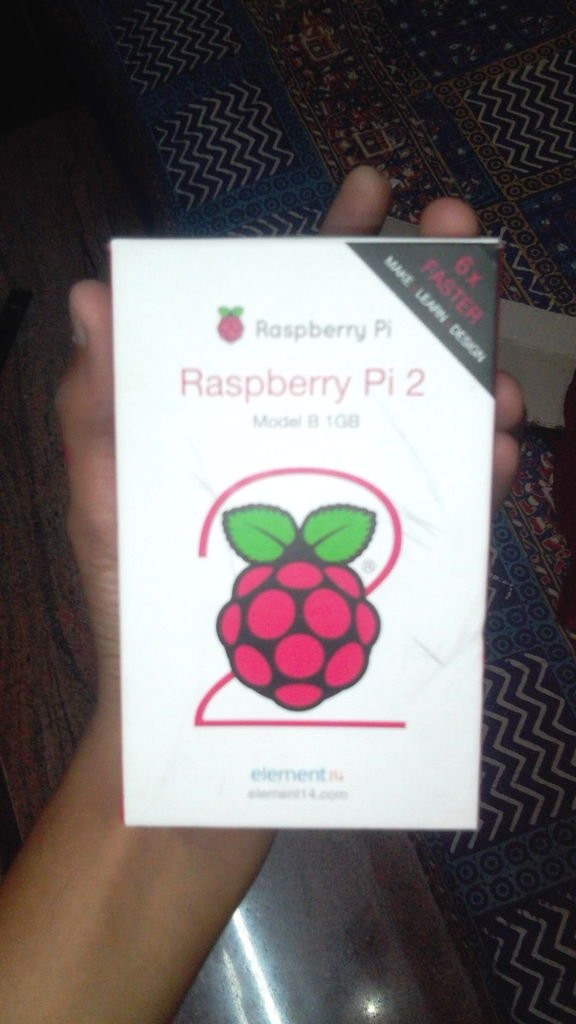
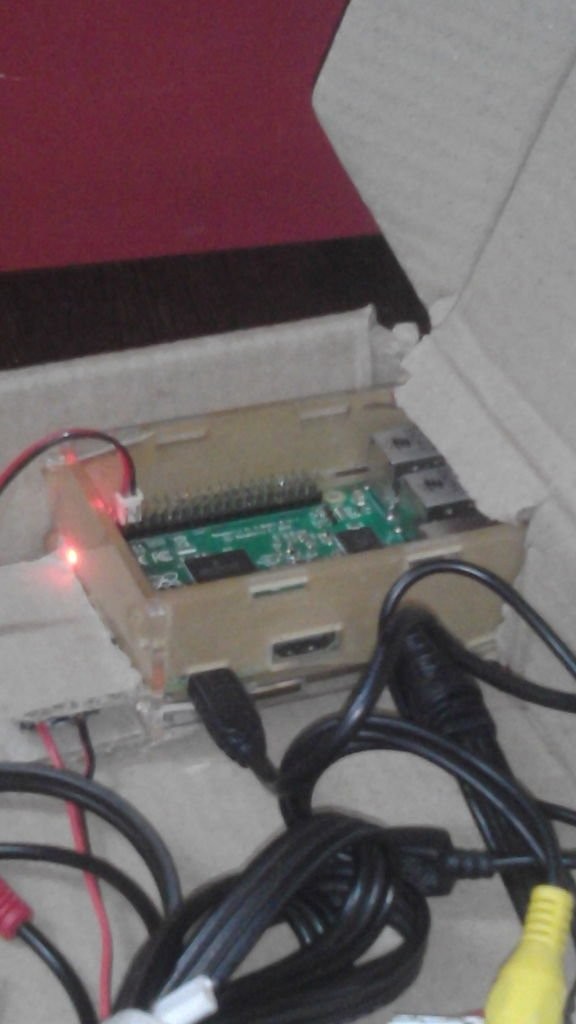
This is a step by step guide on how to make a Raspberry Pi laptop by yourself!
Step 1: Intro.
And I started building.
Step 2: So, the parts.
The parts were all from eBay. As I'm from India, shipping was pretty fast.. the monitor etc.. came from Shanghai, I got within 3 days with express shipping.
1. Car Backup Monitor 4.3″
2. Raspberry Pi 2
3. Chisel F2 Mini keyboard with touchpad
4. An 3.5mm to 3RCA connection cable
5. A 5V 2.1A Power Supply
6. A LM2596 dc-dc boost converter.
7. An old keyboard box
8. Some M2.5 nuts and screws
9. A good case for the Pi with mounting holes
10. Lots of patience
11. A weekend of spare time.
LETS GET STARTED!
Step 3: Firstly, format your SD card before going any further.
Then, considering you use a straight away Raspbian image, locate the .IMG file and burn it to the SD card.
Step 4: The case..
Choose a good strong case.
Step 5: Mount the Pi
Mount the Pi into the keyboard box using the 2.5mm screws.
Step 6: Monitor power…
Add the boost converter to the mix. Connect a 5v source to input, and a multi meter to the out. Adjust the screw near the blue component till you reach 12v at atleast 300-400milli amps.
Now, add a 2.1mm barrel connection (male) to the output. The jack is a included component with the monitor. Connect the inputs to the pin no. 4 and 6. Take care. I'm not mentioning gpio no. One wrong connected wire will fry both the display and the Pi.
Step 7: Video source..
Step 8: Audio..
For audio. Just use a 2 RCa to 3.5mm female port. I prefer to go diy.
Step 9: Connect the keyboard, mount the display, and you're good to go!
As above, never try to reverse ground and power.
For more detail: A Raspberry Pi 2 laptop!


