
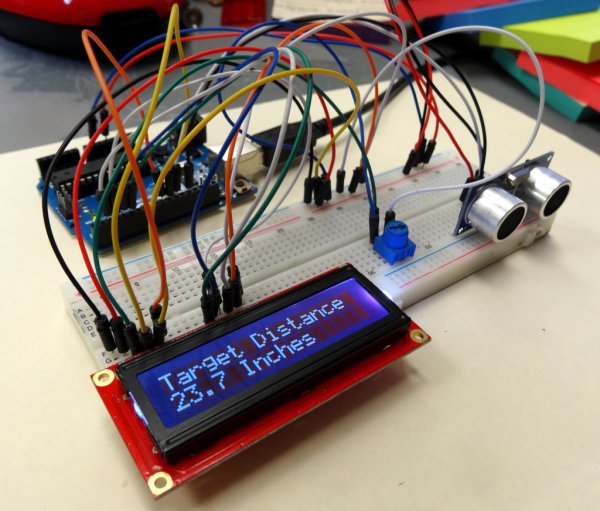
In LESSON 18 you learned how to use an ultrasonic sensor to measure distance, and in LESSON 19 you learned how to connect an LCD to the arduino. In this lesson we will combine what you have learned to create a circuit for measuring distance, and displaying results on an LCD display. 
You can use the schematic below to connect the circuit. If you did LESSON 19, you should already have the LCD hooked up. For more info on connecting to the LCD, and how it works, review LESSON 19. This schematic is for the LCD in the Sparkfun Inventor Kit, or similar LCD. If you have a different LCD, you will have to determine the proper connections. There are some helps in LESSON 19. If you need the ultrasonic sensor, you can pick one up HERE. – See more at: http://www.toptechboy.com/arduino/lesson-20-arduino-lcd-project-for-measuring-distance-with-ultrasonic-sensor/#sthash.wwUtjWmS.dpuf
Be very careful connecting the circuit. Check your work, and it helps to work with a Buddy. Have one person looking at the schematic, and one looking at the circuit. Sometimes it is easier to get it right working in pairs.
Now the objective of this project is to measure distance using the ultrasonic sensor, and then display that value on the LCD display. You should have the skills you need from the earlier lessons. Try and do this project on your own, but if you get stuck, you can look at my code below. As always, don’t copy and paste my code, but it should be used as a guide to help you write yours if you get stuck.
For more detail: Arduino LCD Project for Measuring Distance with Ultrasonic Sensor