
The following things are required to build this project.
1. Arduino Uno or any other compatible board. I am using Crowduino Uno SD board for this project.
2. Easy Pulse Plugin : A pulse sensor based on Photoplethysmography principle. It directly plugs on to the left-side headers of Arduino Uno.
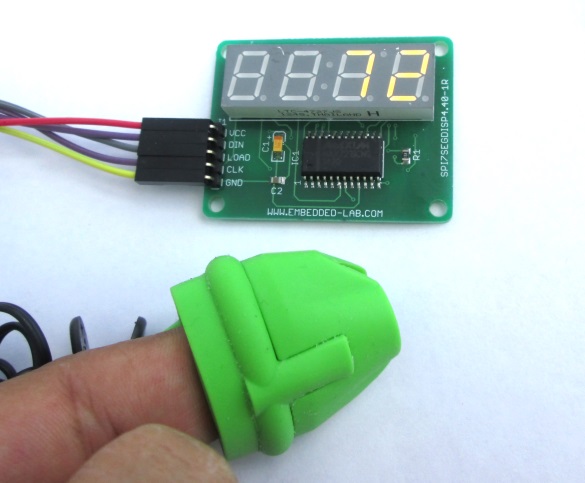
3. 4-digit serial seven segment display: It is a MAX7219 based serial segment LED display that is easy to interface with Arduino using only 3 I/O pins.
4. Few male-to-female jumper cables.
– See more at: http://embedded-lab.com/blog/arduino-heart-rate-meter-seven-segment-led-display/#more-10253
Connecting things
The hardware setup of this project is pretty simple and straightforward. Here are the instructions to be followed for setting up the connections between Arduino, Easy Pulse Plugin, and the display.
- On Easy Pulse Plugin module, place the 2-pin shunt jumpers JP1 and JP2 to 5V and A0 positions, respectively. This configuration will allow the module to use the 5V power supply from the Arduino Uno board and connect the pulse output signal to the Arduino’s A0 ADC channel, when it is plugged in to the Arduino Uno board.
- Insert the fingertip pulse sensor jack to the 3.5mm stereo socket on the Easy Pulse Plugin board. Make sure it is inserted well as shown in the picture below. Then plugin the sensor module on to the left headers of the Arduino Uno board such that the A0 and A1 pins of the sensor module go into the A0 and A1 analog pins of the Arduino.
– See more at: http://embedded-lab.com/blog/arduino-heart-rate-meter-seven-segment-led-display/#more-10253