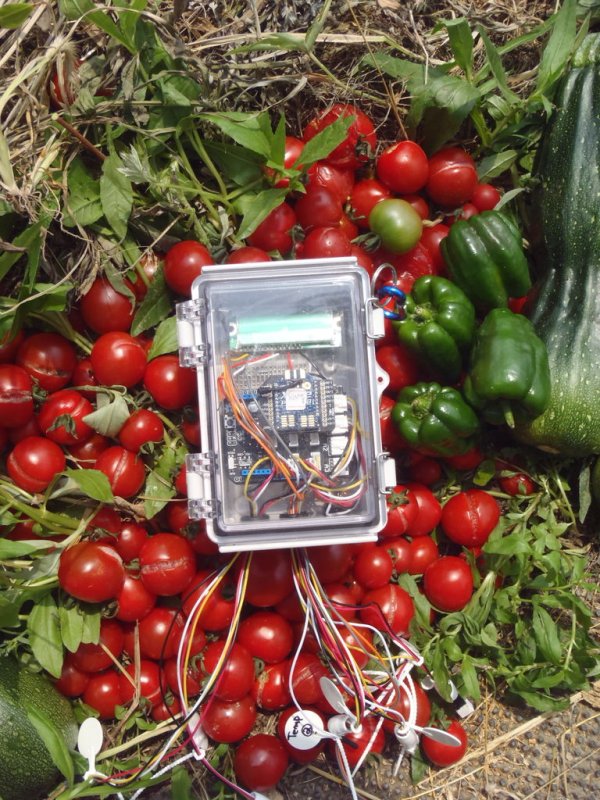
Welcome! rSense “Makashitakun” is the automated vegetable cultivation system which is built up with Arduino and Raspberry Pi. Arduino is used for collecting sensors data and handling actuators. Raspberry Pi is used for controller which manage all Arduino units to work properly and hooked up to the internet in order to manage from anywhere in the world. Both units are connected via Xbee module. I have upped and been running “Makashitakun” for indoor vegetable farm to manage watering and temperature control. It runs great, I can check current status, change threshold value, start/stop actuator forcefully from home or even while traveling. You get the idea? Have fun!
Step 1: Materials (Units)
Sensor Unit:
- Arduino UNO. (or arduino compatible board)
- Grove base shield.
- Xbee module. (any type would be fine)
- Xbee shield.
- Cables.
- Terminal connector.
- Power supply unit.
Controller Unit
- Raspberry Pi. (any type would be fine)
- Xbee module. (any type would be fine)
- Xbee explore.
- USB cable. (to connect Xbee explore to Raspberry Pi)
- WiFi module. (if you plan to use ethernet, don't need this)
- Power supply unit.
Step 2: Materials (Sensors and Actuators)
Sensors
- DHT Temperature and Humidity sensor.
- Soil moisture sensor. (used this site as reference)
- Light sensor. (option)
Relays
- 2c x 2 (24V), 1a x 1 (100/200V)
Actuators
- Solenoid valve (AC100/200V) / for automated watering.
- Motor (DC24V) / for automated ventilating. (to open and close side cover)
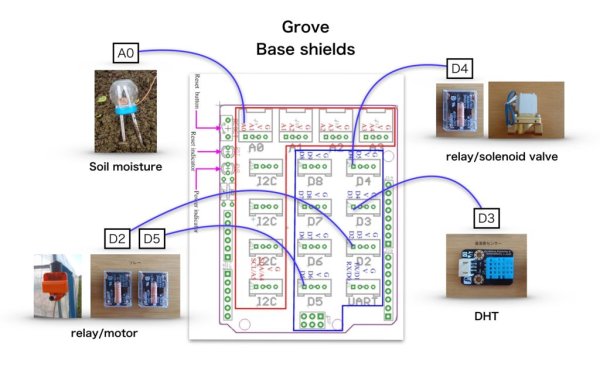
Step 3: Wiring Instruction and Coding
OK, finally, download the code from here


