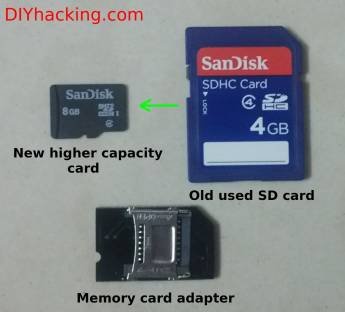
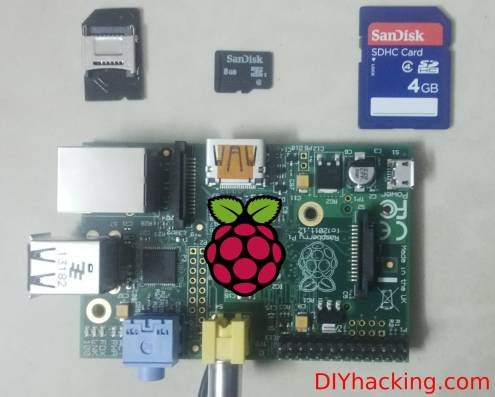
For all those who have worked on a raspberry pi, you might have experienced the frustration associated with having a corrupted SD card. Especially, when all the work you have done is stored in it. But, it doesn’t have to be that way. Using a couple of really simple commands in Linux , you will be easily able to backup your Raspberry Pi SD card. And, when required, to restore the raspberry pi backup on to a new SD card.
The process is really simple and straight forward. Once you have restored the image of your raspberry pi backup to your new SD card, you will be able to just plug it in and use it like your old system. This post also covers general dilemmas such as: how to backup a raspberry pi SD card having multiple partitions and also the solution to the infamous dd command error: “dd: writing to `/dev/sdc’: Input/output error”. It also addresses the problem of not being able to use your full memory capacity of your raspberry pi SD card after restoring an image file onto it. So, use this DIY Hacking tutorial to safeguard all your precious work on a raspberry pi. Get started with this Raspberry Pi Backup tutorial!
What are the stuff required to do this ?
- Raspberry Pi model B or Raspberry pi 2 with memory card preloaded with an OS.
- A new SD card having a memory capacity equal to or greater than the SD card you would like to backup.
- A linux pc with a memory card reader.
How does it work?
Here, we are using simple dd commands to create an image (.img) of the SD card we want to backup. This image can then be zipped and stored in your pc for future. While restoring the raspberry pi backup , you again use the dd command in the reverse order and prepare the new SD card. However, please note that restoration of an .img file can only be done on to a memory card having equal or greater memory capacity than the original backed up SD card. Take extra precaution while performing the dd command , as it can cause you to corrupt your hard disk if you enter improper destination or source addresses in it.

Step 1 : Backing up your SD card
First of all, insert your raspberry pi SD card into the memory card reader / slot of your PC. Next, use the dd command to create an image file of the SD card. To correctly identify your card, perform “df -h” before and after inserting the SD card and observe the new paths . These, new paths represent your SD card. You might notice that you have more than one partition for the memory card, for example: when you perform “df -h” , it might list your SD card as /dev/sdc1 and /dev/sdc2. In this case, use just “/dev/sdc” while performing the dd command, to include both partitions. Like so :
For more detail: How to Backup Your Raspberry Pi Project Files!


