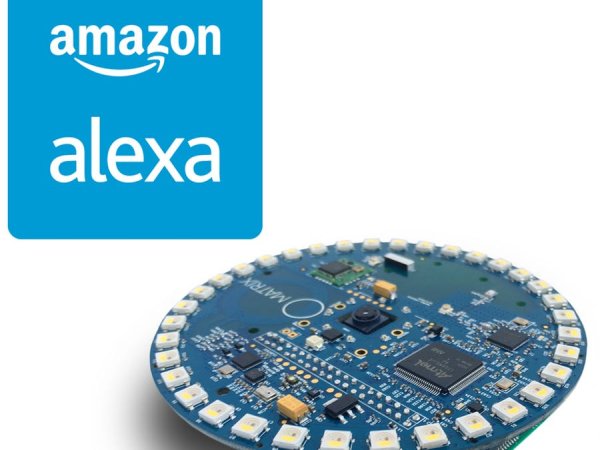
This tutorial will help you build your own Amazon's Alexa using a Raspberry Pi and MATRIX Creator, the first Microphone Array add-on for Raspberry Pi.
We will use Alexa Voice Services (AVS), it is the service used by Amazon Echo that allows us to accomplish many of the challenging tasks in this project.
Step 3: Setting up the Software (This is from GitHub Quickstart)
Welcome to the MATRIX Creator! To enjoy your new board you’ll need to set it up. First, you need to have Raspbian installed on your Raspberry Pi. If you don’t have it, you can download it and follow the instructions.
Then you need to install the software that will allow you to program the MATRIX Creator. To do it, you need to configure APT. The following steps should do it:
echo"deb http:packages.matrix.one/matrix-creator/ ./" | sudo tee --append /etc/apt/sources.list
Now reboot the Raspberry Pi. After rebooting, the FPGA and SAM3 MCU will be programmed automatically. That is, after every reboot the FPGA will have the default firmware.
If you wish, you can also learn more about other features of MATRIX Creator on GithubQuestions? Post them on raspberrypi.stackexchange.com! Use the tag #matrix-creator.
I am an experienced technical writer holding a Master's degree in computer science from BZU Multan, Pakistan University. With a background spanning various industries, particularly in home automation and engineering, I have honed my skills in crafting clear and concise content. Proficient in leveraging infographics and diagrams, I strive to simplify complex concepts for readers. My strength lies in thorough research and presenting information in a structured and logical format.
This website uses cookies to improve your experience. We'll assume you're ok with this, but you can opt out if you wish.ACCEPTCheck Privacy Policy
Manage consent
Privacy Overview
This website uses cookies to improve your experience while you navigate through the website. Out of these, the cookies that are categorized as necessary are stored on your browser as they are essential for the working of basic functionalities of the website. We also use third-party cookies that help us analyze and understand how you use this website. These cookies will be stored in your browser only with your consent. You also have the option to opt-out of these cookies. But opting out of some of these cookies may affect your browsing experience.
Necessary cookies are absolutely essential for the website to function properly. This category only includes cookies that ensures basic functionalities and security features of the website. These cookies do not store any personal information.
Any cookies that may not be particularly necessary for the website to function and is used specifically to collect user personal data via analytics, ads, other embedded contents are termed as non-necessary cookies. It is mandatory to procure user consent prior to running these cookies on your website.