I wrote a few articles previously about setting up a home server using an off the shelf NAS. The brand doesn’t really matter: they are all packed with features that help you move your files from the cloud back into your network and give you access to apps and services that cover what the cloud does for you today.
Having an off the shelf NAS is very good because it requires very little setup and upgrades the home network to a very powerful private cloud, accesible from all over the world if needed. The main issue I have with it though? The price. The NAS I bought a while back was 250 USD which is a lot. But wait, there’s more: you also need to buy the two disk drives that you will use with the NAS. Two is the bare minimum. There are NAS units with four drives, eight and even more. And these drives are not cheap either. I bought two general usage HDDs, at 5400 rpms: typical drives you would find in an old computer. I tried not to get fancy with NAS certified HDDs because I was after all setting up a home network serving only three users. But even so, the HDDs added another 300 USD to the total price. 550 USD for a home server. With a lot of useful features and very easy to set up, granted. But after a few years, I started thinking about a different plan.
You see, that off the shelf NAS is just a simple server with a custom operating system that makes life easy for the user. So technically there is nothing preventing us from building our own server with our operating system of choice and configure it to closely match the required features of a NAS. This also means we can give our server only the features we will use, making for an all around lighter setup.
Setup and costs
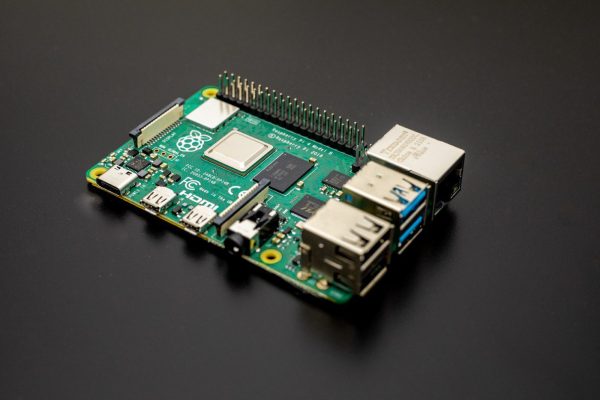
So what do we choose? Well I went with a Raspberry PI 4 model B of course, with 4GB of RAM. Now, after using this board for a few years, I have some comments on it and some expectation for a future Raspberry PI 5. But make no mistake, as a home server the PI shines like the sun. Like a few suns all together. The best part? It costs 68 USD.
You will need a case for it because the Raspberry PI is just the board itself. I recommend a cooling case because the PI can get quite hot and it will degrade its performance to cool down. The case I chose was the Geekworm Armor Case. The PI temperature dropped quite a lot and stayed that way. Exactly what I was looking for. The case is 14 USD.
And finally, you will need the actual disk. Initially I used an external HDD that I had bought earlier and was just sitting around for nothing. But in the end I switched to a Samsung T7 1TB external SSD. I highly recommend the SSD. The speed increase of all operations was ridiculous. This one was 180 USD. So the whole setup costed around 262 USD. Basically for the price of the off the shelf NAS without the drives you can buy a whole server, SSD included. And I wasn’t even looking for sales and cheapest prices.
Physical size and sound consideration
There is another argument in favor of the Raspberry PI server. Have you seen its size? And also, have you seen the size of a portable SSD? They are both like little toys that can fit in a small basket on a shelf. That’s actually how I store them: in a small straw basket, on a shelf. Nobody knows they are there. They don’t make a sound and they operate with very little power.
Not so with the off the shelf NAS. Like I said in a previous article, I went with a Synology DS218. Excellent choice for features and everything. But the thing was quite big. Not tower PC big, smaller than a mini ITX computer case, but still big enough to make you notice it. It’s bigger than a wireless router. Bigger than the bigger wireless routers. It’s quite heavy too. Not easy to put around. And the noise. Sure, I used HDDs but boy did they enjoy making themselves noticed. Even the portable HDD I used for a while with my Raspberry PI was quieter. Maybe because they were two and that every operation would happen on both of them made them particularly noisy.
As for power, the NAS took quite more than the Raspberry PI but the comparison is not really fair. The Raspberry PI had just one drive and the NAS two. Also the NAS had a fan while the Raspberry PI was passively cooled by the heat dissipating case.
The operating system
The Raspberry PI has an ARM processor so you will need an operating system built for that. Initially I used Ubuntu Server, a Linux distribution specifically tailored for servers. And it’s quite good. Everything worked fine, you have a lot of software you can install (and we’ll discuss about software later) and it is very light. It barely uses any CPU and RAM when doing nothing.
Later I learned about Fedora Server, another Linux distribution made for servers. But this one has a few interesting features that many will enjoy. First it has Cockpit, a web management dashboard installed by default. Yes, you can install it on Ubuntu Server too but Fedora Server has it out of the box which is less headaches for you. Cockpit is brilliant and I will talk about it more in a future article.
The operating system has to be flashed to a mini SD card and then inserted in the Raspberry PI mini SD card port. Then you just plug the PI to a power source (I use a USB-C phone charger) and you are done. It will boot from the mini SD card and run Linux. The Raspberry PI also provides a mini HDMI port for a screen and some USB ports for peripherals. You should use them for the initial boot. Fedora Server has an initial setup procedure so the first time you boot it up it will ask you to create a user, set the time zone and other small configuration steps. Ubuntu just boots up to the login screen. Mind you, everything is in text mode, there is no graphical UI to keep the server running with little overhead.
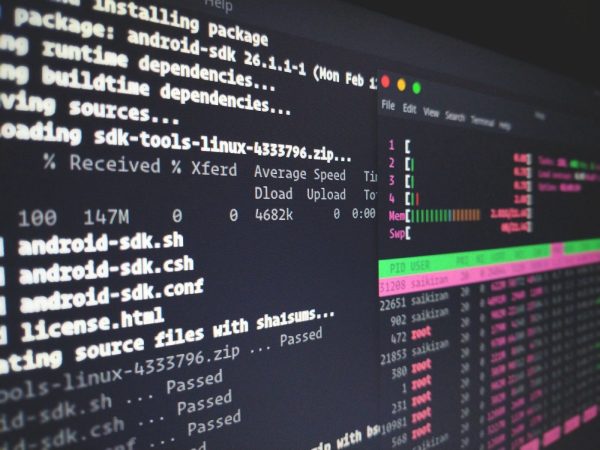
After the initial configuration you can unplug the screen and peripherals because you will access the Raspberry PI just like you would access a NAS: using ssh in a terminal. We will talk in the next article how to configure your new home server and how to setup your external SSD and then about enabling more services for your home network (like media server and other useful stuff).


