The C-BISCUIT Series
- C-BISCUIT: A Robotics Platform for the Hacker and Hobbyist
- C-BISCUIT: Design Choices and Justification
- C-BISCUIT Power: 5V 3A Buck Regulator for Wandboard
- C-BISCUIT Power: Crowbar Protection Circuit for 5V Regulator
- C-BISCUIT: The Brains of the Operation
- C-BISCUIT Power: Assembly and Testing of Regulator and Crowbar Circuits
- C-BISCUIT: Monitoring Your Robot’s Health
- C-BISCUIT: Robot System Architecture
- C-BISCUIT: Schematic Design for the RCB—Microcontroller, Motor Controller
- C-BISCUIT: Schematic Design for the RCB—Power, Stepper
- C-BISCUIT: Layout and Assembly for the Robot Control Board
- C-BISCUIT: System Integration and Testing
Supporting Information
- StackExchange thread on how to successfully use the UART on the Raspberry Pi 3 (it’s not as simple as you might think)
Out with the Wand, In with the Pi
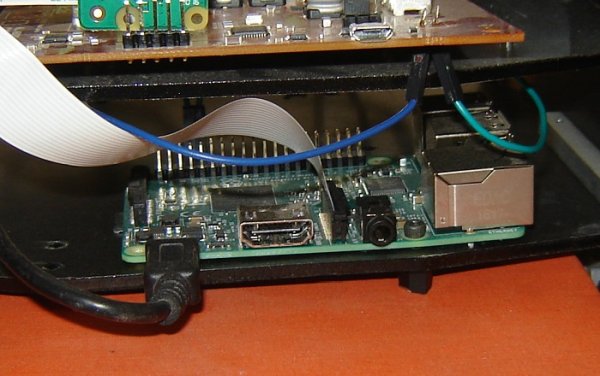
Electronics projects, like so many other things in life, don’t always work out the way we expect. This has definitely been the case with the C-BISCUIT demo bot, which has taken a few twists and turns on its way to becoming a functional system. And the biggest twist/turn of all happened at the end, when we decided to eliminate the Wandboard and replace it with a Raspberry Pi 3.
The dominant reason for this change was quite simple—the Wandboard had become an obstacle to our primary design goal, namely, transmitting live video from the robot to a computer via Wi-Fi. No one on the C-BISCUIT team knew exactly how to accomplish this after our initial attempt failed. It was one of those situations where we expected the third-party software environment to handle the details of the video transmission and, when it became clear that this was not exactly the case—well, let’s just say that the Wandboard quickly fell out of favor.
Fortunately, Patrick came up with the excellent idea of shelving the Wandboard and using a Raspberry Pi instead. This also meant using the Raspberry Pi Camera instead of the WandCam, because of course we cannot expect a Wandboard camera to seamlessly interface to a Raspberry Pi (and seamless is what we want here—maybe there’s some way to make a WandCam talk to a Pi, but we’d much rather pay another $30 for a camera that just works).
Read More: C-BISCUIT: System Integration and Testing


