Picture this:
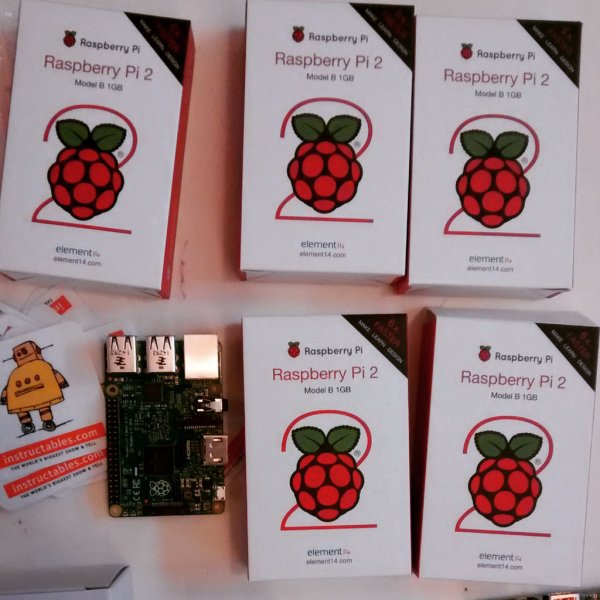
We are excited about hosting a Raspberry Pi build night at our maker space in San Francisco. We have keyboards ready, mouses, power adapters, SD cards loaded with operating systems, refreshments, and a room full of creative technical folk. But….uh-oh….we are 1 monitor short for our group. Shock horror!
Not to worry!
We can set up the Raspberry Pi to work remotely on a laptop, so that the laptop can be used as a monitor (and keyboard, and mouse) by setting up Virtual Network Computing (VNC).
This instructable is a step-by-step break down of how to set up a remote connection to the Raspberry Pi with a MAC. It is based on this guide from Raspberry Pi. In the Raspberry Pi tutorial, we found that there were a few things to add, and we changed some of the ordering, and added a bit more detail for people who are not familiar with the Command Line Interface (CLI). There are a few steps, but take it slow, and even if you've not used the command interface before, you should have all the info you need using this instructable.
You will need:
- Raspberry Pi
- MAC computer
- Monitor
- Keyboard
- Mouse
- Ethernet Cable
- Power adapter
- SD card / micro SD card
Step 1: What is VNC?
Virtual Network Computing (VNC) is a graphical desktop sharing system that remotely controls one computer from another (i.e. controlling the Raspberry Pi from your laptop). It transmits the keyboard and mouse events from your computer to the Raspberry Pi, and makes the screen updates back to your laptop over a network.
VNC was originally developed at the Olivetti & Oracle Research Lab in Cambridge, United Kingdom (my home town 🙂 ).
Step 2: Set up the Raspberry Pi
Before make steps to setting up VNC we need to get the Raspberry Pi set up.
Insert an SD card with the NOOBS operating system installed (NOOBS is an easy operating system installer which contains Raspbian. Download it here), and plug in your mouse, monitor, power, and keyboard into the Raspberry Pi.
There will be several warning window, just hit yes to the recommended option of installing Raspbian and then wait for the Pi to set-up.
Step 3: Configure Software
Once the Raspberry Pi has finished doing its thing. A configuration window will pop up. If (like us) you are using a non-GB keyboard you'll need to change the options. You also need to enable SSH (Secure Shell) at this point.
Keyboard:
Select option (4) Internationalization, and then select (11) to configure. Scroll down to en_US_UTF-8 UTF-8 make sure that you hit space bar and then enter so that this choice has an astrix next to it then hit enter, it might take a while to set this up.
SSH:
At this stage you'll also need to enable SSH !this is important!, to do this select option (8)
Select finish, then reboot.
Step 4: Log-in
Once the Raspberry Pi has rebooted a log-in window will appear. Log-in with your the default username and password (the default log-in for Raspbian is username: pi password: raspberry).
Step 5: Internet Sharing
Yay. You should now be up and running on your Pi with the monitor (not remotely yet…that is to come).
Make sure your Raspberry Pi is connected to your laptop using the Ethernet cable, and we need to change the sharing options in your laptop. Got to system preferences on your laptop. make sure that the internet sharing is selected and share connection from wifi to computers using Ethernet.
Step 6: VNC client download
As we are using a MAC, we needed to download a VNC client to the laptop. We used Chicken of the VNC. Download it onto your laptop here*, and after the download open up the Chicken of the VNC window.
Set-up
When in the Chicken of the VNC program on your laptop, you'll need to make a new connection. Click on the Connection tab and then New Connection, and a new window will open. In the window the host will be the default to “localhost”, change this to the Raspberry Pi's IP address.
IP address
You’ll need change the host to the Raspberry Pi’s IP address, but what is the IP Address? To find the IP address we went back to the Raspberry Pi, and opened the Command Line Interface (CLI), which in the Raspbian's case is refereed to as the LXTerminal, and is the icon that looks like a monitor.
Open the CLI, and after pi@raspberrypi~$
type:
hostname -I
then hit enter.
This will show your IP address, which will read something like 192.168.2.2 (8 numbers and 4 stops in total).
Now go back to the laptop, delete the word “localhost” and type the IP address of your Raspberry Pi in the host tab. Keep display = 0, and Password is your Pi's password, (note this will be truncated to 8 characters, i.e. raspberry will be raspberr)
Check Save Server, and click Connect
*whilst we were waiting for the download we entertained ourselves with this short interlude.
For more detail: Connect Remotely to the Raspberry Pi


