One of the great things about a Raspberry Pi is that it can fit in your shirt pocket, but out of the box if you want to use it you need to hook it to a keyboard, mouse, bulky monitor, etc… nearly defeating the Pi's greatest attribute.
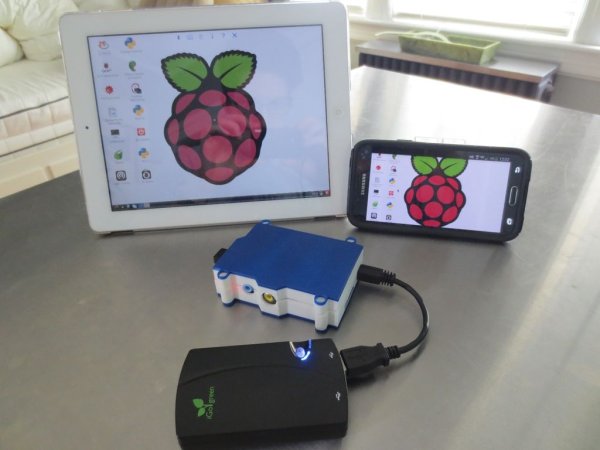
But… you can leverage the portability of your mobile devices to have complete control of your Pi, and not just command line control, desktop control.
TightVNC is a free remote desktop control software package. Its easy to set up and its ubiquitous which means there are apps for Mac OS, Windows, Apple Devices, Android Devices, basically everything.
This tutorial will show you how to install VNC on your PI and on your device so you can access your Pi from anywhere in your home network.
Step 1: Install TightVNC
This step assumes know a little bit about your Raspberry PI, and have some basic things set up, like you have internet connectivity, you've set your Pi to start into the desktop and you're running Raspbian or other Linux distribution that supports ‘apt-get'
This step also assumes you can navigate to the command line, and have already done, or know to do the following
- sudo apt-get update
- sudo apt-get upgrade
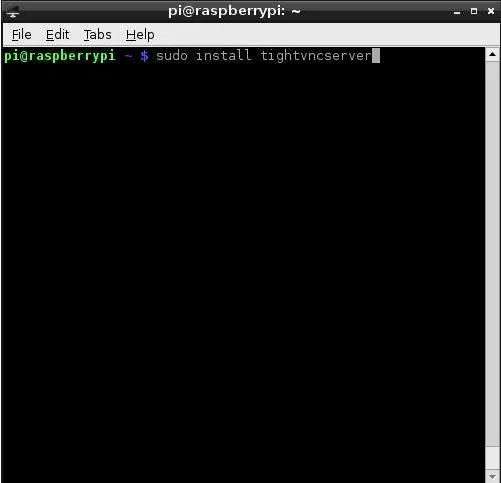
Ok so you're there now install tight VNC by typing
- sudo apt-get tightvncserver
Your Pi will chugg for a while and ask you to confirm a few things, yea yea yea
Step 2: Start VNC
To start VNC type the following at the command line
- vncserver :1
(There's a space between ‘vncserver' and the ‘:1')
VNC will prompt you for a password. Choose one but it has to be 8 characters or less. Also choose one that you'll remember some Apps let you save the password, others do not and you'll need it to access the Pi later.
Step 3: Setup VNC to Start Automatically
So now that VNC is turned on, if you wanted to you could access your Pi from any device that has the VNC ap on it but once you shut you're Pi off you'de have to activate it again. You don't want that so you want to navigate to your config directory with these lines and make an ‘autostart' folder
- cd
- /home/pi
- cd .config
- mkdir autostart
- cd autostart
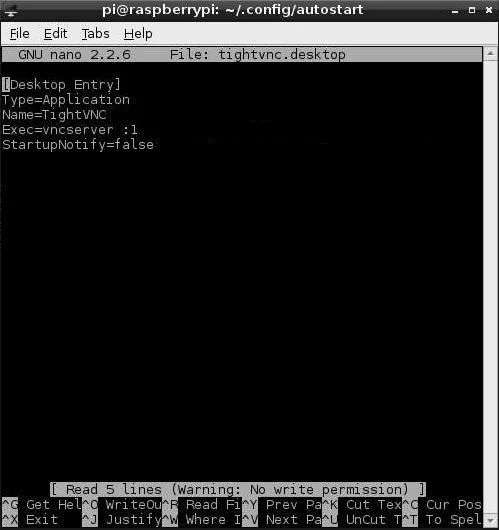
Next you want to open the nano text editor and create a file ‘tightvnc.desktop'. Do this by typing
- nano tightvnc.desktop
Once the nano text editor opens add these lines to the file
- [Desktop
- Entry]
- Type=Application
- Name=TightVNC
- Exec=vncserver :1
- StartupNotify = false
Step 4: Set up You Pi to have a Static IP address
There's another problem that you can head off while you're at your Pi's command line.
The Pi will pick up whichever IP address it want on your home network which will might leave you guessing when it time to log in from your device so we're going to set up the wireless and ethernet connections to the internet (wlan0 and eth0) so that they grap a consistent IP on your home network.
From where your at type the following
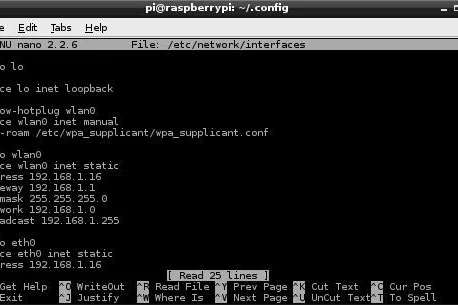
- sudo nano /etc/network/interfaces
Modify the file to appear as follows. Except in place of the xx's choose a number that isn't already being taken by something in your home network like 99
- auto lo
- iface lo inet loopback
- allow-hotplug wlan0
- iface wlan0 inet manual
- wpa-roam /etc/wpa_supplicant/wpa_supplicant.conf
- auto wlan0
- iface wlan0 inet static
- address 192.168.1.xx
- gateway 192.168.1.1
- netmask 255.255.255.0
- network 192.168.1.0
- broadcast 192.168.1.255
- auto eth0
- iface eth0 inet static
- address 192.168.1.xx
- gateway 192.168.1.1
- dns-nameservers 8.8.8.8 8.8.4.4
- netmask 255.255.255.0
- network 192.168.1.0
- broadcast 192.168.1.255
Step 5: Download the VNC App
Ok we're done with the Pi but leave it on, pick up your cell phone.
There's probably a Facebook on Instagram Alert, check that first!
Ok Done?
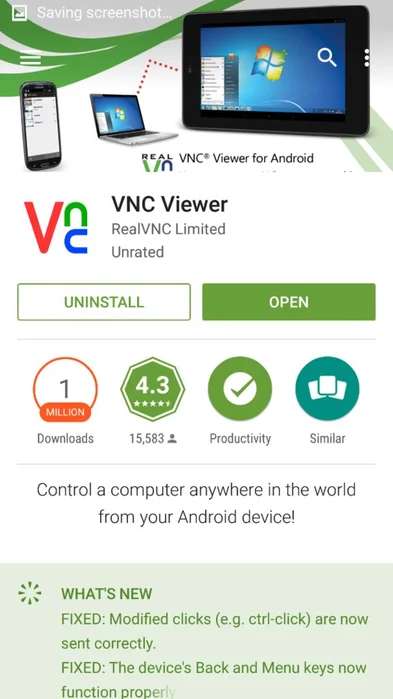
Now download the VNC App, its available for every platform unless you have a Blackberry world edition or something.
Step 6: Start the VNC App
The initial start up screen is blank-ish.
Do what it says and tap ‘+' to start a connection.
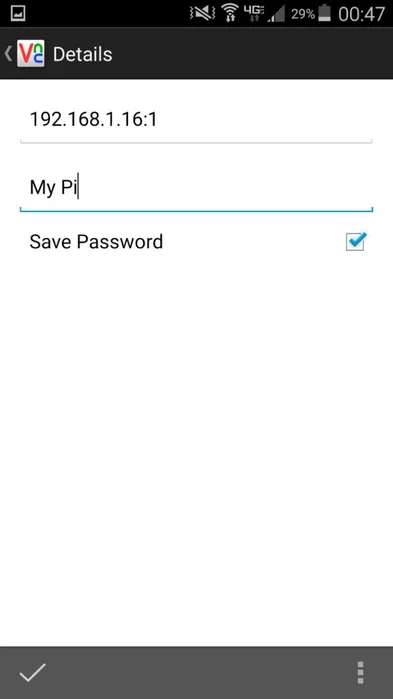
It will prompt you to enter a few things. When it asks for the IP address, enter the IP you set in the previous step with a “:1” as the end as shown in the picture (don't use my address use yours)
When it asks for a name you can make up anything that reminds your your connecting to that particular Pi
Step 7: Press Connect
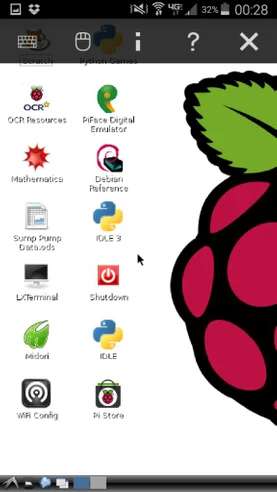
Press the connect button and Shazam! You're in!
You can connect from your Phone, your Ipad, or your PC Simultaneously.
The interface it intuitive and surprisingly well throughout. Now do something cool with your now headless Pi


