This is a short tutorial to exhibit the abilities of the Pi Buddy app
Step 1: Setting up the Pi
In order for the Pi to receive command from the device you must have the necessary files and dependancies installed.
Pi Buddy runs off of web-pins found here.
https://github.com/TheGreenToaster/web-pins
The instructions are here to set it and all its dependancies up on your Pi.
Step 2: Setting up test circuit on Pi
Here is a simple diagram of an LED circuit.
It is important to note that in this example the GPIO will need to bet set to LOW to illuminate the LED.
This diagram is not connected to a GPIO pin in order to test the web-pins we will need to connect the green wire to pin 12 (GPIO 18)
The LED should remain off.
Step 3: Testing web-pins
The pins are named in an odd manor
0 = GPIO 17
1 = GPIO 18
2 = GPIO 21
3 = GPIO 22
4 = GPIO 23
5 = GPIO 24
6 = GPIO 25
7 = GPIO 4
Next we will construct a URL to test.
REPLACEME/pi-write.php?io=0&pin=YOURPIN
Replace the “REPLACEME” with the IP address of your Pi
Replace the “YOURPIN” with the pin number your led is connected to.
By changing the io value to “0” or “1” should toggle the LED on and off.
Step 4: Test the App
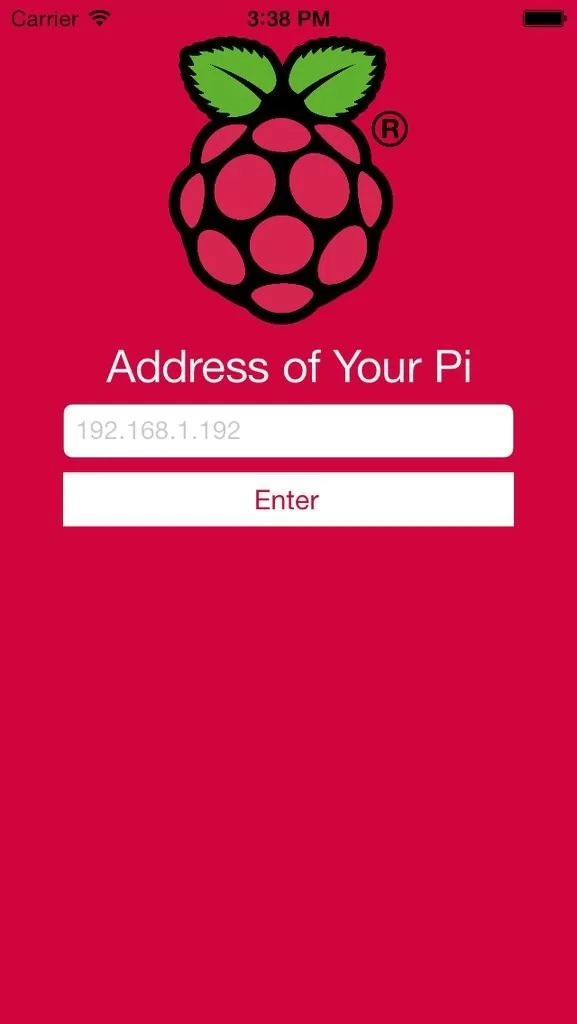
When you launch the app you are prompted with a screen that asks for the IP address of your pi.
Once you have entered your correct IP address you will reach a page that will allow you to change the value of your pins.
For more detail: Controlling Raspberry Pi with Pi Buddy


