
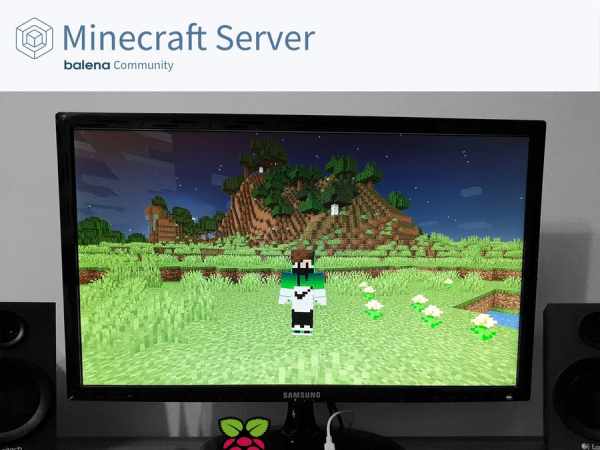
If you want to host your own Minecraft Server — all from a Raspberry Pi — this project is for you!
How to create a Minecraft Server for the Raspberry Pi 4 with balena
If you want to host your own Minecraft Server — all from a Raspberry Pi — this project is for you! Try the balena Minecraft Server, a starter project to quickly and easily create a Minecraft Server and use SCP and RCON to manage it!
Contents
Before you start
- Introduction
- Hardware required
- Software required
Tutorial
- Setup the Raspberry Pi
- Deploy the project code
Using balena Minecraft Server
- Give it a try
- What next?
- Until next time…
- Special note
Introduction

Minecraft is a cool adventure game with multiplayer functionality. There are many Minecraft server hosting companies around the world, that charge varying prices, but with this project you can host a Minecraft server yourself for free!
With balena Minecraft Server, you can host and manage your own server right on a Raspberry Pi 4. This blog post walks you through the entire process, and shows you how to build and connect to your own Minecraft server quickly and easily by using balenaCloud.
All you need is a Raspberry Pi 4 and a little bit of time. We’ve done all the hard work by configuring the Server & the other services, and setting everything up in a repeatable format to get you up and running with minimal effort. It’s a great introduction if you’ve never tried a project like this before.
Let’s get to it!
Hardware required
- Raspberry Pi 4B ( We recommend the 4GB model. 1GB is not enough! )
- A 16GB or greater micro SD Card (we always recommend SanDisk Extreme Pro SD cards)
- Power supply
Software required
- A download of balena Minecraft Server from GitHub
- Software to flash an SD card (we recommend balenaEtcher)
- A free balenaCloud account to setup and manage the Pi
- Download and install the balena CLI tools – to be installed on your computer, allowing you to install the project code on the Pi
Tutorial
Setup the Raspberry Pi
Once you’ve found all the hardware and prepared all the software, we’re going to start setting up the Raspberry Pi.
Sign up for a free balenaCloud account
The first thing you’ll need to do is sign up for an account if you haven't done so already. If you’ve already got a GitHub or Google account, you can use one of those accounts as a single sign on method.
Create a balenaCloud application
Follow the instructions on the user interface to add an application, selecting the correct device type for the device you’re using. The easiest way would be to choose Starter as the application type, then hit Create New Application. Using the starter application provides you with all of the features of the microservices application and is free up to and including your tenth device.
Once you add the application, you’ll arrive at the dashboard for your newly created application. If you choose to, you can rename your application.
Note: You'll need to remember that name for later when you push your code.
Add a device and download the balenaOS disk image from the dashboard
Add a device within that application by clicking the ‘Add Device' button. When you add a device you specify your device type, which is important that it matches the device you’re using. If you are connecting to a wireless network, you can set your WiFI SSID and passphrase here too. Otherwise, a wired connection will suffice.
This process creates a customized image configured for your application and device type, and includes your network settings if you specified them.
Note: When you're first getting started, a development image will be most useful, as it permits a number of testing and troubleshooting features. More details on the differences between development and production images can be found here. If you're confident you can go ahead and deploy the production image straight away.
Flash your SD card with the balenaOS disk image and boot the device
Once the OS image has been downloaded, it’s time to flash your SD card. You can use balenaEtcher for this.
Once the flashing process has completed, insert your SD card into the Raspberry Pi and connect the power supply.
When the device boots for the first time, it connects to the balenaCloud dashboard, after which you’ll be able to see it listed as online and move onto the next step.
Troubleshooting: It should only take a few minutes for the new device to appear in your dashboard. If your device still hasn't shown up on your dashboard after a few minutes, something has gone wrong. There's an extensive troubleshooting guide in the documentation, with lots of information on why this could be, but if you still can't get your device online, come on over to the forums where we’ll be able to help out.
Deploy the project code
Now you’ve got your Raspberry Pi online within the balenaCloud dashboard, it’s time to deploy the project code and transform your Pi into a Minecraft server!
Download the project from GitHub
Grab a copy of the balena Minecraft Server project from GitHub. You can download the ZIP from GitHub as shown below, but if you’re familiar with Git you can use git clone.
Important note for Windows users: the combination of git clone and balena push can cause issues due to line ending changes. We recommend using a combination of either the zip download of the project and balena push or if you'd like to use git clone then also use the git deployment method git push instead of balena push.
Push the project code to your Raspberry Pi
After installing the balena CLI on your computer, downloading the balena Minecraft Server code from GitHub, and confirming that your Raspberry Pi online in the balenaCloud dashboard, it’s time to push the code. Before you can push don't forget to unzip the file you just downloaded. From within the unzipped file, execute balena push appName in a terminal, where appName is should be the the application name you set earlier in the guide. For example: balena push balenaMinecraftServer.
If everything worked out correctly, after a few minutes your device information screen in the dashboard should look something like this, showing the service running.
At this point you’re ready to move on, connect things up and give it a try!
Give it a try
Once you’ve got your Pi powered up and your server booted, you’re ready to go!
Connect to the server via Minecraft (Java Edition).
Note: This testing example only works if your Raspberry Pi 4 and your computer are in the same network. We have instructions on creating worldwide multiplayer mode later in this article.
Source: Create a Minecraft Server for the Raspberry Pi 4 with balena