
Raspberry Pi users wishing to design and create their very own 3D models to be transferred from digital concepts to physical 3D printed objects, may be interested in a new tutorial published by the Raspberry Pi Foundation this week. Demonstrating how the BlocksCAD 3D model editor can be used in a web browser to create and design 3D models that can be exported for 3D printing.
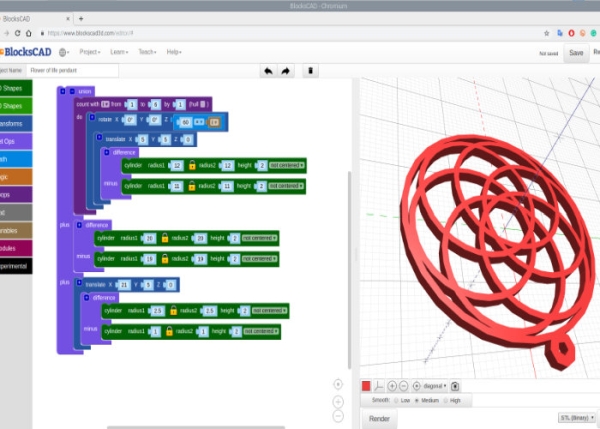
The tutorial provides instructions on how to create a simple pendant that can be quickly printed on a 3D printer using very little filament. “If you have access to a 3D printer, then you can print your pendant. The pendant is small and only uses a little bit of filament. There’s a hoop on top of the pendant so that you can put it on a necklace or cord. The pendant has a diameter of 40 mm, plus the hoop for hanging. It is 2 mm thick, so it will 3D-print quite quickly.”
“BlocksCAD is an education technology company dedicated to creating tools that help students of all ages pursue their love of science, technology, engineering, art, and math (STEAM). Our signature product, BlocksCAD, is a cloud-based 3D modelling tool that encourages users to learn math, computational thinking and coding concepts through visualisation and designing models to be 3D printed.”
For more details on the tutorial and the BlocksCAD 3D model editor jump over to the respective sites by following the link below.
Source: Design 3D prints on your Raspberry Pi using BlocksCAD 3D model editor