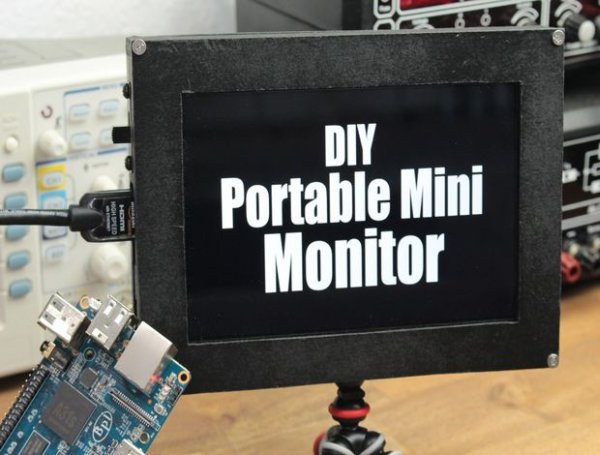
In this project I will show you how I used a 1280×800 LCD Kit to build a battery powered portable mini monitor which is useful for your DSLR camera, your Raspberry Pi or to extend the viewing field of your computer. Let's get started!
Step 1: Watch the videos!
The 2 parts of this video should give you all the fundamental information you need to build this right. But I will give you some extra pictures and additional tips to make it even easier.
Step 2: Order your parts!
Here you can find all the parts that you need:
Ebay:
1x 1280×800 LCD Kit: http://rover.ebay.com/rover/1/711-53200-19255-0/1…
5x Tactile Push Button: http://rover.ebay.com/rover/1/711-53200-19255-0/1…
1x 5mm Green & Red LED: http://rover.ebay.com/rover/1/711-53200-19255-0/1…
1x Slide Switch: http://rover.ebay.com/rover/1/711-53200-19255-0/1…
1x TP4056 Single Cell Charger: http://rover.ebay.com/rover/1/711-53200-19255-0/1…
1x XL6009 Boost Converter: http://rover.ebay.com/rover/1/711-53200-19255-0/1…
2x 18650 2800mAh Li-Ion Batteries: http://rover.ebay.com/rover/1/711-53200-19255-0/1…
1x Tripod Mount: http://rover.ebay.com/rover/1/711-53200-19255-0/1…
1x Mini Tripod: http://rover.ebay.com/rover/1/711-53200-19255-0/1…
Amazon.com:
1x 1280×800 LCD Kit: –
5x Tactile Push Button: http://amzn.to/1dqjng5
1x 5mm Green & Red LED: http://amzn.to/1dqjng5
1x Slide Switch: http://amzn.to/1dqjng5
1x TP4056 Single Cell Charger: –
1x XL6009 Boost Converter: http://amzn.to/1dqjng5
2x 18650 2800mAh Li-Ion Batteries: http://amzn.to/1dqjng5
1x Tripod Mount: http://amzn.to/1dqjng5
1x Mini Tripod: http://amzn.to/1dqjng5
Amazon.de:
1x 1280×800 LCD Kit: –
5x Tactile Push Button: http://amzn.to/1SUCw9Z
1x 5mm Green & Red LED: http://amzn.to/1SUCw9Z
1x Slide Switch: http://amzn.to/1SUCw9Z
1x TP4056 Single Cell Charger: http://amzn.to/1SUCw9Z
1x XL6009 Boost Converter: http://amzn.to/1SUCw9Z
2x 18650 2800mAh Li-Ion Batteries: http://amzn.to/1SUCw9Z
1x Tripod Mount: http://amzn.to/1SUCw9Z
1x Mini Tripod: http://amzn.to/1SUCw9Z
Amazon.co.uk:
1x 1280×800 LCD Kit: –
5x Tactile Push Button: http://amzn.to/1NnDnwI
1x 5mm Green & Red LED: http://amzn.to/1NnDnwI
1x Slide Switch: http://amzn.to/1NnDnwI
1x TP4056 Single Cell Charger: –
1x XL6009 Boost Converter: http://amzn.to/1NnDnwI
2x 18650 2800mAh Li-Ion Batteries: http://amzn.to/1NnDnwI
1x Tripod Mount: http://amzn.to/1NnDnwI
1x Mini Tripod: http://amzn.to/1NnDnwI
Step 3: Build the case!
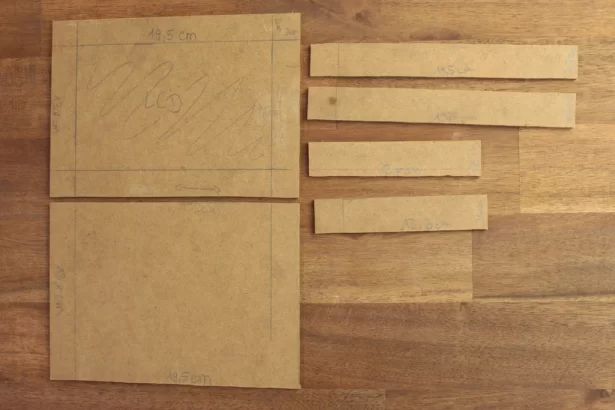
Here you can find all the measurements for the MDF parts that I created to build the case.
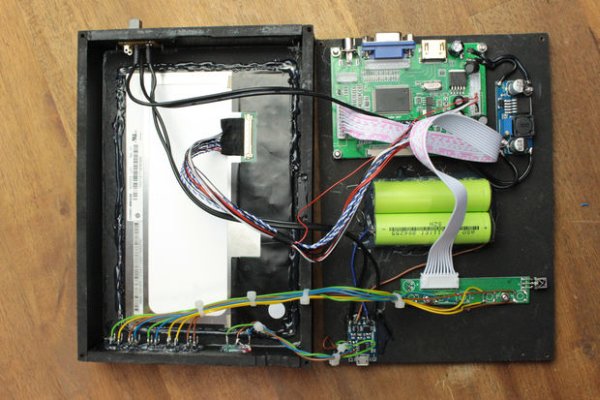
Step 4: Get the Wiring Done!
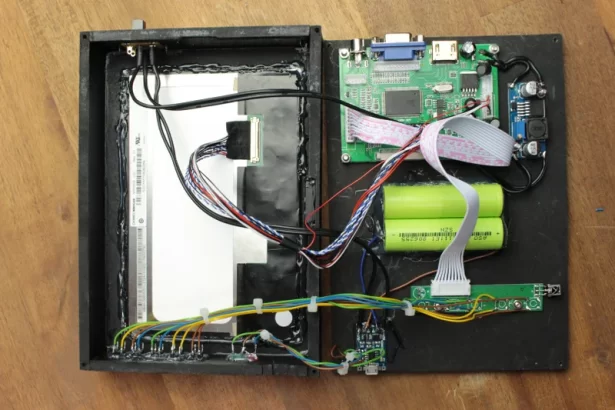
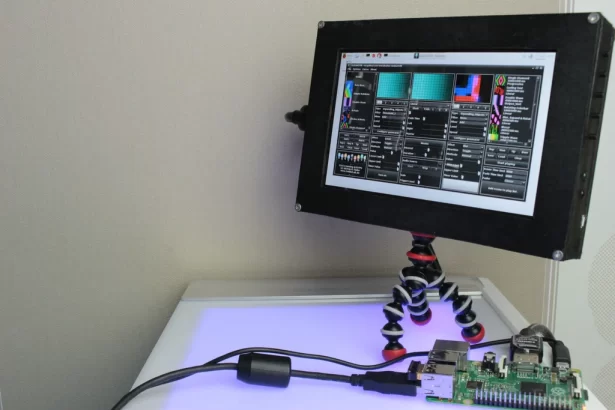
Step 5: Success!
You did it. You just created your own portable mini monitor!
Source: DIY Portable Mini Monitor


