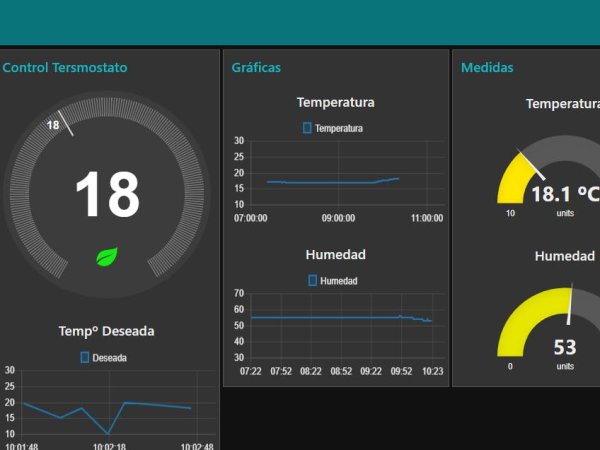
Create your own DIY virtual alike NEST thermostat to set and control the temperature of your home wherever you are from your desired device.
Story
Hi all! What´s up Makers?!
This is my first project I would like to share with Hackster community! 🙂
I created this project because as I work with shifts, it was always a nightmare to setup and configure manually every week my Old-Home-NO-InternetOfThings-device-Thermostat due my shifts does not depends on a regular basis.
So I needed a solution which It could let me turn On or Off my Heating system wherever I am, few minutes before coming home and then… save as well some energy efficiency at home!
As I always liked NEST design Thermostat I ended building up a virtual alike one!
You would be able to Monitor the Temperature and Humidity of your home-room and (of course) turn On/Off your Heating system from anywhere directly from any Internet connected device (PC/Tablet/Mobile).
So, once we know the story behind this project and its aim, let´s start!
INSTALLING SOFTWARE !
1. Setup Raspbian Stretch OS on RaspberryPi 3
2. Install Mosquitto Broker on RaspberryPi 3
3. Install Node-Red on RaspberryPi 3
4. Install Atom+PlatformIO on your PC
HACKING HARDWARE !
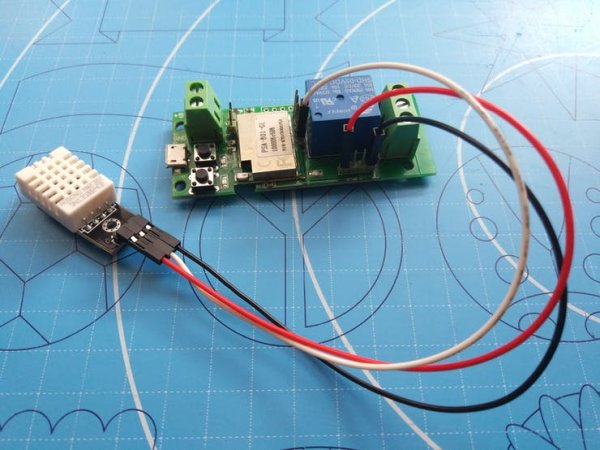
The device that would turn On/Off the Heating system is the ITEAD 1CH. I chose this device because it is small, really really cheap and it can be powered with a 5V mobile phone charger via micro-USB connector. As you can check, this is a perfect DIY Wi-Fi relay module that ITEA sells ready for Makers to tinker with.
It comes with a proprietary software-ready (a.k.a firmware) that works with a mobile application called EWeLink.
What´s the problem? You must register. Once logged, you could be able to turn On/Off any device connected to the relay terminals. But, hey! We´re Makers! We want to use/hack our purchased devices and do not depend on external providers, servers and applications! We want to make our own infrastructure! Information privacy!
This is where hardware hacking begins…
The best part comes when you realize that you can modify the original firmware of the device and install another one non-dependent from vendor. As the device is based on the module ESP2866, there are few Open-Source projects for this module, and I fell in love specially with one called ESPurna Firmware.
ESPurna Firmware + Adding DHT22 Sensor
ESPurna (“spark” in Catalan) is a custom firmware for ESP8266 based smart switches and sensors. It uses the Arduino Core for ESP8266 framework and a number of 3rd party libraries.
Thanks to the great articles published by his author (@xoseperez) and his wonderful help on Twitter, I was able to learn how to modify, build and flash the custom firmware adding the device new features that didn´t come when purchased.
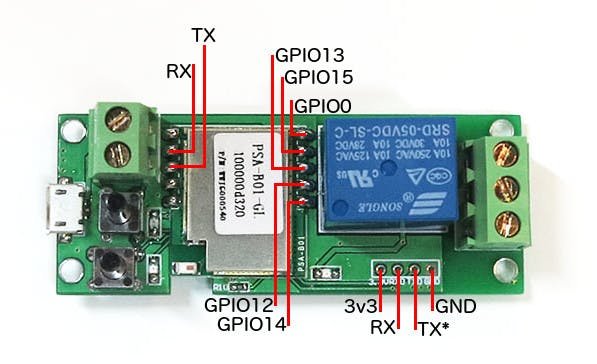
Surfing on Internet for device schematics details, I found the GPIO pinout of the PSA-01 (ESP8266 based) module.
As it is based on ESP2866, I guessed it could have some GPIOs to interact with… And I was right! Also, I checked that ITEAD have other kind of products like SonOff TH10/TH16 that comes with an audio jack to connect a temperature/humidity probe sensor.
Having checked that ITEAD products can be ‘hacked' adding more type of sensors, I was wondering if I could add one to my device ITEAD 1-CH. It would be interesting to add a sensor to the smart Wi-Fi relay in order to monitor the temperature and humidity of the room where placed and then create some kind of Thermostat with it.
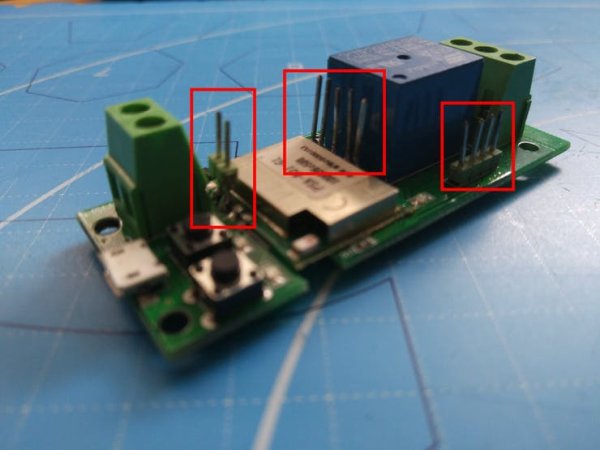
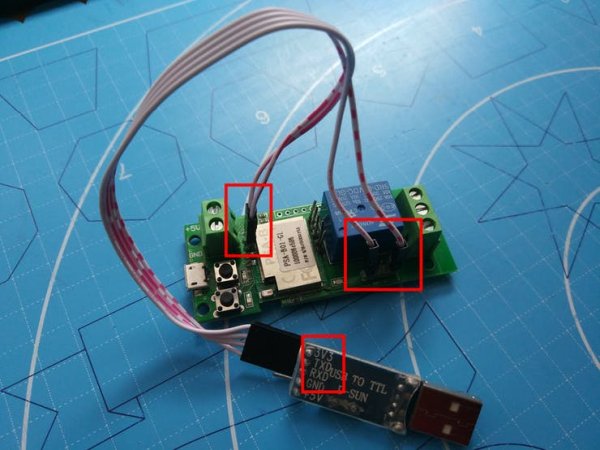
So, I tried to solder some pins directly over the GPIO pins of the PSA-01 module in order to connect a DHT22 sensor. You just need to solder 3 pins (GND, 3v3 and GPIO14) to connect it and 3 pins (RX, TX, GND) to flash the module. I finally soldered pins in all GPIO, but it is not mandatory, as we wil use just GPIO14.
Now it is time to modify the right source files, build up the ESPurna custom firmware and check if the device reads the data from the added sensor.
PlatformIO – Building the custom Firmware
Once installed Atom+PlatformIO, you need to download the latest version of ESPurna custom firmware and extract it.
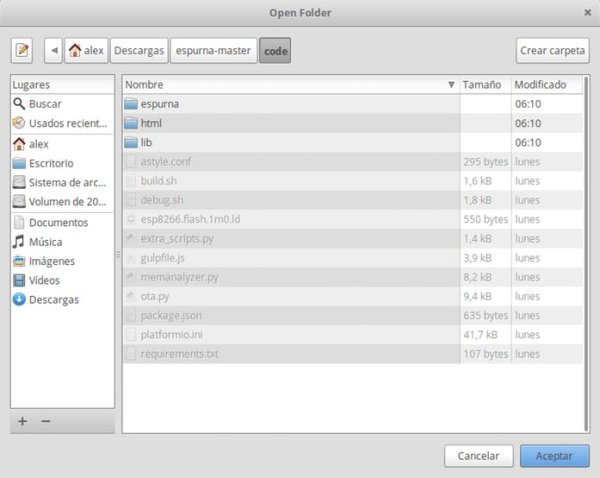
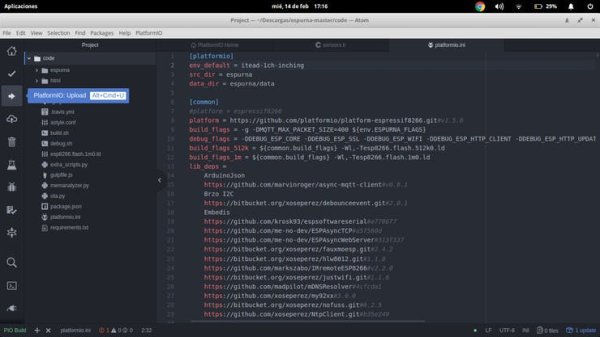
Add Project Folder (File-> Add Project Folder) and select the folder named code from folder recently extracted.
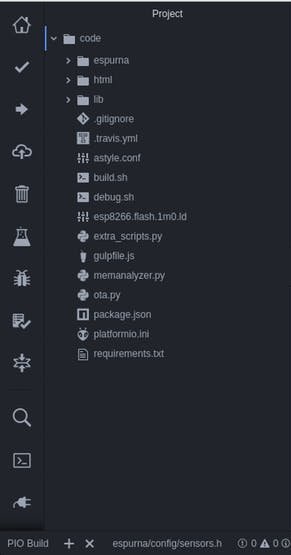
Now you will have the project added to the Project column (left pane).
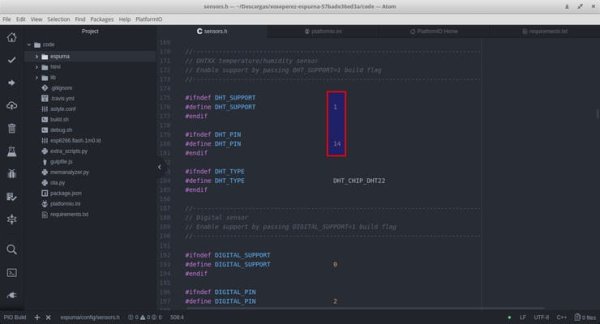
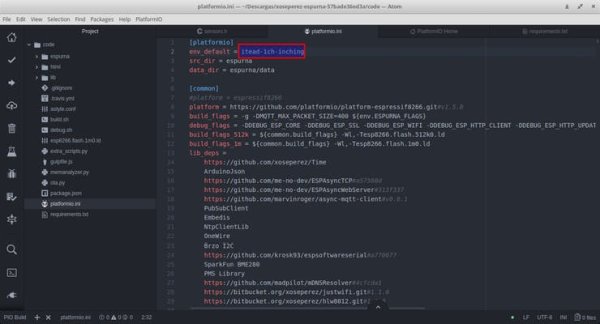
You need to modify the following source files accordingly as the below images shows.
/config/sensors.h
/platformio.ini
Now, we´re ready to flash our device with the ESPurna custom firmware!
Connect your USB-to-Serial wires to ITEAD device following the below connections:
TX <–> RX
RX <–> TX
3v3 <–> 3v3
GND <–> GND
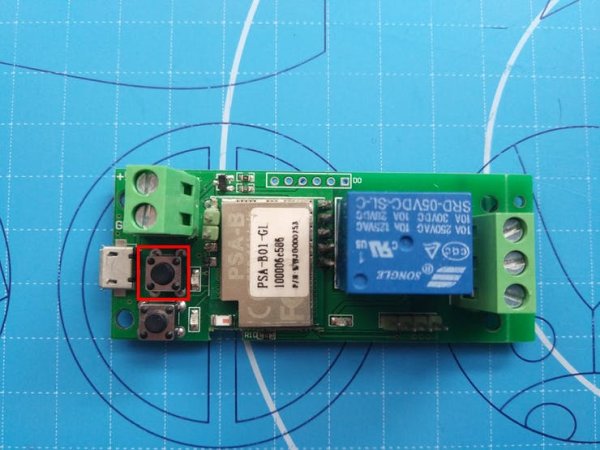
In order to flash ITEAD device, you need to enter into flash mode. This can be easily done powering the board (connect to an USB port on your PC) while pressing the button that is closer to the micro USB connector.
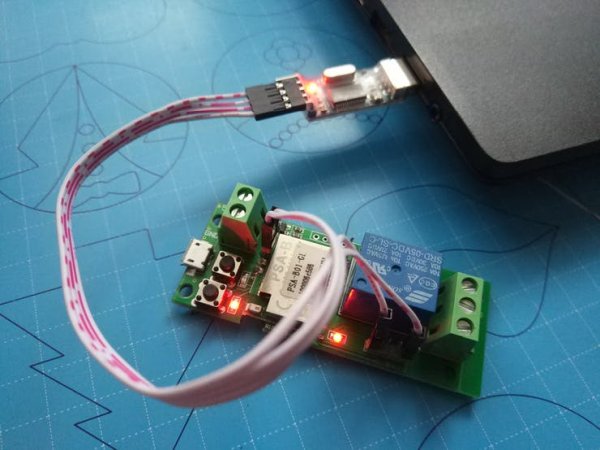
Once connected, the LEDs will light Red indicating device is on Flash mode, ready to upload the firmware.
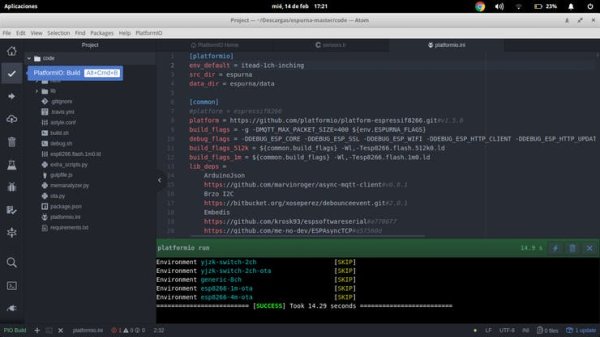
Prior to flash device, check that build ends with success. Just prest the build button (tick icon) and after a while, if all is OK, you will receive the SUCCESS messages.
Now you are ready to upload the ESPurna custom firmware with PlatformIO. Just press the Upload button (right arrow) on PlatformIO and USB-to-Serial adapter will start to blink and flash your device.
Below a quick videos of the Flash process.
Once flashed the device, disconnect from USB-to-Serial wires, connect the DHT22 sensor accordingly (3v3,GND,GPIO14) and power it up with a microUSB mobile phone charger.
At first boot, the device will start on soft AP creating a Wi-Fi SSID named “DEVICE_XXXXXX”, where DEVICE will be an identifier of your device and XXXXXX are the last 3 bytes of the radio MAC.
Connect with phone, PC, laptop, whatever to that network, password is “fibonacci”. Once connected browse to http://192.168.4.1
CONFIGURING THE ITEAD ‘Thermostat'
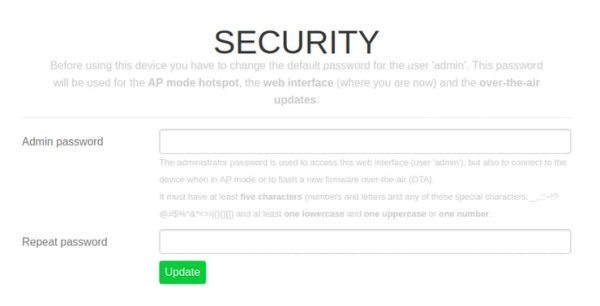
First of all, you will be prompted to an authentication challenge. Please follow the official procedures to setup your Wi-Fi and change default password.
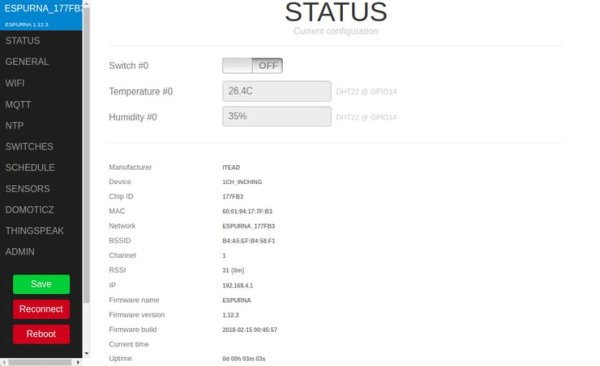
Once configured, you should see the default Web interface of ESPurnacustom firmware where you will be able to check the status of Switch, Temperature and Humidity value readings of DHT22 sensor as well as configure your own Wi-Fi details, MQTT, NTP, HTTP API, Port, Switches, Schedule, Thingspeak, Domoticz, Amazon Alexa integration…
ESPurna have a great variety of nice features (more than the original firmware) !
That's why we all should love open-source projects like this.
The ‘Thermostat' will communicate with our RaspberryPi 3 via MQTTprotocol and Node-RED will manage the logic within its flow editordepending the values received by the sensor and deploy the user interfaceto interact with. That's why you installed Mosquitto Broker and Node-RED tool on your RaspberryPi 3 at the beginning of this tutorial !
Once you setup your device to connect to your desired home Wi-Fi network(left pane of web interface -> WIFI, where you can scan networks and select the desired one) you will need to setup the MQTT details accordingly that will match with the installation of your Mosquitto Broker.
Read More Detail: DIY Virtual Alike NEST Thermostat with Node-RED


