Hey, Welcome to my first ever post on Instructables!
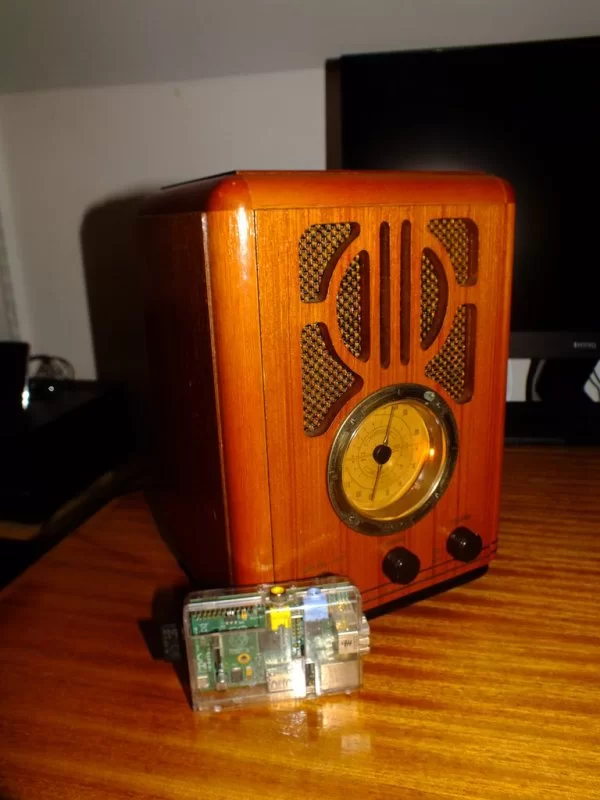
The Project you're about to read over is setting up a Raspberry Pi to use ‘AirPlay' and how I used it, which clashes with the second part, the new life for my old radio.
Step 1: Collect up everything you need.
Whats a must for this project:
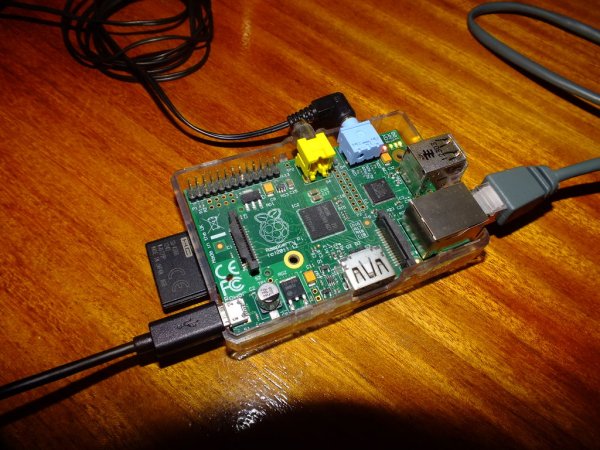
– Raspberry Pi (model B or later as you need a Ethernet connection)
– Ethernet cable
– SD card
– Power cable for the Pi
– The audio device you wish to play it though (speakers, Headphone's etc..)
– A way of writing to the SD card, that be a laptop or desktop.
Extras:
– Its not a need, but music can be stored on a USB thumb drive and plugged into the Pi.
(Before continuing, make sure the SD in fully formatted as if not, it may affect the software.)
Step 2: Putting of the software on the SD card.
Now, not every one knows all the details of how to so this, so i'll explain in detail so everyone can understand.
First, head over to Volumio, click the download button at the top. Follow though on the ‘sourceforge' page to download.Make sure to save to copy it over to the desktop to make the next steps easier.
Next, Scroll down to the ‘Flash it' section it and click on ‘Win32DiskImager' (which is in a dark grey) next to the text ‘Download and extract'. Wait for the next site to load, click download, once done, drag it to the desktop too.
Now you have a zipped file, and Win file on your desktop.
Right click on ‘VolumioPI.img' file and click extract here, once done this should create a new file.
Remove unused thumb drives and memory cards from the PC just leaving the Pi's SD card in.
Open ‘Win32DiskImager' software we downloaded earlier:
– Click on the Blue folder, go to the desktop and open the ‘VolumioPI' file we extracted.
– Now on the drop down below device, select the device (SD card) you're writing to (for mine its H:), it will show a warning, press yes to continue.
– Wait for the process to be finished, when done, remove the SD card
Step 3: Setting up the Pi (This is almost it)
In step one, I made sure not to state a screen as need,this software will self boot, and do all the workings for you.
If a HDMI cable is connected when booting up, It will focus the audio towards that, so if the monitor or TV its linked to has speakers, it will use those over the 3.5 mm jack (Headphone jack).
So if you wanted to just use the 3.5 mm jack, its best just to leave the HDMI cable out.
The set up:
– Put SD card into Pi,
– Connect Ethernet to router or splitter
– (If wanting the HDMI, connect now)
– Last Connect up the power cable.
As it boots, it will create it own directory's, and boot to a point which you can access it from another computer on the network.
Step 4: Accessing the Pi another computer
With it all set up, the Pi booted and connected to the network, open a new tab in browser and try one of the following ‘http://volumio.local/' or ‘volumio.local/' it should load a new page looking something like the in the images below.
From here, you can click ‘Browse', ‘WebRadio' then clicking to the right of the station, click ‘Add and play' this should add it to the playlist and begin playing, to change order or whats on, click the ‘Playlist' tab at the bottom, to change the volume click on the middle table ‘Playback'.
For more detail:Dual Project: AirPlay-Pi and new life for an old radio


