
Raspberry Pi is an ARM cortex based popular development board designed for Electronic Engineers and Hobbyists. It’s a single board computer working on low power with a very good processing speed and memory. Raspberry Pi can be used for performing different functions at a time, like a normal PC, and hence it is called Mini Computer in your palm.
We have created a series of Raspberry Pi Tutorials, in which we have covered Interfacing of Raspberry Pi with all the basic components, as well as some simple Raspberry Pi projects to start with.
Here we are going to build an Electronic Voting Machine using Raspberry Pi Board. We all are aware about the Electronic Voting Machine (EVM) which is used to vote in Elections, by pressing a simple button. We have already covered Electronic Voting Machine using different Microcontrollers like EVM with AVR microcontroller and EVM with Arduino. We have also built a Voting Machine in which Voter is authenticated by RFID tag, so that only authenticated votes can be counted.
This Electronic Voting Machine using Raspberry Pi is simpler and easier, in comparison with our previous Voting Machine’s Projects.
Required Components:
- Raspberry Pi – 1
- 16×2 LCD – 1
- Push button – 5
- Bread board – 1
- Connecting wires
- 1K resistor – 1
- 10K resistor – 5
- 10K POT – 1
- LED’s – 5
How it Works:
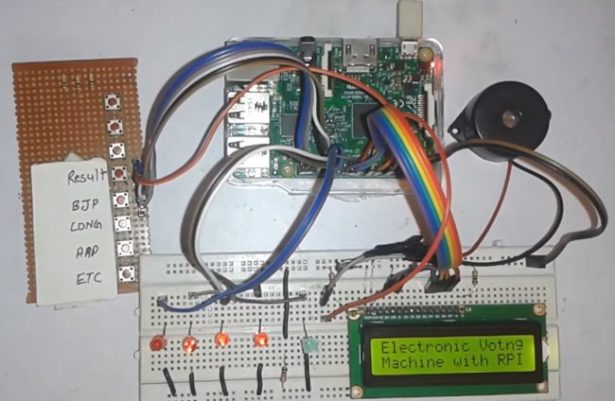
In this project we have used four buttons to vote for four candidates or parties. We can increase the number of candidates, but for better understanding we have only used four here. When a voter presses any of the four buttons then the ‘voting count’ for the respected party or candidate, is increased by one each time. At the same time LED blinks and buzzer beeps for a second, to indicate that Vote has been given. After the Voting completes, we have a “Result” button, to show the results of the Voting. When we press this button, LCD screen shows the name of the winning Party with the no. of votes given to each party.
Circuit Explanation:
Circuit Diagram of this EVM using Raspberry Pi is given below. Raspberry Pi controls the whole process like Reading the Button, incrementing the vote count, generating result and display all the things on LCD.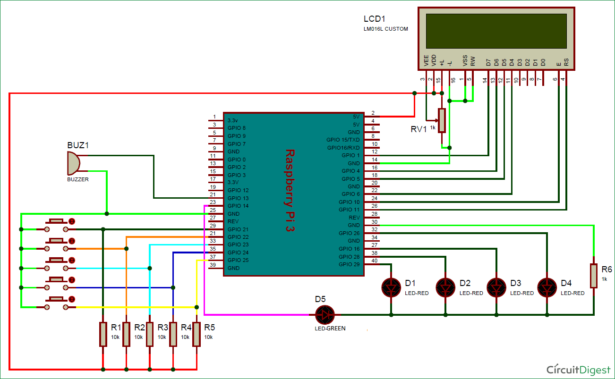
For more detail: Electronic Voting Machine using Raspberry Pi