
The marvellous Raspberry Pi, essentially a cheap, small PC, is a great device for education or home projects like media streaming. Out of the box though, it is not ideal for controlling other devices other than by USB or ethernet. What if you wanted to to use it to operate a switch under program control? You can use the GPIO (General Purpose IO) header, but it is a considerable step up in terms of the electronics knowledge needed for success (and to avoid damaging your Pi).
 Element14 has an answer to this in the form of the PiFace, which connects to the GPIO header and provides a range of inputs and outputs. To be precise:
- 2 changeover relays. These switch a link between a central common pin and two other pins.
- 8 open-collector outputs. You can use these as switches for an externally powered device.
- 8 digital inputs. These detect whether a contact is open or closed.
- 4 switches. These close the first four inputs when depressed.
Element14 kindly supplied a PiFace to me for review, along with another accessory, the Pi Rack, of which more in a moment.
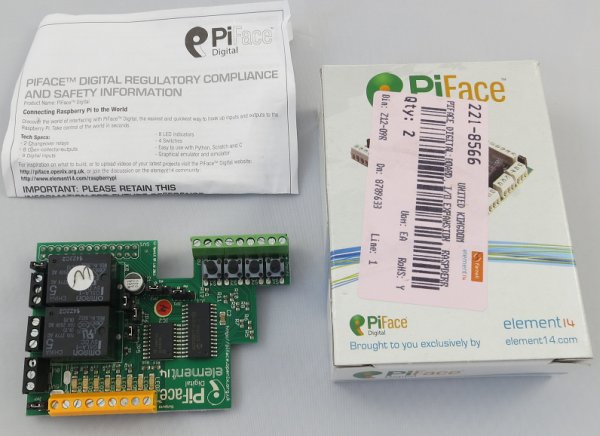
The PiFace comes in a small cardboard box with a regulatory compliance leaflet and no other documentation.
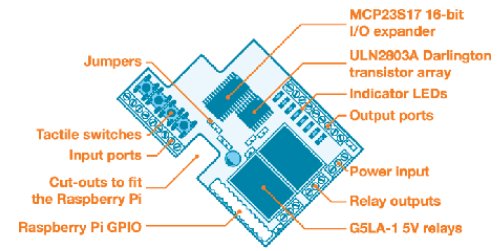
You can see the inputs at bottom left, the outputs at top right, and the relays on the right. The following diagram from the Element14 site shows the details:
The PiFace fits on top of the Raspberry Pi. A rubber foot on the underside rests on the HDMI port relieving the strain on the GPIO connector. If you have a standard size Raspberry Pi case, it will no longer fit once the PiFace is attached, though you can still use the base of the case as I did for my tests. Note that by default the PiFace takes power from the Pi, though this has implications for the power supply you use, which must be 850-1400 mA for the model B Pi.
On the software side, installation is either by downloading a pre-built Raspbian image with the software already in place, or by modifying your existing installation. I am using the soft-float Debian Wheezy build and chose the latter route. It is not difficult; just enable the SPI (Serial Peripheral Interface) driver by removing it from the modprobe blacklist, run an install script, and reboot. The scripts come from a github repository here.
 The PiFace software includes a nice emulator which lets you operate the switches. I am not sure that emulator is quite the right description because it really does operate the switches.
Being more of a software person than an electronics engineer, I set myself a simple task: to operate a light switch under program control. I used a child’s electronics kit to provide the light. First I tried using the relay, which was very simple: it is just a switch. Next I used one of the open-collector outputs which also worked once I had found out that the negative connection from my external 3V power supply connects to GND on the PiFace.
For more detail: Expanding the Raspberry Pi with PiFace and Pi Rack