
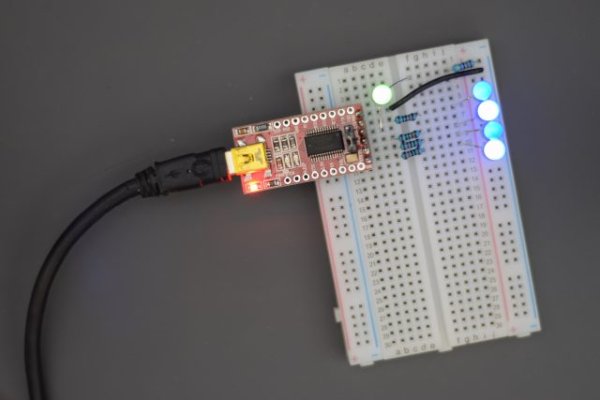
The FT232 USB-to-serial converter is one of the most commonly-used methods of adding USB functionality to small projects, but recently I found that these chips are capable of sending more than just serial signals. With some creative programming, individual output pins can be big-banged to emulate a clock, data, and chip select line to control SPI devices. This post shares some of the techniques I use to bit-bang SPI with FTDI devices, and some of the perks (and quirks) of using FTDI chips to bit-bang data from a USB port. Code examples are available on GitHub, and links to additional resources are at the bottom of this post. After the final build I created a slightly more polished “ftdiDDS.exe” program to control an AD9850 frequency synthesizer from the command line by bit-banging a FT-232, and code (and binaries) are also available on GitHub.
Why Bit-Bang FTDI Pins?
The main reason I like using FTDI devices is because when you plug them in to a modern computer, they just start working! You don’t have to worry about drivers, driver versions, driver signing, third party drivers – most of the time it just does what it’s supposed to do with no complexity. If I’m going to build a prototype device for a client, a FT-232 USB to serial converter is the way to go because I can be confident that when they plug in, their device will start working right away. Yeah, there are third party drivers to get extra open-sourcey functionality from FTDI devices (libFTDI), but I don’t want to ask a client (with unknown tech-savviness) to install third-party unsigned drivers before plugging my device in (and heaven forbid the product doesn’t work in their hands and I have to ask them to verify the device is actually using the third-party drivers and not defaulting back to the official ones). In this project I seek to use only the generic, default, officially-supported FTDI driver and API access will be provided by libftd2xx. Don’t forget that USB ports supply 5V and GND, so in most cases you can power your project just from the USB port! All-in-all, the FT-232 is a great way to give a small device USB functionality. This post explores how to use it for more than just sending and receiving serial data…
Controlling FTDI Devices with C#
The goal of this post is not to describe every detail about how to control FTDI chips. Instead, the key points of the software are described here (and in the video) so you can get the gist of the main concepts. If you’re interested in additional detail, full code examples are provided on the GitHub folder for this project. All code examples were tested with Visual Studio Community 2017, are written in C#, and uses the FTD2XX_NET library installed with NuGet. Also, see the list of resources (including official FTDI datasheets and application notes) at the bottom of this post.
This block of code attaches to FTDI device 0 (the first FTDI device it sees) and sends the letter “a” using a traditional serial protocol. Since this code connects to the first FTDI device it finds, this could be a problem if you have more than 1 FTDI device attached. Alternatively you could have your program connect to a specific FTDI device (e.g., by its serial number). To see what FTDI devices are attached to your computer (and see or set their serial numbers), use the FT_Prog application provided by FTDI. Also, see the code I use to list FTDI devices from inside a C# program ftdiDDS program.
Read more: FTDI USB-to-serial converters to drive SPI devices