
This instructable is an adaptation of one of our blog posts.
Before beginning, you’ll want to have a few things in place. You’ll need:
- A functioning Raspberry Pi (obviously).
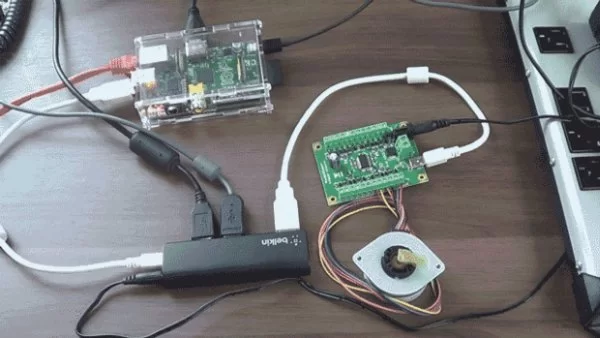
- A separately powered USB hub, since the Raspberry Pi isn't capable of delivering enough power on the USB ports to drive most Phidgets or other USB devices that require the full 500mA.
- An internet connection either via the ethernet port or a USB wifi dongle.
- The Phidget you wish to connect.
Step 1: Install a Linux based OS
Phidgets already come with support for Linux operating systems, and so getting started on the Raspberry Pi is really just a variant of our getting started on Linux guides; You can read a tutorial or watch a video for more background on that.
The first thing to do is ensure you have a Raspberry Pi that is functional and boots into one of the linux based distributions available for it. This means no using RISC OS for those of you who like to go against the grain. There are a couple of ways you can get the Raspberry Pi up and running; you can install one of the distribution images directly, or you can install it from the NOOBS installer. There is already ample documentation on the install process provided by each distribution and the Raspberry Pi foundation itself, so we won’t go into detail on how to complete this step. If in doubt though, use the NOOBS installer as it’s designed to be very straight forward. The rest of this guide will be based upon the Raspbian distribution, so if you do not have a preference you may wish to select that one as it will minimize any potential differences between your own experience and this guide.
Step 2: Install the Phidget Drivers
Okay, so we have a functioning version of Raspbian. We’re working from the LXDE desktop environment, though most of this guide will be completed using the terminal so the instructions apply to a console only install of Raspbian as well. We’re going to want to install some dependencies first. Start by opening the terminal (LXTerminal), then typing;
sudo apt-get install libusb-1.0-0-dev
Now we will download and install the Phidgets libraries.
wget http://www.phidgets.com/downloads/libraries/libphidget.tar.gz
tar zxvf libphidget.tar.gz
Next we’ll change into that directory. Type “cd libphidget-” then hit [TAB] to complete the line. This will take care of the long string of version numbers. You should see something like:
cd libphidget-2.1.8.20140319/
Press enter to go to that directory, where we’ll start building the drivers
./configure
make
This step will compile the libraries on the Raspberry Pi, which will take some time. Now is a great time to go get some coffee. Once that is complete, finish the installation with:
sudo make install
For more detail: Getting Started with Phidgets on the Raspberry Pi