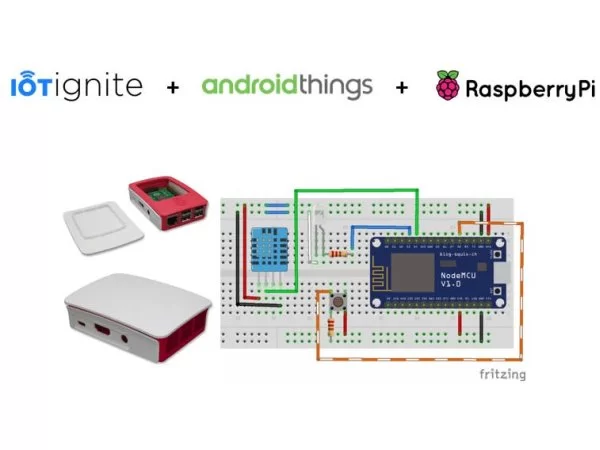
Basically, the project will transfer data with DHT11 over wireless through NodeMCU. This transfer will be done by using an AndroidThings as a gateway and light a led by a rule we set.
- NodeMCU will be Wi-Fi Access Point; start transmitting your IP and port number to network.
- Save device to system on AP mode, and establish wireless connection.
- Once the client connection is set; read the frequency of temperature and humidity transmission, and start transmitting the data to client in this frequency.
- Re-connect to network if connection is lost, end client connection and wait for the re-connection.
- Execute when LED event happened.
- Set rule and connect IFTTT connection, use your data for channels.
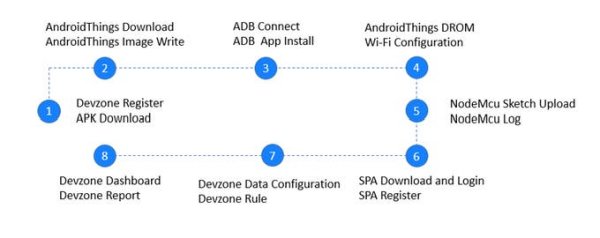
1 Devzone Register and Application Download
· Register and login free developer account at https://devzone.iot-ignite.com/dpanel/login.php?page=development ,
· Download AndroidThings agent,
2 Getting Ready for Android as IoT Gateway
· Download AndroidThings from this link,
· Download and setup win32 disk imager application,
· Flash the SD Card with Android Things Image, you will need the following this link,
3 AndroidThings Configuration – ADB Connect, IoT Agent Installation
· Boot gateway with Android Things and connect Ethernet,
· Run PowerShell and connect Android Things with ADB console,
· Download and install Android Things agent with ADB console command,
4 AndroidThings Configuration – Wi-Fi (DROM) Connect, IoT Agent Installation
DROM is a recently developed ARDIC Technology that enables the device’s mac ID to be matched remotely on the cloud. DROM establishes connection with the tenant and completes the registration process automatically.
· Enter https://enterprise.iot-ignite.com with your devzone credentials,
· Follow; Administration > DROM > DROM Configuration > Add DROM Configuration step,
· Type a new DROM configuration name and click save button,
· Follow; Administration > DROM > DROM Gateway Configuration > Add DROM Configuration step, type Raspberry MAC ID (Example FF:FF:FF:FF:FF:[email protected]) , click add button,
· Click the push button and registration will done.
Read More: Getting Temp, Humidity Information with Android Things


