
This is a very simple instructable for those of you who got a new Raspberry PI and a Pi Face and is wondering what can they do.
This instructable is also documented on Makeystreet.com – Makey : Getting to know Raspberry PI
Parts used :
RASPBERRY PI – MODEL B – 512MB – 1 No
Pi Face – 1 no
Micro usb cable – 1 no
Wifi dongle – 1 no
HDMI Cable – 1 no
There are 2 main components that is used – 1) Raspberry pi 2) Pi Face .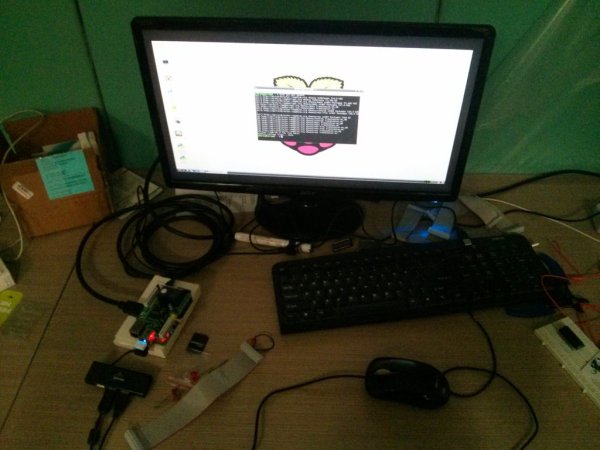
Quick intro
1) Raspberry pi– is a mini computer. You can run light weight version of linux on it. You can watch movies on it. What ever you can do a regular laptop you can do on a raspberry pi theoritically. Raspberry pi because of its small size obviously has lot less processing power and memory that your regular laptop. What makes it really awesome is the capacity of a computer in its small size. You can take Raspberry Pi to places that you cant take your laptop to.
2) Pi Face – is a small circuit board that you use to extend the capacity of a Raspberry Pi. Raspberry Pi has many GPIO pins with which it can interact with real external hardware. Pi Face enhances this capacity. It gives you a lot more input pins and output pins than what raspberry pi gives by default (8 input pin and 8 output pin). Now using Raspberry pi you can make things move in the real world. Lets see how.
I used to be really sad when the parallel port was removed from the computers. Raspberry pi has finally given me the capacity to make things move in the real world again using a computer.
Step 1: Putting all the hardware together
Put the Pi Face and Raspberry Pi by aligning the bus connector on the Rpi and Pi Face. Piface will neatly sit on top of the Raspberry pi like a sandwich.
Connect other hardware – Mouse and keyboard, HDMI screen, and the SD card. Power on the Raspberry pi using the micro usb cable.
Step 2: Using Raspberry pi as a computer
We had got an sd card with raspbian installed on it. So no time was wasted to set up the OS for Raspberry pi. If you don’t have an SD card with Raspbian already on it check this out – http://www.raspberrypi.org/help/noobs-setup/
So basically the raspberry pi worked out of the box. Connected a mouse and a keyboard and bam I have a new computer.
On the initial setting page that pops up, we did not do anything. Hit finish. Logged in using the default user name and password – pi:raspberry and typed ‘startx’ at the prompt to enter the GUI. Awesome I have a really small computer.
Next we setup the wifi. We used this hardware from fablab – . We followed this tutorial to setup the wifi – http://www.maketecheasier.com/setup-wifi-on-raspberry-pi/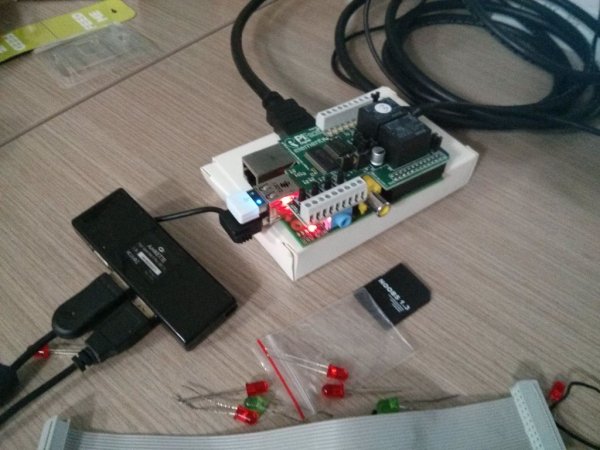 Step 3: SSH into raspberry pi
This is the awesome part. If you are used to linux, you know how to use the command line. Using SSH you can access the command line of the Raspberry Pi from any other computer.
Next we wanted to remotely access the Raspberry Pi. We used this tutorial – https://learn.adafruit.com/adafruits-raspberry-pi-… to ssh into the raspberry pi. Ssh means that we don’t need to connect a keyboard and a mouse to the Pi anymore, we could now program from the laptop.
The network that we were on had proxy on it. While ssh-ing since my laptop and the Pi was on the same network, proxy was not an issue, but when I wanted to run linux command to update the packages, I needed to sort out the proxy issue. We did it using this tutorial – http://www.prmrytchr.co.uk/2013/03/19/connecting-…
With SSH, we could now remove all the keyboard, mouse and the LCD screen from the Raspberry Pi. Now you can control a small computer from your personal laptop.
For more detail: Getting to know Raspberry Pi