
Tired of paying for hosting, or being limited by free hosting providers restrictions? I've decided to build my own web server!

Story
So basically I got fed up with using a free hosting provider for my person website. I kept getting resource limitation errors, doubtful through my own sites use, but probably by other users on the same server.
Thus, I am embarking on this project to load Linux on a Raspberry Pi, get a web server up and running and then point my domain registration at my static IP address.
Step 1: Set Up Your Raspberry Pi
There are already a heap of great tutorials on how to get a Linux image up and running on your RPi so I wont go into detail here, all I will say is that for my project I am running UbuntuMate and used Etcher to ‘burn' the image to an SD card. This project will now assume you have setup and know the IP address or your RPi.
Step 2: Install Apache Web Server
The first step to make the server accessible from the outside world is to install Apache. To begin the installation of Apache use the following command:
sudo apt install apache2
To ensure the web server continues to be accessibl efrom the outside world upon a server restart the following command needs to be executed:
sudo systemctl start apache2.service
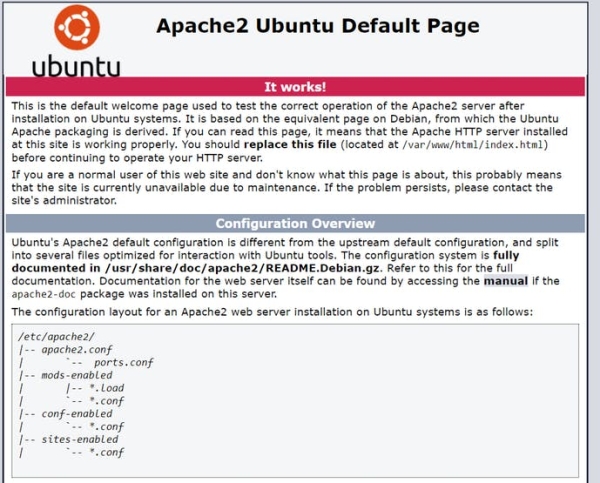
The web server should now be accessible in a browser via the public IP address.
Step 3: Install MySQL Server
This server is to serve dynamic content via the web server, to enable this a database server application is required, the package selected for this server is MySQL. To install MySQL use the following command:
sudo apt install mysql-server -y
To ensure MySQL is as secure as possible use the following command:
sudo /usr/bin/mysql_secure_installation
Finally to ensure MySQL starts on every serverrestart run the following command:
sudo systemctl enable mysql.service
Step 4: Configuring MySQL Server
The MySQL instance needs a database and user created and permissions configured. Login to the MySQL server using the following command and enter the root password:
sudo mysql -p
Next run the following commands using the database values you have selected for your server.
Create a database:
create database <Database Name>;
Create a user and apply privileges to database:
grant all privileges on <DatabaseName>.* to '<Username>'@'localhost' identified by "<Password>";
Flush privileges and exit:
flush privileges;
exit;
Step 5: Installing PHP
The next step to enabling dynamic content to be served from the web server is to install the PHP service. This will allow server-side coded files to be compiled into HTML by the server. To install PHP use the following command:
sudo apt install php -y
PHP has several packages that need to be installed to ensure any PHP pages can connect to other various services installed on the server. To achieve this execute the following command:
sudo apt-get install -yphp-{bcmath,bz2,intl,gd,mbstring,mcrypt,mysql,zip} && sudo apt-getinstall libapache2-mod-php -y
Finally Apache should be restarted to ensure all components are loaded using the following command:
sudo service apache2 restart
Step 6: Install WordPress
To install WordPress first download the WordPress compressed file to the server use the following commands:
cd /var/www/html
sudo wget https://wordpress.org/latest.tar.gz
Once complete decompress the archive, however due to the files being extracted into a WordPress folder they will also need to be moved into the default html folder, the following commands will be required:
sudo tar -xzvf latest.tar.gz
sudo mv -v /var/www/html/wordpress/*/var/www/html
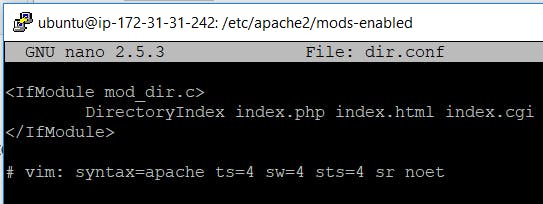
The final step before installing WordPress is to ensure index.php is the first file processed by the web server when requests to the root domain are made. To do this execute the following commands:
cd/etc/apache2/mods-enabled/
sudo nano dir.conf
In the nano text editor find the Directory Index line and add index.php directly after “DirectoryIndex”.
Now navigate to the website in your browser of choice, you should be greeted with the WordPress installation screen.
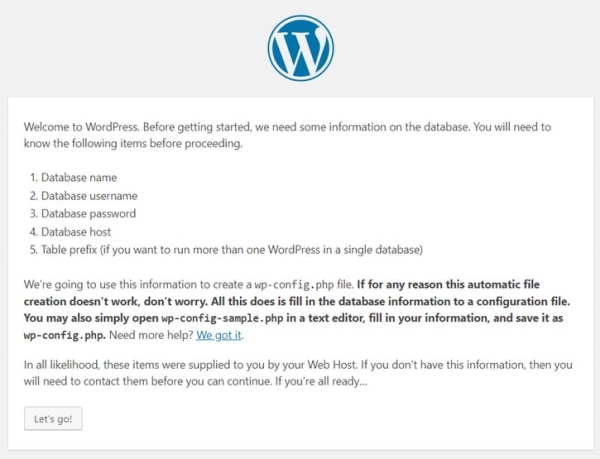
Click ‘Let’s go!’ to proceed with the installation, you will be required to type in the details of the MySQL database and user as defined earlier. If you are running additional wordpress servers you may want to change the table prefix, however for most installs the default configuration is fine.
Source: Home Web Server