
If you want a camera to sit on your mantelpiece and ping your phone every time the dog walks past, you’ve got more choice than ever before. But if you’re worried about what these devices are going to do with your videos, and with your data, there’s another option—build your own bespoke solution.
Like a lot of similar projects—running your own email server, say—you exchange some convenience in return for having full control over what your system does and where the data in it goes. If you enjoy tinkering and the challenge of a DIY tech solution, then it’s well worth looking into.
Traditionally this sort of setup is known as an IP camera system—as in, its a camera that has its own IP address on your network. It doesn’t really matter what you want to call your own setup though, and you don’t necessarily need a traditional IP camera: here’s how to go about getting your own privacy-focused Ring or Nest replacement set up.
What you’re going to need
When it comes to setting up a system like this, part of the appeal is that it’s fully customisable—there’s no set way to do it. If you can figure out something that works, then go for it. We’re not going to be prescriptive about the hardware and software you need, but we will give you some ideas to help you start exploring.
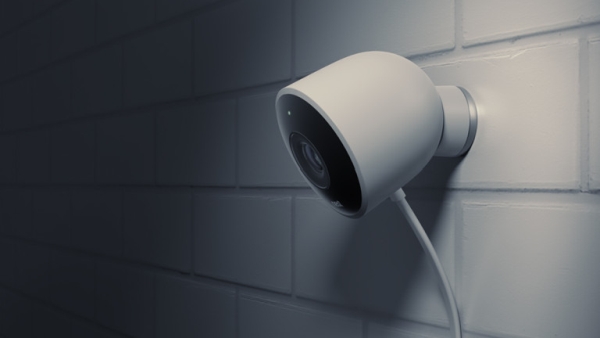
First, you need a camera, and second, you need something to store the footage it’s recording. The camera can be an expensive, dedicated IP security camera from a specialist company, for example, or a webcam, or even an old smartphone or tablet you’ve got lying around (apps like Alfred are built specifically for this job).
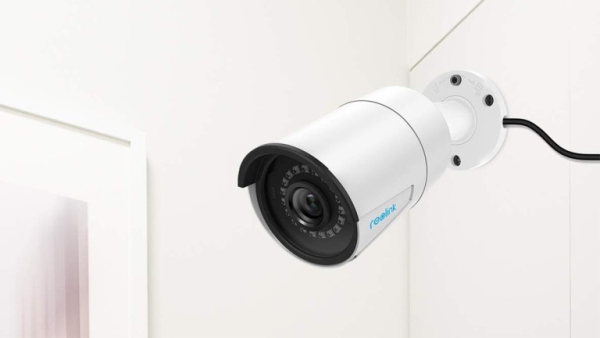
Have a hunt around and you’ll discover cameras like this $US60 ($88) Dahua one, this $US215 ($315) Vivotek one, and this $US35 ($51) Reolink one—all built for home security and ready to broadcast video to your choice of storage.
You’re looking for the same specs as usual: Night vision, weatherproofing (if needed), a wide field of view, and so on. Alternatively, you use cheaper and less fancy cameras with a Raspberry Pi, though you’re going to have to jump through more hoops to get everything up and running.
As for the storage, a NAS (Network Attached Storage) drive is the most obvious choice for most users—we’ve enthused about the benefits of a NAS before. They’re great if you’re building your own private Netflix, DVR for TV, private email server, or even a VPN.
The key advantage, in this case, is that the drive is always online and can be accessed from anywhere. Your camera can save footage, and your phone or laptop can view footage, at any time of the day or night.
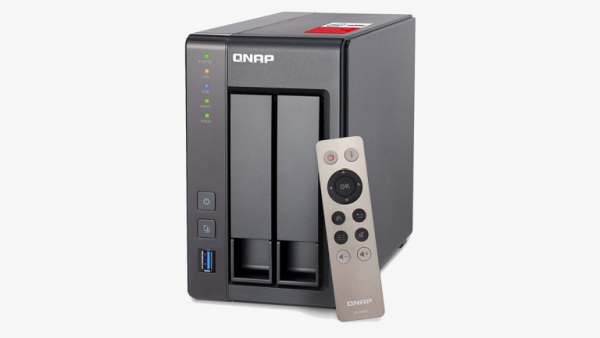
Some people make use of an NVR (Network Video Recorder) instead of a NAS—indeed a lot of dedicated IP cameras are sold with companion NVRs. The NAS option is usually more versatile but also more expensive, so if you’re committed to just using the setup for basic home surveillance purposes, an NVR might be better.
Your NAS effectively becomes an NVR if you’re using it for this purpose, and really almost any modern-day NAS will be up for the job—just make sure you pack it with enough hard drives to offer data redundancy and enough room for all that video you’re going to be recording (even if you plan to overwrite recordings after a few days, we’re still talking about big files, especially if multiple cameras are involved).
How it all fits together
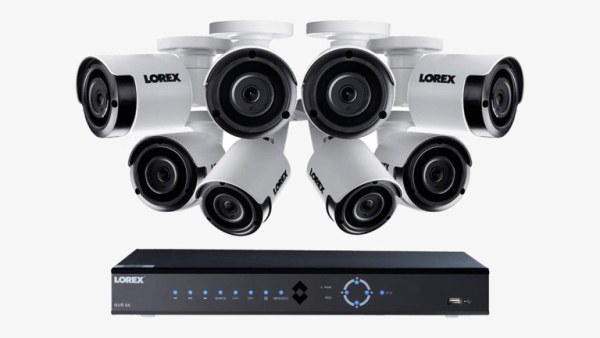
We’ve spoken about the various hardware options above, and there are a lot of them to pick from, but the most likely scenario is you’ve got a networked IP camera of some description and networked storage of some description. After splashing your cash the next job is to get everything working.
If you’ve bought everything together as a bundle, then you just need to turn everything on and follow the instructions to get connected: The storage is built to work with the cameras and so you should be set up fairly quickly, all on a closed network that no one else (including Amazon and Google) has access to.
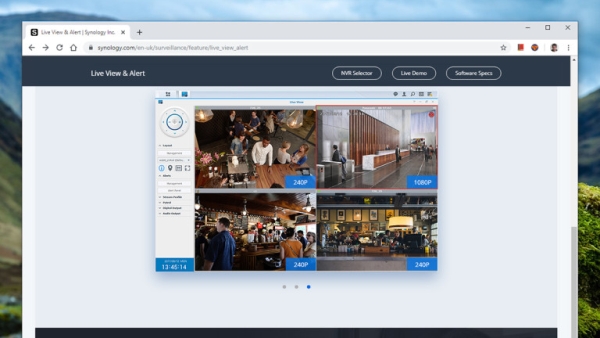
If you’ve picked up a NAS drive, it may well offer a dedicated software solution for using the drive as the centre of a home surveillance system (indeed this is something to look out for while you’re doing your shopping). Synology offers Surveillance Station, for example, which supports thousands of different IP camera models and has features like motion detection and scheduled recording. You can connect two cameras for free, and licenses for extra ones cost $US50 ($73) each.
QNAP has something very similar in the form of… erm… Surveillance Station. It’s not quite as polished, but a lot of the core features are the same, and again thousands of IP cameras are supported. These cameras usually let you view the feed live in any web browser, once they’re configured, but for the recording and motion detection, you’re going to need some extra software.
You can, if you want, just run your cameras from a computer—as long as you’re prepared to leave the computer on around the clock. Blue Iris is a popular choice for this on Windows, which costs $US65 ($95) after a 15-day free trial: It can work with up to 64 webcams and IP cameras around your home, offers a host of recording and editing options, and is accessible enough for anyone to get to grips with. Meanwhile, ZoneMinder is a great open-source option for Linux.
For software as with hardware, there’s plenty of choices available: It just depends on how much tinkering and configuring you want to have to do. It goes without saying that you should make sure everything will work together before you buy anything, but that won’t be too difficult to figure out.
The pros and the cons
Is all of this actually going to be worth it? It’s not quite the same as unwrapping something from Amazon, Google, TP-Link, Samsung or anyone else, and spending 30 seconds to get it connected to your home wifi network. You can be checking in on your houseplants from the office in no time at all with the above-mentioned cameras.
Besides the convenience, off-the-shelf, all-in-one solutions often give you more advanced features too—the face recognition that Google Nest products offer, for example, and the way that all your smart home gear will work together if you invest in kit from one of the bigger names in tech.
Source: How To Give Ring And Nest The Boot And Set Up Your Own Home Security Camera