
We're going to create our own Google Assistant for less money than the Google Home Mini (also a bit more limited). For this we can use any Raspberry Pi 2/3 . We need:
- Microphone
- Speaker
We use any microphone and any speaker, both USB and HAT.
This tutorial is also useful if you have the Google AIY Voice Kit . Both V1 and V2. It costs about 30 euros on Ebay/Aliexpress.
You can use different speakers and microphones.
From our computer
First we are going to use our computer, both Windows and Mac. In this part we are going to register and use the Google SDK. The free API is limited to about 500 requests per day. After a couple of months testing it intensively, the most I've spent is about 100 a day, so there's no problem and it's fully functional.
1. Console Actions Google
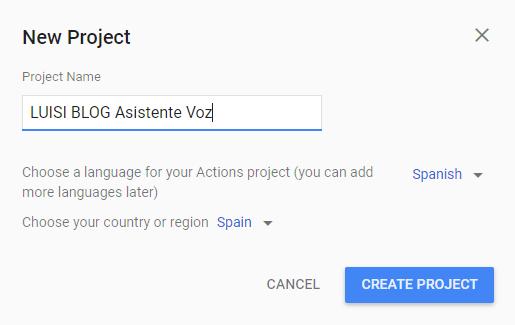
Let's create the project: https://console.actions.google.com
Click on Add/Import Project . We fill in the data. We need to put a name, the language and the country.
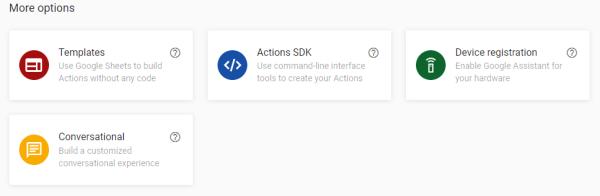
Then we go down on that same page and look for: Device registration .
2.  Registration

At the end of the previous step, we press the button that says Device Registration .

It will take us to the project console of our wizard. There we press Register model to register our Raspberry Pi. The data below is not really important but it will help us to identify it later.
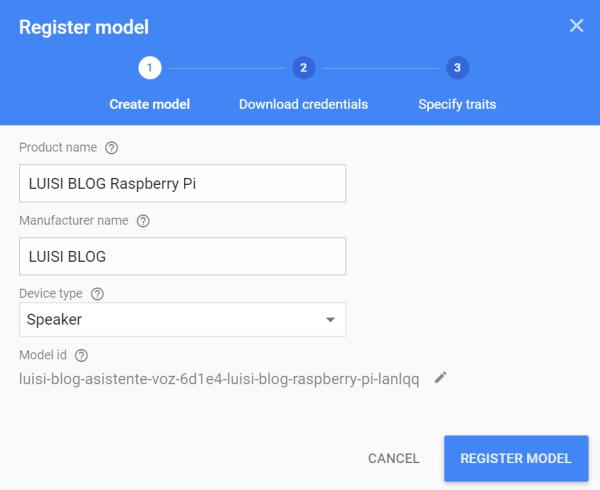
Once the data is complete, we are going to click on Register Model . The next tab is very important. We are going to press the Download OAuth 2.0 credentials button and save them on the Desktop or in an easy-to-access place. Then we click Next .
In Specify traits we press Skip since we don't need any.
If at any time or by chance, we lose the credentials, we can download them again by clicking on the 3 points on our device. We can also add more Raspberry Pis by repeating the process (not reusing the credentials).

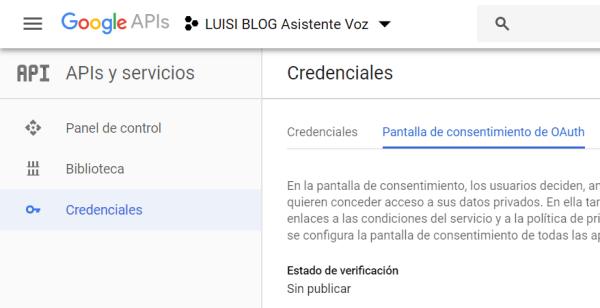
3. Console Developers Google
We open the following website: https://console.developers.google.com/apis/library/embeddedassistant.googleapis.com
We select at the top, next to Google APIs. On the TODO tab is the project we created earlier. Once we have selected the project, click Enable .

When it is activated, we go to the Credentials tab . And then to the OAuth Consent Screen subtab . There we just need to add our email (by default). It will not be used by anyone as a support email since we are the administrators and it is local. We do not need to add more data. Click on the Save button .
We return to the Credentials subtab . Click Create Credentials  Help me choose .
- What kind of API?: Google Assistant API
- Where will the API be called from?: Other UI (console, CLI…)
- What data will you access?: User data
In the next step we click on the client ID (blue letters) that we created in step 2. Model ID = Client ID.
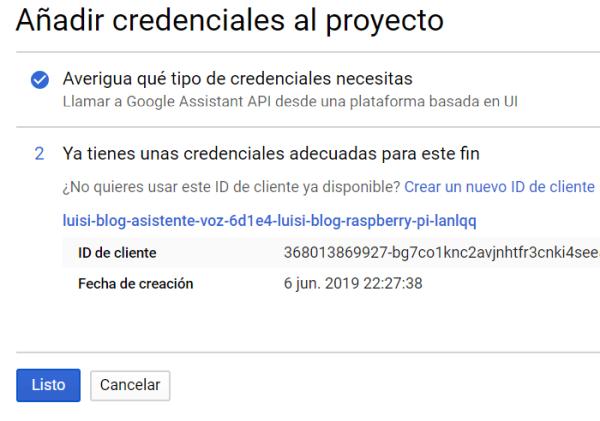
And we just have to press save .
3.1. Activate Google Account
We are going to manage our Google account: https://myaccount.google.com/activitycontrols
It is recommended to activate everything. But for the wizard to work we only need:
- Web and App Activity
- Include Chrome history and activity on websites, apps, and devices that use Google services
- Information from your devices
- Voice and Audio Activity
5. We install the system image
We are going to use the AIY system image even if we don't use the kit and use another USB or HAT microphone / speakers. This image already contains the necessary libraries for the Google Assistant.
We download it from: https://github.com/google/aiyprojects-raspbian/releases
Without unzipping it, .img.xzdownload and open the Balena Etcher program . Its use is very simple. We open the program, select the .img.xzone we just downloaded. Then we select the SD card that we are going to use and finally click on Flash .
From the Raspberry Pi
We introduce the SD in the Raspberry Pi, the speakers, the microphone and all the necessary devices.
1. Initial setup
By default, SSH is already enabled. We just follow the steps on the home screen. It will ask us to set the language ( uncheck the US keyboard ), the WiFi selection and password, update and a restart to finish.
We open the terminal and write:
ip addr show
There we can see our IP.
We go back to our Windows or Mac computer and download Putty . We open it and put the IP. It will ask us for the username (by default: pi) and the password. Now we only have to copy the following commands and then in Putty, pressing the left mouse button will paste it for us.
We check that the update has been done correctly:
sudo apt update && sudo apt upgrade
1.1. sound settings
We can configure the sound from the desktop in the Pulse Audio shortcut . We deactivate the cards that are not and activate the ones that are.
We then tested both the speakers and the microphone from the Check Sound desktop shortcut too .
2. The credentials
Let's create the assistant.json file with the credential data from step 2 . We open and copy the credentials in Windows with the notepad, then we execute this command on the Raspberry Pi and once open we paste them.
nano assistant.json
To exit nanowe press CTRL+X.
Now all that remains is to access the examples folder and run the Google Assistant program . At first start it will tell us to go to a URL to activate the assistant.
cd ~/AIY-projects-python/src/examples/voice
./assistant_library_demo.py
3. Script to start the Wizard at startup
We write the command:
sudo raspi-config
And in option 3 Boot Options . Then Wait for network at Boot . Click Yes and then Finish. ESC key to exit.
Now we download the script inicio.sh:
wget a.luisiblogdeinformatica.com/as1 -O /home/pi/home.sh
We create a service to be able to start the wizard at startup . For this we only have to create a file.
sudo nano /lib/systemd/system/wizard.service
And we paste the following:
[Unit]
Description=Google Home Assistant
Wants=network-online.target
After=network-online.target

[service]
Type=simple
Environment=DISPLAY=:0
ExecStart=/bin/bash /home/pi/start.sh
Restart=on-abort
User=pi
Group=pi

[Install]
WantedBy=multi-user.target
We enable it to run at startup, make it run right now and check the status of the service.
sudo systemctl enable wizard.service
sudo systemctl start wizard.service
sudo systemctl status wizard.service
All that remains is to check that it starts once the Raspberry Pi is restarted . We wait a while after reboot for the startup script to run automatically.
sudo reboot
last task
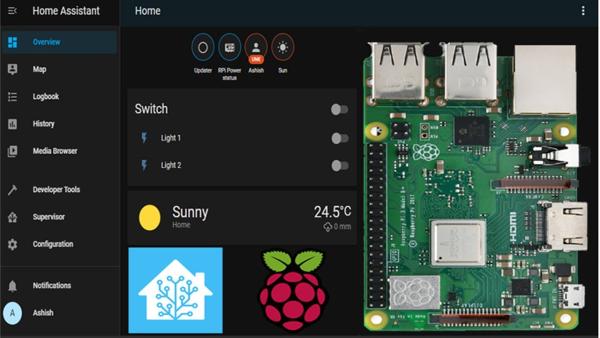
You now have your Google Assistant working on the Raspberry Pi . All that remains is for you to download the Google Home App on your mobile, both Android and IOS.
From the app you can have full control of all the devices that you add. Try buying some lights or plugs and you will exploit its full potential.
Just go to Amazon and search: wifi lights(+ your bulb model) or wifi plug. There are many more devices that you can include. For example sensors, alarms, cameras. New compatible devices are developed every day.