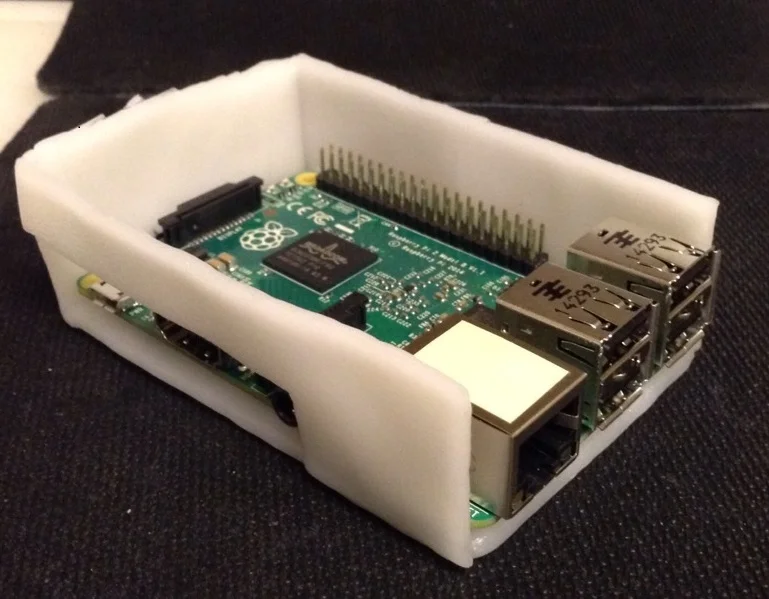
Bloominglabs has had two Build Nights recently, Instamorph and Raspberry Pi 2 / Adafruit.
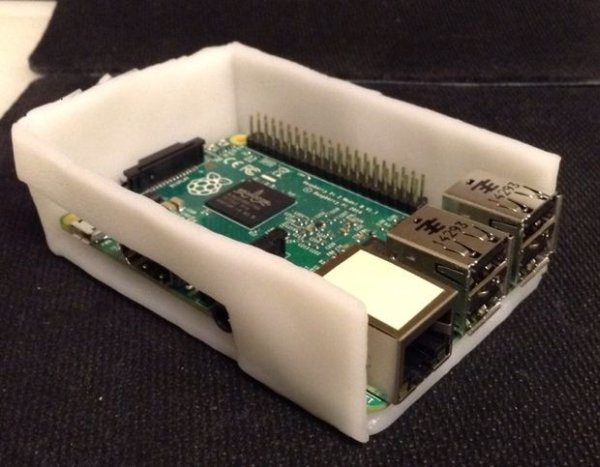
I have combined the two to make a case for the Raspberry Pi from Instamorph.Instamorph makes a nice material for making cases, as it's very sturdy, but easy to modify as needed for changes to your Raspberry Pi, or even reusing the Instamorph to make a new case should the design of your computer change, or you are using a different computer.
This instructable assumes you have a basic knowledge of how to use Instamorph. If have not used Instamorph before, there are several good instructables
Step 1: Items you will need
A Raspberry PI (or board of your choice. I am using a Raspberry Pi 2 from the Raspberry Pi / Adafruit Build Night)
A package of Instamorph
Hot water for the Instamorph per the directions on the package
A glass bottle for rolling out the Instamorph
Two pieces of something flat about the thickness of the sheets of Instamorph you will want for your case. I used two old mousepads.
A template for making a case from Rual Design Collective
http://sixes.net/rdcHQ/rdchq-extra-credit-raspi-b/
Step 2: Prepare your template
Download the template from Rural Design Collective
http://sixes.net/rdcHQ/rdchq-extra-credit-raspi-b/
Print out 2 copies, making sure you print it at 100 percent to get the size correct.
One copy will be a reference for assembly, the other for will be cut to form templates for the pieces you will create.
Step 3: Cut out the template
While you could create a large sheet of Instamorph and fold it like paper, I used the template to create the panels and will use Instamorphs ability to weld to itself to build a case.
Step 4: Roll out sheets of Instamorph
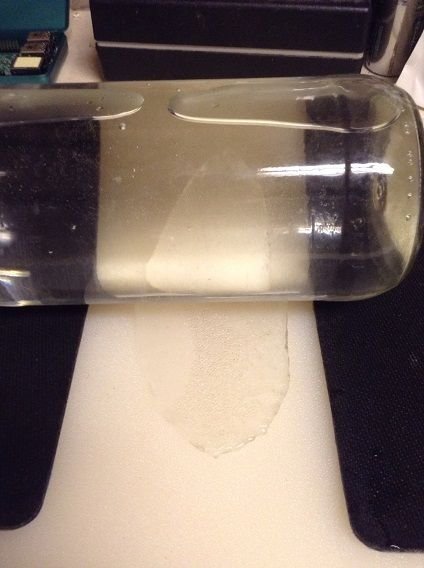
To create sheets of instamorph, I used a glass bottle filled with hot water as a rolling pin and two thin mouse pads to on either side to create sheets of uniform thickness.
The hot water bottle helps to extend the working time to create the sheets
Step 5: Cut out the pieces
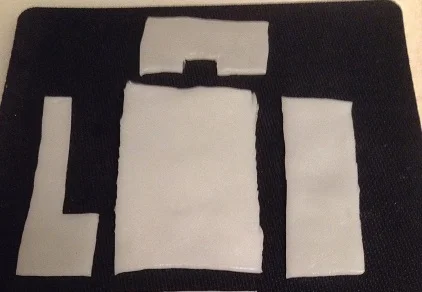
Using the templates from step 3, I cut pieces from the sheets of Instamorph created in step 4
You will see I made some minor changes to the cutouts to simplify the case design.
One can easily add to or modify the case design. In fact, the advantage of making an Instamorph case is the ease at which one can make changes as needed as one adds accessories to your Raspberry Pi.
Step 6: Assemble the Case
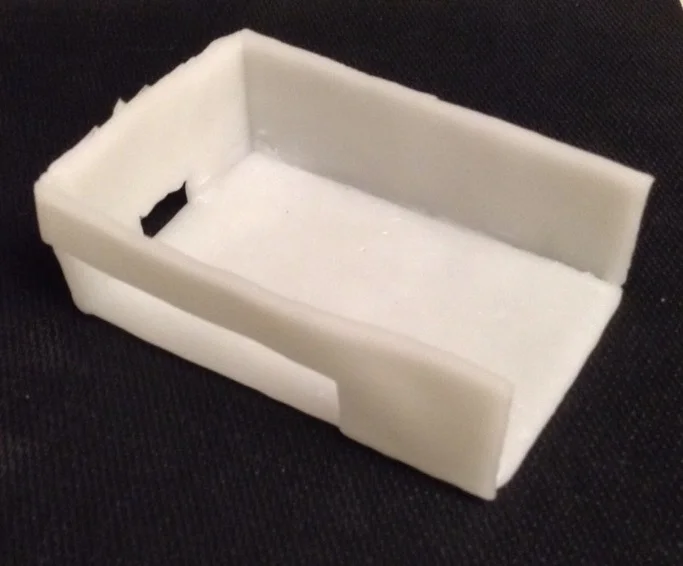
Instamorph can be welded to itself if you dip both pieces in the hot water.
Using the template as a guide, dip the adjoining edges of the pieces in the water for a minute just for the edges to clear.
You can then press pieces together and they will form one piece. You might want to use your finger to round off the edges, making sure it you have uniform contact along the entire edge.
Do not leave the pieces in the water too long, you just want the edges to soften, not the entire piece.
Step 7: Slide Raspberry Pi Into Case and Enjoy
Some ideas to enhance your case:
You could wrap or insert screws into the Instamorph places to hold the screws. Instamorph will take the pattern of the thread letting you just unscrew the screws then using them to attach the Raspberry Pi firmly. Wrapping a little Instamorph around the screw could be used to create a standoff for the circuit board.
If you make a very thin sheet of Instamorph, you can make a hinge alonge one edge that could be used to create a lid for the case. You can create and weld additional pieces to hold additions to your Raspberry Pi
Source: Instamorph Raspberry Pi Case


