Story
Like Manuel said
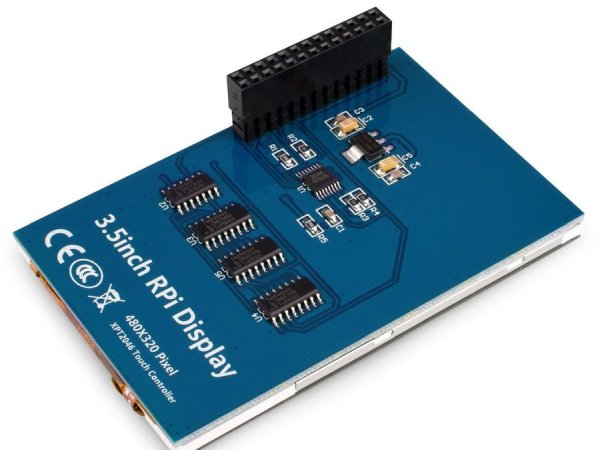
Understanding that many people have problems configuring their Kuman TFT display on the Raspberry Pi together with RetroPie, I have decided to make this step-by-step of how to install the Kuman TFT 3.5″ display which you can connect directly to the GPIO ports of the Raspberry Pi and run your applications. A lot of people have been buying this Kuman display from Amazon and other online markets for its economical price but it is not an easy display to install for certain applications, compared to other displays that come with integrated HDMI ports that will surely be a lot easier to manipulate and start working. If you want to see original post.
Connect to the Raspberry Pi via SSH or directly with keyboard and HDMI monitor
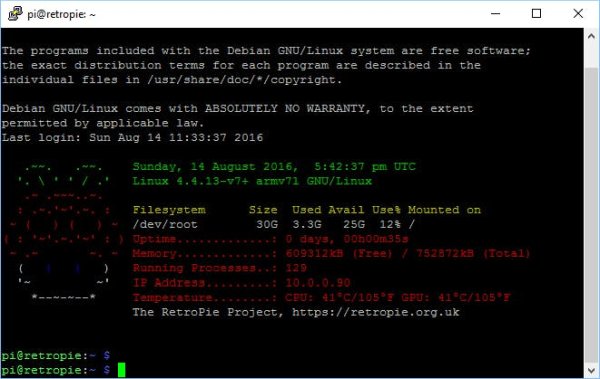
There are a lot of places to find out how to do this. I asume that you alredy have connected so I will continue from here. First, you should be seeing something like this screen:
- Make sure you have space available.
- If you have your RetroPie in a USB device remember to expand filesystem.
- Make sure you are connected to Internet.
First Step: Download all things needed
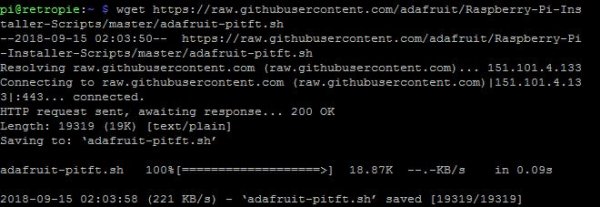
wget https://raw.githubusercontent.com/adafruit/Raspberry-Pi-Installer-Scripts/
master/adafruit-pitft.sh
And
git clone https://github.com/goodtft/LCD-show.git
Second Step: Make executable
sudo chmod +x adafruit-pitft.sh
cd LCD-show
sudo chmod +x LCD 35-show
sudo chmod +x LCD-hdmi
The “sudo chmod +x LCD-hdmi” Is in case you have to go back to HDMI defaults
Third Step: Execute
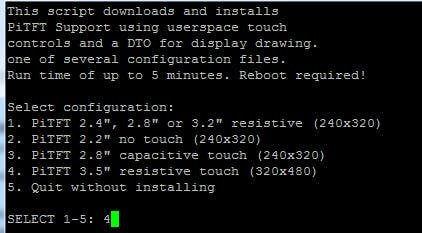
sudo ./adafruit-pitft.sh
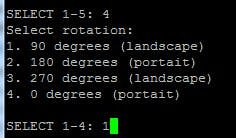
Select 4
—– 1 —– 90
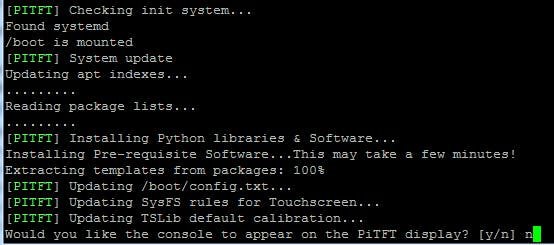
—– n —– select no to console settings
Read More Information…..


