
Hello everyone.
I've been following magic mirror projects and wanted to build one myself for quite some time. This past summer I decided to make my own version of this mirror. I had couple of my friends help me do it.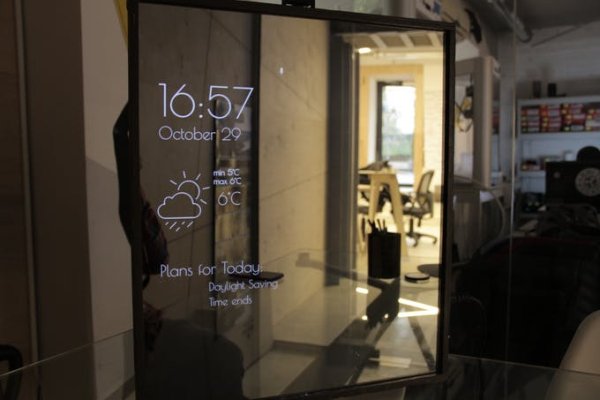
Software and features
Here's what makes our mirror little different:
- Helps you pick clothes
- Can record videos
- Voice controlled
- or Smartphone controlled
- custom software, developed slowly over couple of months
Virtual Wardrobe
We wanted to improve software a little bit and introduce unique features. One such feature is a stylist, or a virtual wardrobe to be exact. Using a built-in Raspberry Pi camera, you can photograph yourself and create a database of your looks. Each item has a dress code assigned to it automatically (casual, business-casual, sportswear, etc.); that dress code is later used to recommend you clothes, based on it and weather outside. When you add an item, you can also record live view of yourself. You turn around the mirror capturing full 360 of the outfit. Later you can play it back, like a Harry Potter image of sorts. You can also assign custom tags to clothes and search thought them.
The Build
Materials used:
- One way mirror (6mm) thick
- 8mm plywood
- 20″ Samsung 2032MW (16:10 aspect ration, 1680×1050 resolution)
- LED strips and driver (to upgrade CFL blacklight in the LCD)
- Raspberry PI
- Pi Camera
- USB microphone
Tools Used:
- CNC machine (Carver)
- 3D Printer (Utimaker)
- Laser cutter
- Drill/Screwdriver – the usual stuff
The build seemed easy enough, but we did stumble on some challenges. First I've dissembled the monitor. On the right we can see the mirror with monitor and to the left the LCD controller.
After this dry fit, we've realized that our monitor is:
- not bright enough
- light transmission of mirror was a bit low
Naturally, we've decided to swap out the old burnt out CCFL backlight for a more powerful LED one. I've torn down LCD assembly, tried multiple LED variations, until I found one that suited me. Using some duct tape, I've secured LED strips in place and put everything back together. Sadly, I didn't photograph the whole process.
Next we've moved on to making the case. I've used a CNC machine to cut 3mm grooves in 8mm plywood and then stuck them together using angle brackets. Adding a little duct tape to secure everything in place ghetto-mirror-1 was born! Sadly, that's the best photo we've had.
Time to make it thinner. I striped away metal casing and the next big challenge came in. This monitor has an awful HDMI connection, so we had to use a DVI to HDMI adapter. To make things worse the DVI connector is not right angled, that means a very thick unit. I, feeling extra brave, went ahead and tried to solder HDMI cable directly to the DVI connector pads. For some odd reason that did not work, so I tried to re-solder DVI connector itself to be right angle. To my surprise this thing works perfectly. That's how ghetto-mirror-2 came into life.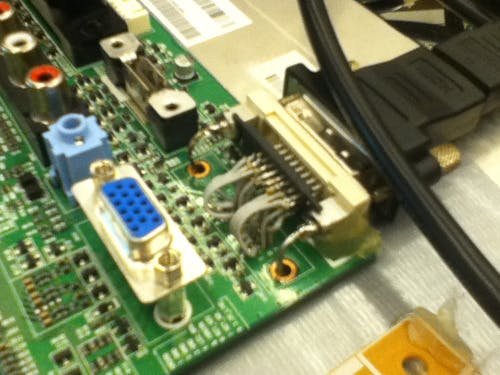
Next thing on the agenda was more prettying up. We went ahead and 3D printed a custom Raspberry holder and a case for the pi camera, hot glued the required boards for the monitor in place, added in a power supply, secured the monitor with best-in-town technology (duct tape). This mess of cables would definitely pass all of the required safety tests.
Foe more detail: Magic Mirror with Stylist