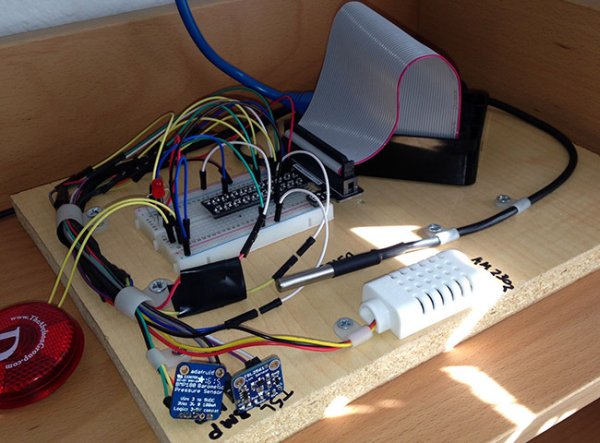
Today I’m going to show you how to make sort of a mini weather station with a Raspberry Pi. This is an ongoing project of mine that I’ve been tinkering with so I’ll share my learnings with you. It started with a project I wrote about last month, and is an improvement on it.
A core part of the “Internet of Things” movement is the idea of devices that gather data and send it to the Internet. That data is then acted on or observed for later. It’s a simple concept and has been going on for a while but lately it’s been getting cheaper and easier to do. This project is a great example of that.
While this seems like a long tutorial, it only takes about 30 minutes to complete. Let’s get started.
Once you complete this your Raspberry Pi will measure:
- Temperature
- Humidity
- Atmospheric Pressure
- Lux
You can send your results to:
- Google Spreadsheet on your Google Drive
- ASP.Net Web API on your website
What you’ll need
For this project you will need:
- Raspberry Pi 2 or Model B – (Get one here for $35!)
- AM2302 Temperature / Humidity Sensor
- BMP180 Temperature / Barometric Pressure Sensor
- DS18B20 Waterproof Temperature Sensor
- TSL2561 Digital Lumosity Sensor
Optional:
- Breadboard and jumpers (Get a kit here)
None of this stuff would be anywhere near as easy if it weren’t for companies like Adafruit. I recommend getting your sensors from them to support their innovation in this space. Newark is one of the original distributors of the Raspberry Pi, they are fast and very reputable.While this may look confusing at first, it’s a pretty standard setup for each sensor. Here’s some additional information on how to wire up each one if the diagram isn’t helpful.
This tutorial has been tested with a fresh install of Raspian. The instructions should be fairly accurate for other Linux distributions as well.
SSH into the pi (or open a command window) and get’s start out in your home directory and make a folder for your sources.
For more detail: Make a Weather Station With a Raspberry Pi 2


