
Use a single-board computer or spare laptop, a webcam and free software to build your own surveillance system.
Deploy the project to your account
Once you’re logged into your balenaCloud account (remember, the first ten devices are free and fully-featured), click the link below, and select the device type you want to use: Deploy with balena
Kerberos.io works on armv7 (Raspberry Pi 2/3/3b+ and others), aarch64 (Nvidia Jetson, Raspberry Pi 4 and others) and AMD64 (laptops and desktops). Selecting your type of device will make the balena builders create the correct image for you and deploy it to your application.
How long did that take? Five minutes or so? We’re cookin’ with gas now!
Add a device
Add a device within that application by clicking the ‘Add Device' button. If you are connecting to a wireless network, you can set your WiFI SSID and passphrase here too. Otherwise, a wired connection will suffice (if your device has an ethernet port).
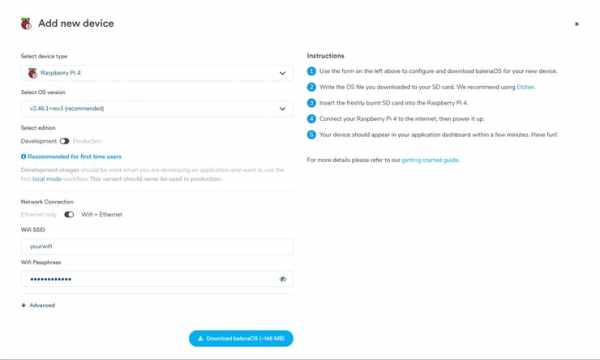
This process creates a customized image configured for your application and device type, and includes your network settings if you specified them.
Once the OS image has been downloaded, it’s time to flash your SD card. balenaEtcher is perfect for this, especially since it’s so fast.
Insert the SD card, plug the webcam into a USB port, and power on your device.
Run the application
Once the device has powered on, it will join your balenaCloud application and download the Kerberos code, which it will run in a service called Main. Here’s an example of mine running on a Jetson Nano:
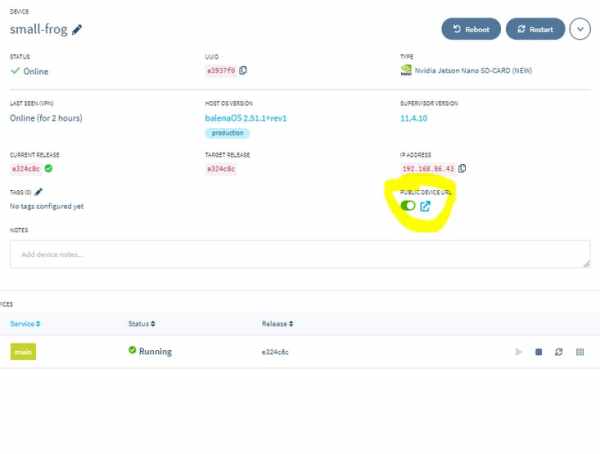
Click the slider highlighted, to turn on the PUBLIC DEVICE URL and click the link. This is going to open the Kerberos web dashboard.
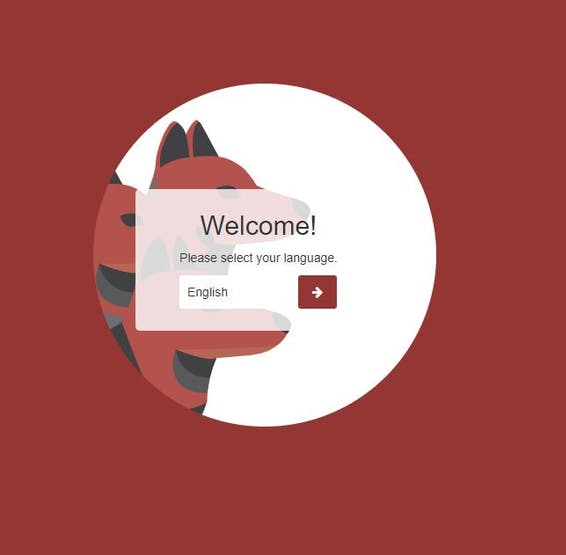
Configure it
First we need to select a language:
Then choose a username and password, and we’re into the dashboard itself:
There is nothing there yet, but that’s because we need to configure the camera. Click “Configuration” at the top. Now we’re going to select “USB camera” :
Source: Make Yourself a Video Surveillance System in Minutes