
Set up Amazon's Alexa on a Raspberry Pi with a MATRIX Voice. Use the MATRIX mic array together with a third-party wake word engine.
This guide provides step-by-step instructions for setting up AVS on a Raspberry Pi with a MATRIX Voice. It demonstrates how to access and test AVS using our Java sample app (running on a Raspberry Pi), a Node.js server, and a third-party wake word engine using MATRIX mic array. You will use the Node.js server to obtain a Login with Amazon (LWA) authorization code by visiting a website using your Raspberry Pi's web browser.
Required hardware
Before you get started, let's review what you'll need.
- Raspberry Pi 3 (Recommended) or Pi 2 Model B (Supported) – Buy at Amazon – Pi 3 or Pi 2.
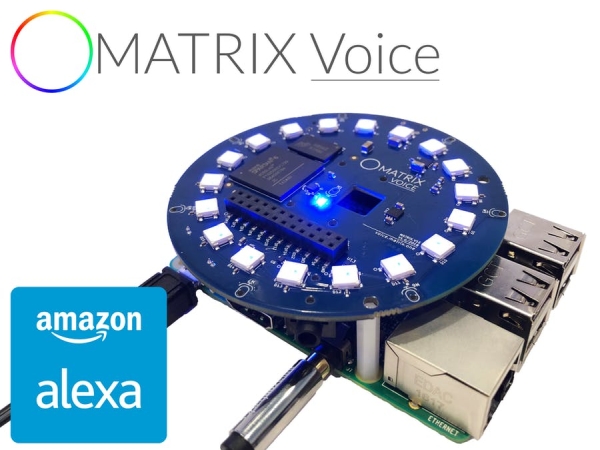
- MATRIX Voice – Raspberry Pi does not have a built-in microphone, the MATRIX Voice has an 8 mic array for Alexa – Buy MATRIX Voice.
- Micro-USB power cable for Raspberry Pi.
- Micro SD Card (Minimum 8 GB) – An operating system is required to get started. You'll need to download and install Raspbian Stretch with Desktop on your micro SD card.
- External Speaker with 3.5mm audio cable – Buy on Amazon
- A USB Keyboard & Mouse, and an external HDMI Monitor – we also recommend having a USB keyboard and mouse as well as an HDMI monitor handy.
- Internet connection (Ethernet or WiFi)
- (Optional) WiFi Wireless Adapter for Pi 2 (Buy on Amazon). Note: Pi 3 has built-in WiFi.
Let's get started
The original Alexa on a Pi project required manual download of libraries/dependencies and updating configuration files, which is prone to human error. To make the process faster and easier, we've included an install script with the project that will take care of all the heavy lifting. Not only does this reduce setup time to less than an hour on a Raspberry Pi 3, it only requires developers to adjust three variables in a single install script.
Configure your RaspberryPi like the original Alexa documentation, for this please completing steps: 1, 2, and 3 from original documentation.
Step 2: Install MATRIX software and reboot
First add repo and key:
curl https://apt.matrix.one/doc/apt-key.gpg | sudo apt-key add -
echo "deb https://apt.matrix.one/raspbian $(lsb_release -sc) main" | sudo tee /etc/apt/sources.list.d/matrixlabs.list
sudo apt-get update
sudo apt-get upgrade
Then install MATRIX software and reboot:
sudo apt-get install matrixio-malos libmatrixio-creator-hal-dev
sudo reboot
Step 3: Clone the sample app
Open terminal, and type the following:
cd /home/pi/Desktop
git clone https://github.com/matrix-io/alexa-avs-sample-app.git
cd alexa-avs-sample-app
Step 4: Run the install script
You are now ready to run the install script. This will install all dependencies, including the two wake word engines from Sensory and KITT.AI.
Note: You will be prompted to insert the credentials from your recently created Alexa Device.
To run the script, open terminal and navigate to the folder where the project was cloned. Then run the following command:
. automated_install.sh
Step 5: Run your web service, sample app and wake word engine
Return to alexa-avs-sample-app documentation and execute Step 7 but in the last terminal select the sensory wake word engine.
Step 6: Talk to Alexa
You can now talk to Alexa by simply using the wake word “Alexa”. Try the following:
-Say “Alexa”, then wait for the beep. Now say “what's the time?
-“Say “Alexa”, then wait for the beep. Now say “what's the weather in Seattle?”
If you prefer, you can also click on the “Listen” button, instead of using the wake word. Click the “Listen” button and wait for the audio cue before beginning to speak. It may take a second or two before you hear the audio cue.