Background
After recently receiving my Amazon Echo I've been itching to build something for it, so this competition came at just the right time! I did manage to get a skill published which assists in getting your AWS DevOps Professional Certification by asking you sample questions (available at http://alexa.amazon.com/spa/index.html#skills/dp/B01HCJSXKK/?ref=skill_dsk_skb_sr_0 if you have an echo), but I wanted to get my hands dirty with the AWS IoT SDK, and having never really done anything with electronics before I thought this would be a great opportunity.
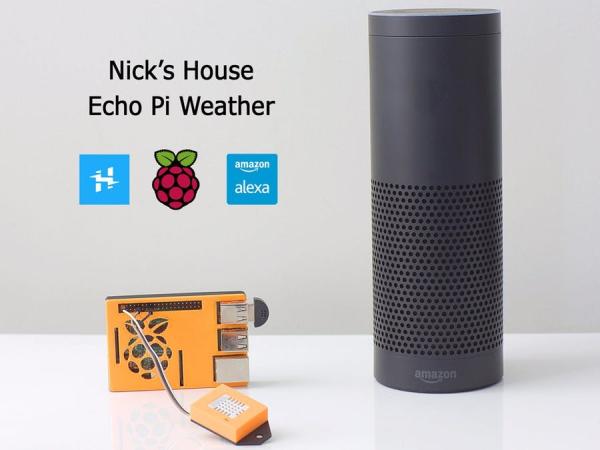
I went to my local electronics store (http://www.jaycar.com.au) and the only sensor they really had which I could use with my spare Raspberry Pi (who doesn't have two or three lying around..?) was the Freetronics temperature/humidity sensor which is already attached to a board ready for some cables to be soldered, and no messing with resistors is required:
I thought a great way to get familiar with AWS Lambda, AWS IoT and the Alexa Skill Kit would be to combine them all and create an indoor weather station where I could ask Alexa what the temperature and humidity was inside. So, I got to work!
Hardware
I began by installing Raspbian via NOOBS. As a Linux Sysadmin in a past life, this is not something I wanted to spend too much time on, and it was fairly straight forward.
Then I got my brother to solder some wires onto the sensor so I could connect it to the Pi (thanks Simon!). Then I had to figure out where I could plug it in. I eventually found this helpful diagram over at myelectronicslab:
“What on earth is a GPIO?” I ask myself.. well.. lets look at the back of the DHT22:
So.. we have a “GND”.. this obviously matches the “Ground” port, so I connect this to pin 9. Then we have a “VIN”.. which says 5V, so I assume this is the power port. The GPIO diagram has a “DC Power 5V” at pin 2, so I connect this one. We're left with DATA, so I choose a random GPIO port as I assume the IO in GPIO means input/output.. data.. yeah.. pin 15 you're the winner!
I then discover Joan over at the raspberry pi forums has written a DHT22 library in python, which is perfect! I grab that from her post here . It requires pigpiod, so I installed and started that:
$ apt-get update
$ sudo apt-get install pigpio python-pigpio python3-pigpio
$ service pigpiod start
Poking through the code in DHT22.py I want to see which GPIO port I should be connected to. I see that the gpio variable is passed when the class is defined here:
s = DHT22.sensor(pi, 22, LED=16, power=8)
GPIO is the second field, which is '22'. Checking back on the GPIO graph, I'm plugged in to pin 15 which is… GPIO22! Wow, could this possibly work first go? that never happens. Lets try running the script:
$ python DHT22.py
1 38.7 25.0 0.20 0 0 0 0
2 37.9 24.9 0.19 0 0 0 0
3 38.1 24.9 0.19 0 0 0 0
4 38.1 24.9 0.19 0 0 0 0
5 38.2 24.9 0.19 0 0 0 0
Well that's a rare sight.. it worked first go! It looks like we're receiving humidity, the temperature and a field called “staleness” which is the time since the measurement was made. Awesome! That's the OS and the sensor working, now we need to push the data somewhere.
Development
It took some time for me to figure out the best way of storing the data in a way that Alexa could retrieve it. I knew I would be using the AWS IoT service as it integrates with Lambda very easily, but I started out by trying to store the data payload from the MQTT stream in DynamoDB and then I was going to try and pull the payload out with Lambda and attempt to parse it.. and then I was pointed to the “Device Shadow” functionality of an AWS IoT thing. Quoted from the IoT Developer Guide:
For more detail: Nick's House – Echo Pi Weather


