Why?
Because this is MY spot. Find yours…
Just kidding! All I want to do is to experiment with OpenCV in Raspberry Pi and make it an IOT device. I've seen a lot of Face Detection algorithms and I found out that there are also other experiments. I found one that can do Car Detection.
Traffic Flow is the study of interactions between vehicles, drivers, pedestrians, cyclists, other travelers and infrastructure (including highways, signage, and traffic control devices), with the aim of understanding and developing an optimal road network with efficient movement of trafficand minimal traffic congestion problems. (From Wikipedia)
At first, I thought I wanted to do a traffic flow IOT device, which is fine. Find an alternative way to analyze traffic flow by creating an affordable car counter analysis tool and harness the power of Big Data to analyze traffic patterns.
But I want something that I can apply to my daily life.. so get off my parking lot… Move along.
And so the journey starts….
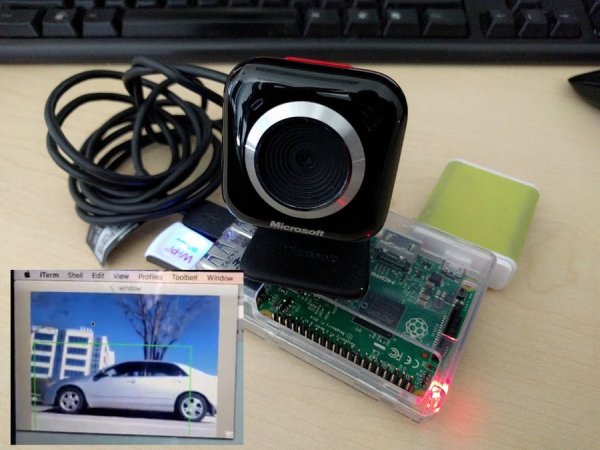
A Car Detection with Raspberry Pi + Web Camera
In this project we explore a car counter device using:
- Node.js wrapper for OpenCV
- A Raspberry Pi (w/ an SD card of least a 8GB!)
- A cheap Web Camera
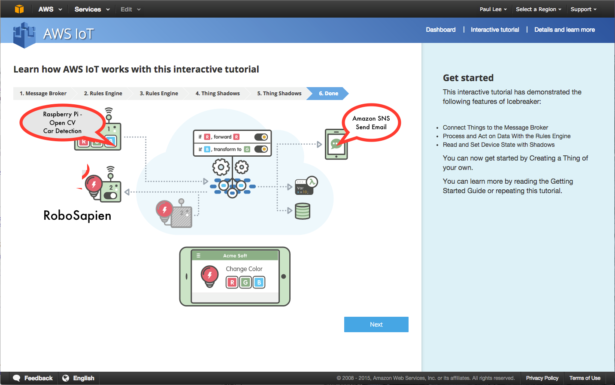
- The AWS cloud for notification thru SNS or saving data to S3 for analysis.
the best thing here is – it will cost you less than $50 dollars.
- Install Node.js in Raspberry Pi
- Build and install OpenCV 2.4.11 in a Raspberry Pi
- Install the CylonJS and CylonJS-OpenCV
IMPORTANT: This Project only works on Raspberry Pi Wheezy distribution.
The instructions here will not work on latest version of Raspberry Pi.
You can download last Wheezy version of Raspbian using this link
http://downloads.raspberrypi.org/raspbian/images/raspbian-2015-05-07/
Installing NodeJS is not a big deal in Raspberry Pi, but make sure you have the latest version. I followed this from installing Johnny-Five
https://github.com/rwaldron/johnny-five/wiki/Getting-started-with-Raspberry-Pi-node-red-and-IoT
I installed OpenCV by following this
http://www.pyimagesearch.com/2015/02/23/install-opencv-and-python-on-your-raspberry-pi-2-and-b/
Make sure you do this before you go to bed because it will take a lot of hours to compile it. Like 9.5 hours or so.
Make sure you install version 2.4, I install OpenCV 3.0 at first and found out that CylonJS uses OpenCV 2.4, so I had to do it twice!
Then I started following instructions how to install CylonJS and CylonJS-OpenCV
http://cylonjs.com/documentation/platforms/opencv/
https://github.com/hybridgroup/cylon-opencv
I followed how to install it in Ubuntu even though we're installing this in a Raspbian. Make sure ffmpeg is installed.
If you're having issues with installing cylon-opencv in Raspbian Wheezy, try to install the stable version of NodeJS 4.2.3
I followed the instructions here but I made sure I download the correct version.
http://doctorbin.tumblr.com/post/53991508909/how-to-install-the-latest-version-of-nodejs-npm
and also run these commands
sudo apt-get install gcc-4.8 g++-4.8
sudo update-alternatives --install /usr/bin/gcc gcc /usr/bin/gcc-4.6 20
sudo update-alternatives --install /usr/bin/gcc gcc /usr/bin/gcc-4.8 50
sudo update-alternatives --install /usr/bin/g++ g++ /usr/bin/g++-4.6 20
sudo update-alternatives --install /usr/bin/g++ g++ /usr/bin/g++-4.8 50
If you want to remotely view the camera, you can use and install
then when you connect to your raspberry pi using ssh like this
ssh -x pi@<ipaddress>
Step 2: Create AWS Connection
Here's a good tutorial how to connect AWS IOT to Raspberry Pi
https://github.com/sreid/aws-iot-raspberry-pi-how-to
I named the Thing as carcounter.
The sample app is very helpful. Here's the link
https://github.com/aws/aws-iot-device-sdk-js
For more detail: Nobody Parks Here!


