Do not continue without reading!
Please note that the Raspberry Pi integration with the Particle Cloud is currently in beta. We know you're eager to get started (we're excited too!) but you won't be able to complete all the steps below before you've received your beta activation email. We will be provisioning access to the beta in the upcoming weeks on a rolling basis. Upon open release of the Raspberry Pi and Particle Cloud integration, these provisioning instructions will work for everyone! To learn more and to join the beta program, visit our Raspberry Pi + Particle information page by clicking here Join the beta!
1. Setup Raspberry Pi
I also wrote a project based on how to Setup your Raspberry Pi: Setup Raspberry Pi.
1.1 Install the Particle Agent
You will not be able to complete this step of the process if you have not already received your beta activation email. If that's the case, hang tight — you'll receive your email in the upcoming weeks as we expand access to the Raspberry Pi provisioning endpoint. For more information, visit particle.io/particle-pi
To connect your Raspberry Pi to the Particle Cloud, you need to install the Particle Agent. The Particle Agent is a software service that runs in the background on the Raspberry Pi and allows you to write and run firmware (software that interacts with the GPIO pins on the Pi).
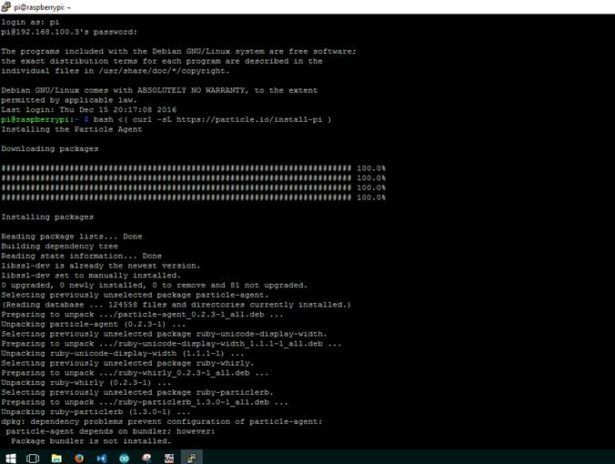
Install the agent by pasting this command in a terminal on your Raspberry Pi, either while connected remotely through SSH or locally with a keyboard and monitor.
bash <( curl -sL https://particle.io/install-pi )
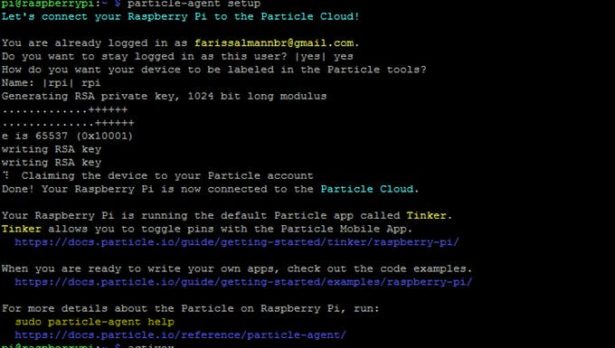
When the installation is over, the Particle Agent setup will ask you to sign in to your Particle account. If you don't have one yet, create a Particle account at https://login.particle.io/signup.
If you see the message above, congratulations! You've successfully connected your Pi to the Particle Cloud!
Read More: Particle + Raspberry Pi


